9-8
User Authentication and Accounting (User Login, Job Accounting) > Setting User Login Administration
Adding a User (Local User List)
You can add up to 1,000 users (including the default login user name).
1
Display the screen.
1
[
System Menu/Counter
] key > [
User Login/Job Accounting
]
2
"User Login Setting" [
Next
] > "Local User List" [
Add/Edit
]
2
Enter the user information.
[
Add
] > Enter the user information > [
OK
]
NOTE
By default, one of each default user with machine administrator rights and administrator privileges is already stored.
Each user's properties are:
Machine Administrator
User Name:
DeviceAdmin
Login User Name:
TASKalfa 8353ci: 8300, TASKalfa 7353ci: 7300
Login Password:
TASKalfa 8353ci: 8300, TASKalfa 7353ci: 7300
Access Level:
Machine Administrator
Administrator
User Name:
Admin
Login User Name: Admin
Login Password:
Admin
Access Level:
Administrator
* Upper case and lower case letters are distinguished (case sensitive).
It is recommended to periodically change the user name, login user name and login password regularly for your
security.
NOTE
If the login user name entry screen appears during operations, enter a login user name
and password, and select [
Login
]. For this, you need to login as an administrator or as a
user with privileges to carry out this setting.
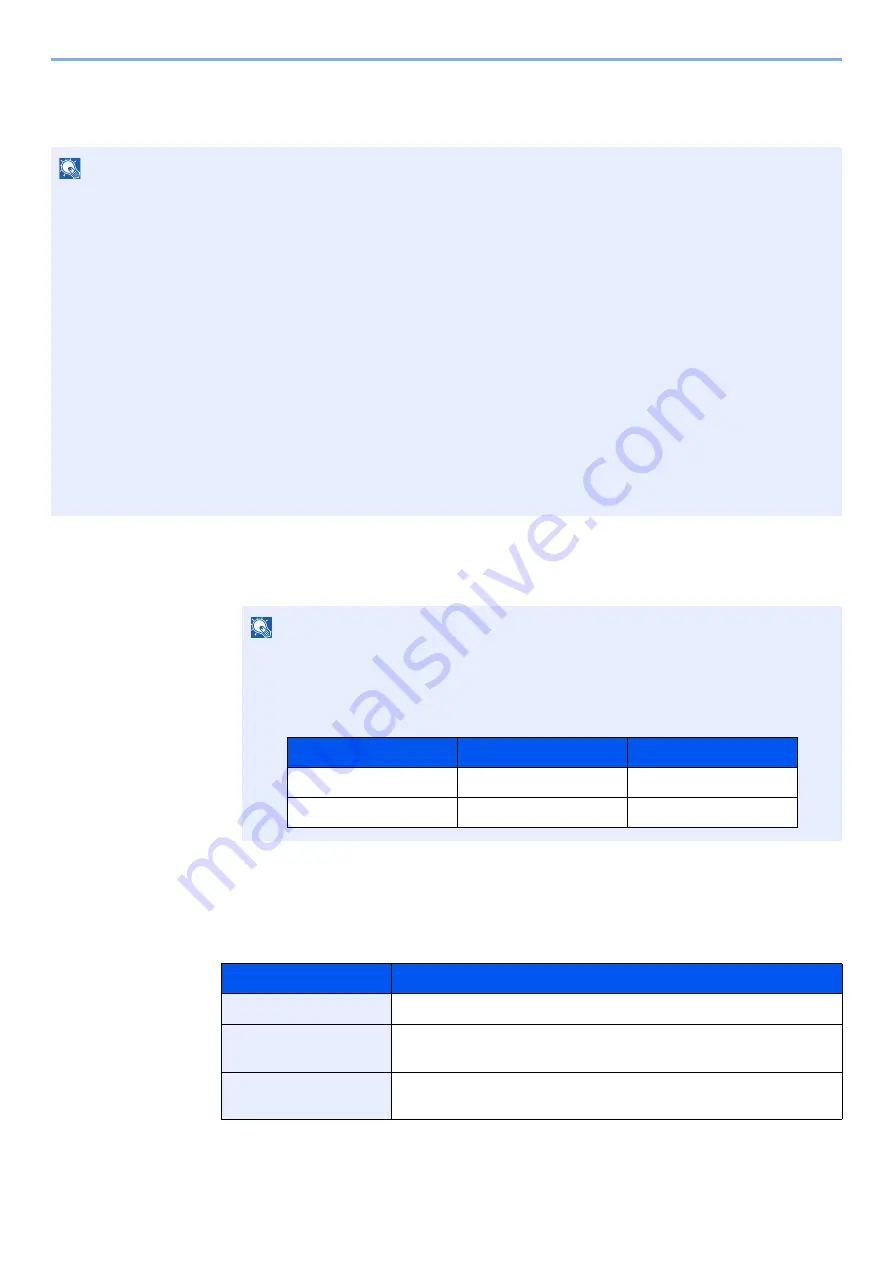
The factory default login user name and login password are set as shown below.
Item
Descriptions
User Name
*1
Enter the name displayed on the user list (up to 32 characters).
Login User Name*
1
Enter the login user name to login (up to 64 characters). The
same login user name cannot be registered.
Login Password
Enter the password to login (up to 64 characters). Reenter the
same password for confirmation and select the [
OK
] key.
Model Name
Login User Name
Login Password
TASKalfa 7353ci
7300
7300
TASKalfa 8353ci
8300
8300
Summary of Contents for TASKalfa 7353ci
Page 1: ...kyoceradocumentsolutions com Operation Guide TASKalfa 8353ci TASKalfa 7353ci ...
Page 553: ...10 20 Troubleshooting Regular Maintenance 4 Install the Staple Waste Box 5 Close the cover ...
Page 555: ...10 22 Troubleshooting Regular Maintenance 4 Install the Punch Waste Box 5 Close the cover ...
Page 616: ...10 83 Troubleshooting Clearing Paper Jams 12Return the side feeder to the original position ...
Page 661: ...10 128 Troubleshooting Clearing Paper Jams 14Return the covers to the original position ...
Page 720: ......
Page 723: ...2019 6 2XNKDEN000 is a trademark of KYOCERA Corporation 2019 KYOCERA Document Solutions Inc ...


