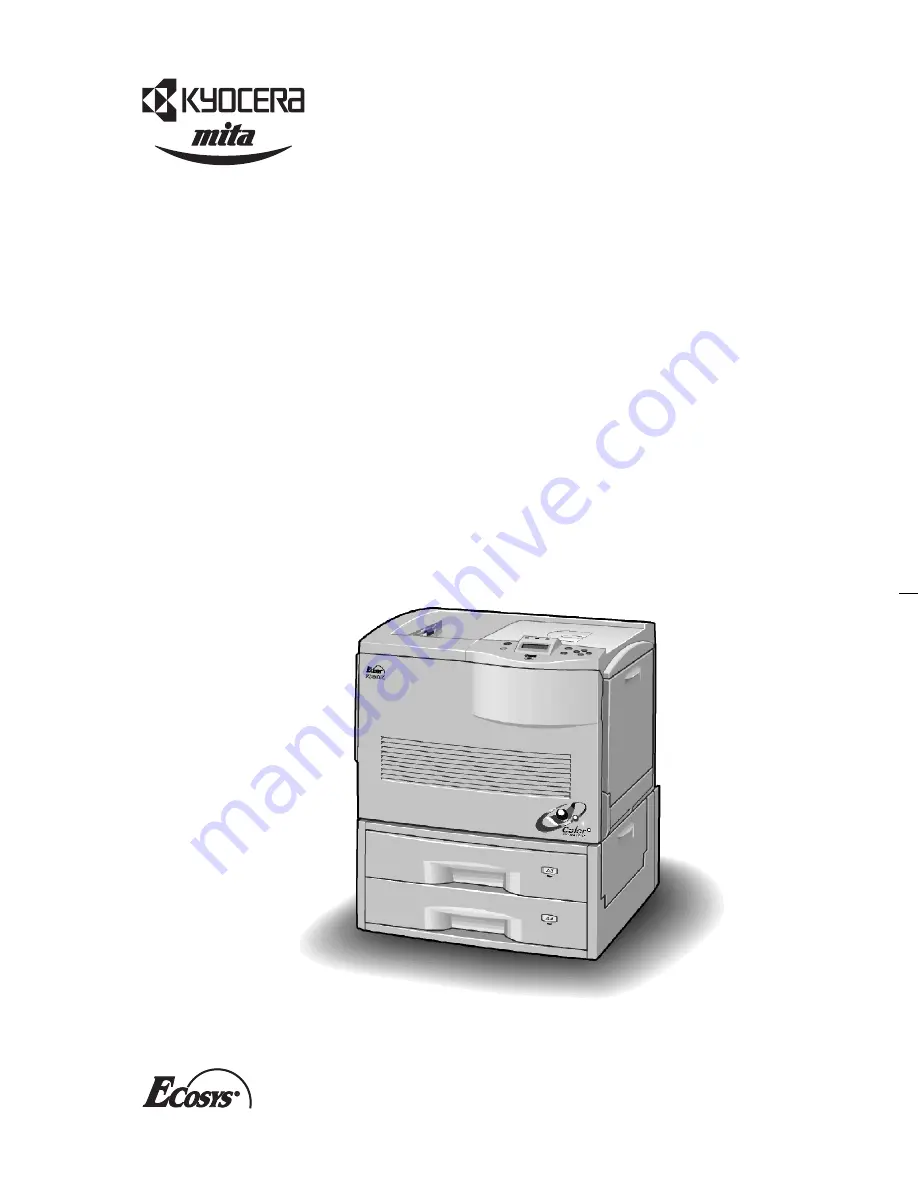
FS-8000CFS-8000CDFS-8000CN
Color Printer
Quick Reference Guide
Kyocera Corporation
14-9, Tamagawadai 2-Chome, Setagaya Ward
Tokyo 158-8610, Japan
©2001 by Kyocera Corporation. All rights reserved. Revision 1.4., 2001.12
Printed in Japan
2BM80030D
Page 1: ...FS 8000C FS 8000CD FS 8000CN Color Printer Quick Reference Guide...
Page 2: ...nsibility is assumed for defects in the printer s firmware contents of its read only memory This manual any copyrightable subject matter sold or provided with or in connection with the sale of the pag...
Page 3: ...FS 8000C Quick Reference Guide...
Page 4: ...Tray 16 Paper Jam Duplexer Drawer 16 Paper Jam Paper Feed Unit 17 Paper Jam Side Cover 22 Paper Jam Option Stacker 23 Toner Container Replacement 24 Replacing the Toner Container 25 Replacing the Wast...
Page 5: ...line manual PDF in the CD ROM This guide fully details the information on the printer fea tures hardware troubleshooting printer driver handling etc Installation Guide This guide provides information...
Page 6: ...0123456 A mechanical error 0 1 2 Contact your Kyocera Mita dealer for service The printer does not operate when this mes sage is displayed The total number of pages printed is also indicated e g 0123...
Page 7: ...tray is not open although you have attempted to print in the face up tray Open the face up tray File not found Press GO You have attempted to print a job that is not contained in the virtual mailbox...
Page 8: ...displayed on your printer message win dow Depending on the printer you have purchased the maintenance kit may be type A or type A2 Replacement of the maintenance kit requires professional ser vicing C...
Page 9: ...Insert again The memory card is accidentally removed from the memory card slot during reading If you continue reading the memory card insert the same memory card into the slot again The printer again...
Page 10: ...s Option stacker path error The optional stacker document finisher or sorter is not installed properly Correct the installation Option tray paper full A tray of the option sorter or the document finis...
Page 11: ...disk error press the GO key Remove paper option tray Paper remains in optional sorter tray 1 to 9 as displayed in place of Remove paper sheets Replace toner Clean printer Replace toner TK 82 Two messa...
Page 12: ...onal stacker sup ported by the printer Virtual mail box full The storage area in the hard disk for the virtual mailboxes is full Print out accumu lated jobs in the virtual mailboxes Warning low memory...
Page 13: ...ift the paper feed roller located on the right side of the cassette upright Paper Stopper Paper Stopper 2 Adjust the posi tion of the paper guides according to the size of the paper you will use See t...
Page 14: ...12 Align the paper stoppers correctly with the markings in the cassette that match the paper size A4 A3 B5 B4 A5...
Page 15: ...er Size Indicators Position Paper Guide Square the edges of the paper and insert into the paper feed cas sette Be sure that the paper does not exceed the paper limit indica tors The paper feed cassett...
Page 16: ...h You can clear paper jams easily and quickly if you become familiar with the paper path and locations of potential jams Depending on the indication on the message display proceed as follows Caution W...
Page 17: ...en the paper feeder side cover according to the number in place of top 1 to bottom 3 Pull the paper out ward Close the side cover Open the paper cassette accord ing to the number in place of top 1 to...
Page 18: ...ay Paper Jam Duplexer Drawer Remove the jammed paper on the multi purpose tray up and towards the right Lower Cover Roller Open the duplexer drawer Open the plastic covers and remove paper under the c...
Page 19: ...17 Paper Jam Paper Feed Unit 1 1 Open the front cover Pull the paper feed unit out completely Paper Feed Unit Remove the paper by swinging the green col ored lever to the right 2...
Page 20: ...18 3 Remove the paper on the rub ber belts Open the fuser access cover by pressing the green colored lock lever 4...
Page 21: ...19 Open the fuser top cover by simultaneously pulling the two lock levers 5 6 Raise the sub cover by grasp ing the clip marked as A on the rear side while removing the paper...
Page 22: ...the paper you can turn the wheel in the reverse direction by releasing the stopper lever Turn the green colored lever down to the six o clock position This allows you to draw out the pri mary transfer...
Page 23: ...n the wheel with gear teeth on the right hand side of the pri mary transfer unit Remove the jammed paper Push the primary transfer unit back in While press ing down the lock button set the lock lever...
Page 24: ...2 Paper Jam Side Cover 2 Open the face up tray Open the side cover by pull ing the handle Remove the jammed paper If the paper does not go easily refer to section Paper Jam Paper Feed Unit on page 17...
Page 25: ...23 Paper Jam Option Stacker Paper jam has occurred in the mailbox sorter stacker bulk stacker or the document finisher which is an optional equipment Remove paper jam in the option unit...
Page 26: ...life of each toner container is as follows Replace the toner container when the printer displays for example This is the first caution Note the replacement is not always necessary at this stage Replac...
Page 27: ...be deleted if you turn printer power off To replace the toner container first make sure of the color of the toner container requiring replacement according to the message display In this example it i...
Page 28: ...r pull the toner con tainer out Take the new toner container out of the toner kit Hold the con tainer and shake the container back and forth at least 5 times 2 Insert the new toner container all the w...
Page 29: ...te toner bottle is included with the toner kit The printer will not operate without replacing the waste toner bottle Pull the paper feed unit all the way out Put the old toner container in the plastic...
Page 30: ...ottle has a cap Remove the cap black on the top of the bottle and put the cap onto the opening This is to prevent the toner from spilling Put the old waste toner bottle in the plastic waste bag contai...
Page 31: ...hen the printer displays the Replace Oil kit message Note The fuser unit is very hot Never proceed to the next step until the fuser cools down Hot 1 Open the front cover Pull out the paper feed unit T...
Page 32: ...Open the front and rear release levers outward and remove the old oil unit Oil Unit 3 1 Cover Remove the seal ing tapes at both ends of the new oil unit Take out the new oil unit from the protec tive...
Page 33: ...it securely by pressing on the front and rear sides the PUSH HERE areas Push the paper feed unit back in Close the front cover Put the old oil unit in the cover and put it in the plastic bag contained...
Page 34: ...necessary for European countries and Australia The separation charger unit needs to be replaced after every 100 000 pages of printing when the printer dis plays the message Install MK D ATTENTION ind...
Page 35: ...n you pull the project ing pin on the front end of the separation charger unit towards you as shown the back end of the separation charger unit lifts up Hold the back end of the separation charger uni...
Page 36: ...n front of you and pass the green knob separa tion charger wire cleaning knob through the secondary transfer unit Press the back side to lock the unit Push the paper feed unit back in completely and c...
Page 37: ...edly until Maintenance D appears Press the ENTER key A question mark appears Press the ENTER key again A question mark disap pears and the counter of maintenance kit D is reset Press the MENU key The...
Page 38: ...arts are explained in the following sections In addition to this it is recommended that these three parts are cleaned periodically at least once a month Cleaning the Paper Feed Unit Print problems suc...
Page 39: ...during cleaning as this may adversely affect print quality 1 Registration Roller Metal Clean the metal roller as shown the registration roller using the cleaning cloth included in the toner kit 2 Bel...
Page 40: ...ioxide after a long usage causing black streaks etc on the paper The main charger is comprised of two main parts the wire and the grid which should be cleaned separately as instructed below 3 Gently p...
Page 41: ...knob green and gently pull out and push it back in 3 to 5 times Grid Cleaner 2 Cleaning the main charger grid Take the grid cleaner included in the toner kit out of the protective bag and remove the...
Page 42: ...discard it The grid cleaner cannot be reused Close the front cover 3 Lock Lever Main Charger Unit Slightly lift the main charger unit Gently pull the main charger unit out and push it back in Repeat t...
Page 43: ......
Page 44: ...Kyocera Corporation 14 9 Tamagawadai 2 Chome Setagaya Ward Tokyo 158 8610 Japan 2001 by Kyocera Corporation All rights reserved Revision 1 4 2001 12 Printed in Japan 2BM80030D...