Quick Reference Guide
Eyewitness
®
HD ICV System
DVR / Agency-MDC Controller Configuration
with Expanse Wireless Audio System
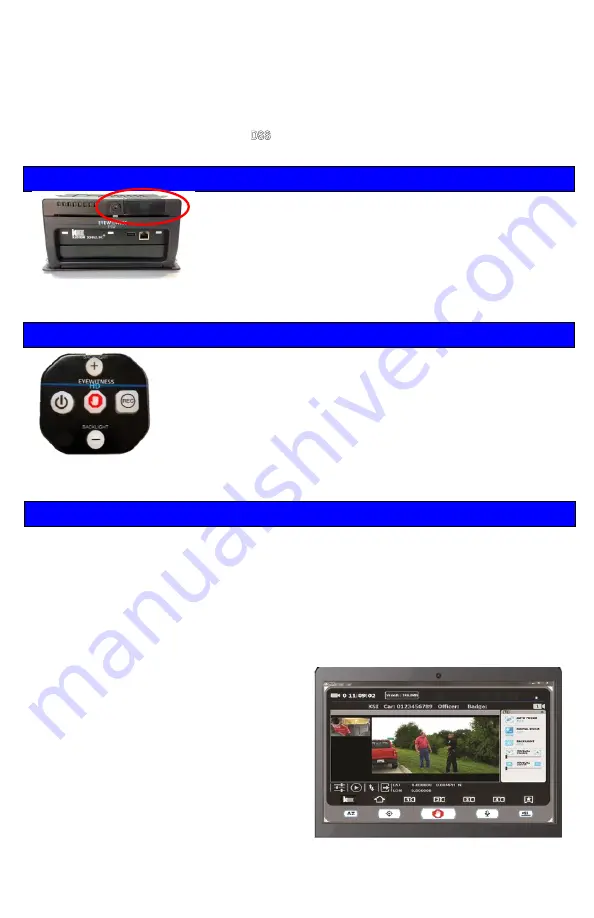
DVR Button Guide:
Loading/unloading Recording Media:
Before turning on the system, confirm that a media
drive is loaded in the DVR. If not, insert the drive and
lock it in place. If you remove the drive at the end of
the shift (as opposed to using wireless file transfer),
use the key to unlock the cartridge, then pull it out of
the DVR and turn it in for ingestion into the database.
System Start-up:
Your system has been configured to power on and off
automatically with the vehicle’s ignition, or you will control
power with the small controller module pictured here. You
will also need to open the EyeHD program on your laptop
(usually an icon for the program is added to the desktop to
make this easier). Bootup should take a couple minutes.
Once live video is shown on the MDC display, the system
is ready to operate.
Start and Stop Recording:
1)
Most record activations occur
automatically by activating the
emergency lights. Recording can also
be started by activating the Wireless
Transmitter or Siren
(if connected to the system), or you
can manually start recording by
selecting any active camera icon. You
can also start a recording by double-
clicking (or tapping) the primary video
window.
2)
Regardless of how the recording starts,
recording is indicated by:
The video window outline will turn
red (and flash if configured)
The corresponding camera icon
will turn red
The record icon at the top of the
screen will turn red
3)
Press the STOP button to stop all
cameras recording, or press the
camera icon to stop just the selected
camera. If configured with Stop/Hold
Classifications, they will appear on
screen each time a recording is
stopped, allowing you to make a
selection.


