30/ENGINE - WORK ON THE INDIVIDUAL PARTS
140
–
Check the piston rings for damage.
» If the piston ring is damaged:
–
Replace the piston ring.
Info
Mount the piston ring with the marking facing upward.
–
Check the piston pins for discoloration or signs of wear.
» If the piston pin shows severe discoloration/signs of wear:
–
Change the piston pin.
–
Place the piston pin in the connecting rod and check the seating for play.
» If the piston pin seating has excessive play:
–
Change the connecting rod and piston pin.
305016-10
–
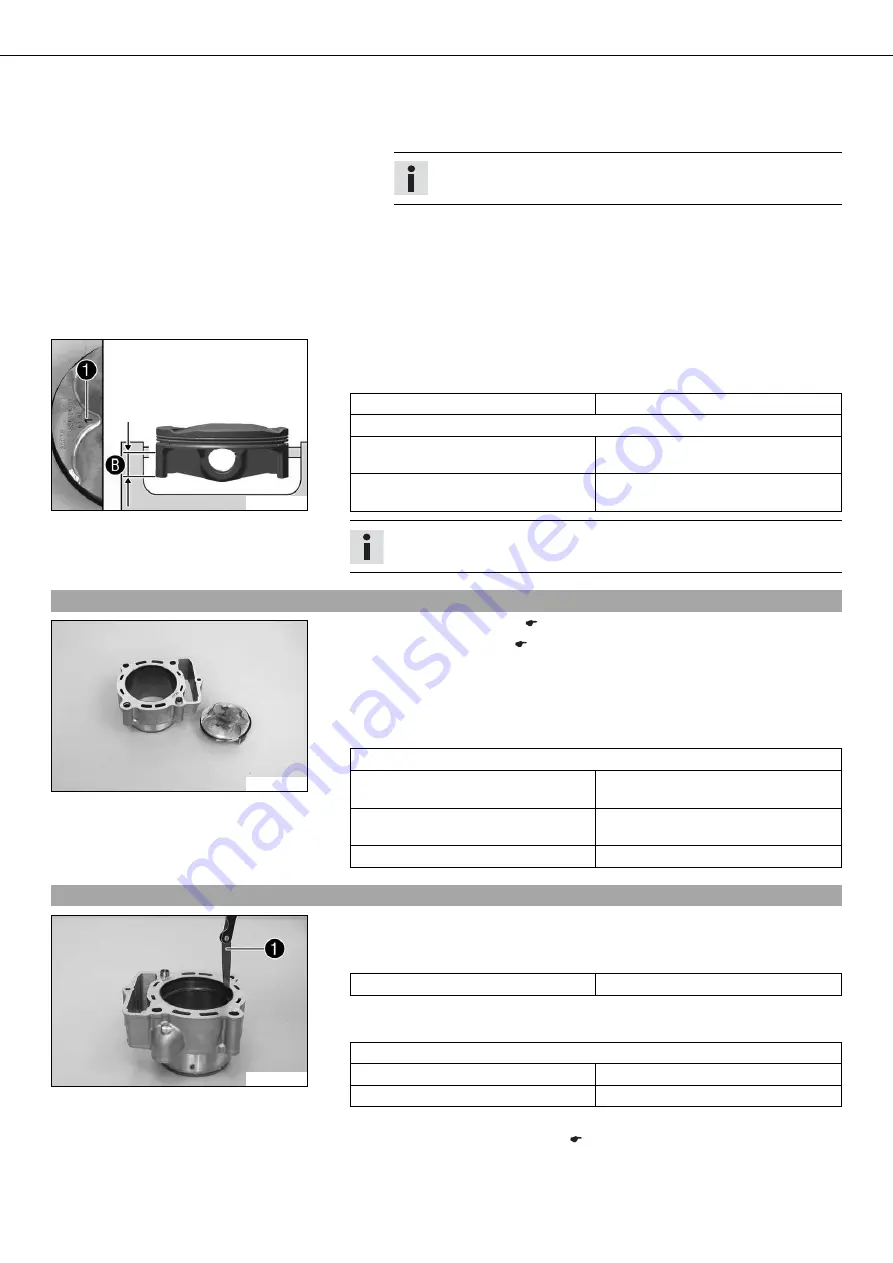
Measure the piston at the piston skirt, at right angles to the piston pin, at a
distance
B
.
Guideline
Distance
B
27 mm (1.06 in)
Piston - diameter
Size I
87.965… 87.975 mm (3.46318…
3.46358 in)
Size II
87.976… 87.985 mm (3.46362…
3.46397 in)
Info
Piston dimensions
1
are marked on the piston head.
20.15
Measuring the piston/cylinder mounting clearance
302699-10
–
Check/measure the cylinder. (
–
Check/measure the piston. (
–
The smallest piston/cylinder mounting clearance equals the smallest cylinder bore
diameter minus the largest piston diameter. The largest piston/cylinder mount-
ing clearance equals the largest cylinder bore diameter minus the smallest piston
diameter.
Guideline
Piston/cylinder - mounting clearance
Size I
0.025… 0.047 mm (0.00098…
0.00185 in)
Size II
0.027… 0.049 mm (0.00106…
0.00193 in)
Wear limit
0.070 mm (0.00276 in)
20.16
Checking the piston ring end gap
302704-10
–
Remove the piston ring from the piston.
–
Place the piston ring in the cylinder and align with the piston.
Guideline
Below the upper edge of the cylinder
20 mm (0.79 in)
–
Measure the end gap with feeler gauge
A
.
Guideline
Piston ring - end gap
Compression ring
≤
0.40 mm (
≤
0.0157 in)
Oil scraper ring
≤
0.80 mm (
≤
0.0315 in)
» If the end gap is greater than the specified measurement:
–
Check/measure the cylinder. (
» If cylinder wear lies within the specified tolerance:


