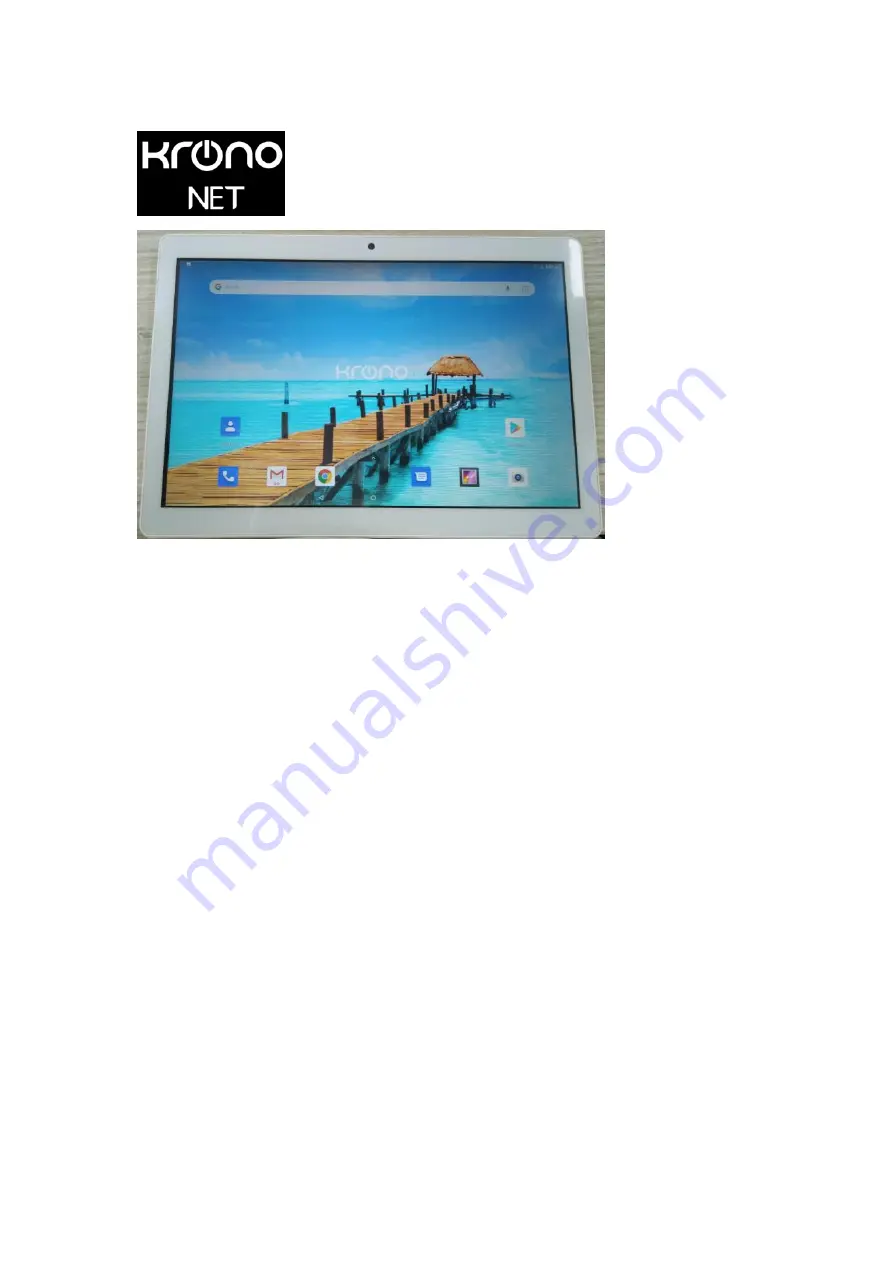
background image


Krono   

NET_MAX


QUICK START GUIDE 

Thank you for purchasing our product! 

Please read this guide before using the device to ensure 

safe and proper 

use and prevent it from damages. 

Software, design features and content of guide may be 

changed to 

improve the product without a prior notice. 

Manufactures and distributors are not liable for case 
damages as well 

as the damages caused due to incorrect or improper 

exploitation. 

Summary of Contents for NET MAX

Page 1: ...he device to ensure safe and proper use and prevent it from damages Software design features and content of guide may be changed to improve the product without a prior notice Manufactures and distributors are not liable for case damages as well as the damages caused due to incorrect or improper exploitation ...

Page 2: ...ks are trademarks of Google LLC Table of contents SAFETY AND SECURITY 3 GETTING STARTED 4 Standby mode 5 Button to additional menu 6 Indicator icons 6 Charging the battery 7 Installing a SIM card 8 Installing a memory card 9 Touchscreen usage 9 Rotating the screen 10 Notifications 10 ...

Page 3: ...device 14 SETTINGS 14 Connections 14 Data Usage 15 More 16 Device 16 Personal 17 System 19 SAFETY AND SECURITY Do not disassemble device and do not repair it by yourself Permitted outside temperature operating mode 0 to 35 C Storage temperature 5 to 45 C Relative humidity 5 to 90 non condensing 25 C Avoid the contact with fire to avoid explosion or fire Do not expose the device or the battery to v...

Page 4: ...loss Use only accessories recommended by the manufacturer To avoid of getting heavy metals acids lye in water or soil causing significant damage to the environment utilize used battery according to the law HEADSET USAGE For safety do not use headset while driving a car or bicycle Reduce the volume while crossing roadway Using the headset do not listen to music at a high volume for a long time it m...

Page 5: ...ized access in several ways Locking by the graphical key Locking by the password or PIN Locking by voice Button to additional menu On the main screen and in the different programs might be the icon By pressing on it the additional menu is opened for additional configuration and management Connection to 3G networks To activate 3G insert SIM card of mobile operator in special slot on the tablet only...

Page 6: ...ty Indicator icons The icons displayed at the top of the screen provide information about the status of the device The icons listed in the table below are most common No signal Signal strength Roaming outside of normal service area GPRS network connected EDGE network connected UMTS network connected HSDPA network connected HSPA network connected Wi Fi connected Bluetooth feature activated GPS acti...

Page 7: ...e battery will drain quickly To avoid losing power during a data transfer always use these apps after fully charging the battery Charging with the charger Connect the USB cable to the USB power adaptor and then plug the end of the USB cable into the multipurpose jack Connecting the charger improperly may cause serious damage to the device Any damage caused by misuse is not covered by the warranty ...

Page 8: ...rd Your device accepts memory cards with maximum capacities of 32 GB Depending on the memory card manufacturer and type some memory cards may not be compatible with your device Some memory cards may not be fully compatible with the device Using an incompatible card may damage the device or the memory card or corrupt the data stored in it Use caution to insert the memory card right side up The devi...

Page 9: ...mage to zoom in Double tap again to return Swiping Swipe to the left or right on the Home screen or the Apps screen to view other panels You may swipe upwards or downwards to scroll through a webpage or a list of items such as contacts Spreading and pinching Spread two fingers apart on a webpage map or image to zoom in a part Pinch to zoom out Rotating the screen Many programs support the interfac...

Page 10: ...file switching pre installed audio profiles Screen turning automatic screen turning on off Bluetooth Bluetooth on off Enable or disable the data connection Flight mode Flight mode on off Home screen Home screen is the starting point for accessing all of the device s features It displays widgets shortcuts to apps and more To view other panels swipe to the left or right Managing objects Adding items...

Page 11: ... at the top of the screen To rename the folder tap the name Managing panels Adding new panel New panel is added automatically when the new object is added beyond the existing panels Moving the pannel On the Home screen tap and hold an empty area to add move or remove a panel Delete the panel In order to delete the panel delete first all of the objects of its panel And the panel will be removed aut...

Page 12: ...on the widget panel and then touch and hold widget to add it to the home screen Place it on the proper place change size by dragging if you wish and then touch any part of screen to save the widget location Applicatons screen On the program screen all program icons are displayed including recently installed program Touch on the home screen to open program menu To view other panel scroll left or ri...

Page 13: ...t touches the program menu Settings Users accounts Accounts Add account Google Removing accounts On the program menu press Settings Accounts choose the account that should be removed then press Remove account Files transferring Transferring of the audio video images and other file types from the device to computer and reversely Connecting with record player Windows Make sure that record player Win...

Page 14: ...or more and then draw the pattern again to verify it Set a backup unlock PIN to unlock the screen when you forget the pattern Setting a PIN On the Applications screen tap Settings Security Lock screen PIN Enter at least four numbers and then enter the password again to verify it Setting a password On the Applications screen tap Settings Security Lock screen Password Enter at least four characters ...

Page 15: ...installing 5 WI FI Direct searching and connection to devices that support this technology 6 WPS button WPS router connection 7 Enter by PIN code with WPS 8 MAC address and IP address After all installation is done icon of connection with the wireless network appears at the top of the screen Bluetooth Use Bluetooth to exchange data or media files with other Bluetooth enabled devices To use other o...

Page 16: ...uetooth tethering to share the device s mobile network connection with computers or other devices via Bluetooth VPN Set up and connect to virtual private networks VPNs Cellular networks Mobile data Use to allow packet switching data networks for network services Data roaming Set the device to use data connections when you are roaming Access Point Names Set up access point names APNs Network mode S...

Page 17: ...ome standard programs cannot be deleted All the out of work programs no longer are displayed but still saved in memory in case of using this functions Storage USB The memory displaying installed in the device total amount and free space Battery Battery usage is showed in this menu power saving mode on off Security There is a changing of security settings of device and SIM or USIM card Locking the ...

Page 18: ...PIN code before using the device To change the PIN code of the SIM card PIN code changing that is used for the access on the SIM card Make password visible set up passwords displaying while entering it on the device Type of storage set up the type of storage for account data saving Trusted account data certificate and account data usage to ensure secure use of various applications Certificates ins...

Page 19: ...ds entered by voice data Offline speech recognition downloading and installation of the voice data for voice input offline Backup and reset Change the settings for managing settings and data Back up my data Set the device to back up settings and app data to the Google server Backup account Set up or edit your Google backup account Automatic restore Set the device to automatically restore settings ...

Page 20: ...et the current time manually Use 24 hour format Display time in 24 hour format Scheduled power on off Time settings for scheduled shutdowns and turns Accessibility Availability services special functions designed for users with certain disabilities Use the settings and change it to improve the availability and usability of the device Printing Turn On Off settings and print with network printers Ab...

Page 21: ... typical body worn operations with the back front of the phone kept 0cm from the body To comply with FCC RF exposure requirements a minimum separation distance of 0cm must be maintained between the user s body and the back front of the phone including the antenna Third party belt clips holsters and similar accessories containing metallic components shall not be used Body worn accessories that cann...

Page 22: ...ed up and over your shoulder RF Exposure Information This product is compliance to FCC RF Exposure requirements and refers to FCC website https apps fcc gov oetcf eas reports GenericSearch cfm search for FCC ID 2AFD9NETMAX to gain further information include SAR Values This device complies with part 15 of the FCC rules Operation is subject to the following two conditions 1 this device may not caus...

Page 23: ...ore of the following measures Reorient or relocate the receiving antenna Increase the separation between the equipment and receiver Connect the equipment into an outlet on a circuit different from that to which the receiver is connected Consult the dealer or an experienced radio TV technician for help Do not use the device with the environment which below minimum 10 or over maximum 50 the device m...

Page 24: ...krono 2019 All Rights Reserved http kronodigital com ...

Reviews: