


195
0-7
0-1
0-2
0-3
0-4
0-5
0-6
Media
Free
[00:00..., --:--]
Displays the time that remains on the media inserted in the
CD-R/RW drive selected by “Media Select.”
If a CD-R/RW drive is not connected, or if it contains no
media, or if the inserted media has already been finalized,
this will display --:--.
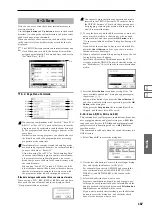
0–4b: Audio track list
Track
(01...99)
Displays the track numbers of the WAVE files arranged in
the audio track list. (
☞
0–4a “Track (Track Select)”)
WAVE File
Displays the names of the WAVE files.
To add a WAVE file, place the cursor at the WAVE file of the
audio track that follows the audio track you want to add,
and press the Insert button. To delete an audio track, place
the cursor at the audio track that you want to delete, and
press the Cut button.
When you select a WAVE file (highlighted) and press
the SAMPLING [START/STOP] key, the WAVE file will
play back. The lower line will indicate “(Sampling
START plays selected file).”
Size, Rate, Time
This area displays information on the WAVE files in the
audio track list.
Size:
Data size (bytes)
Rate:
Sampling frequency (Hz)
Time:
Time (minutes: seconds)
This information will not be displayed if you used
“Load .KCD” etc. to load an audio track list, and the
WAVE file is not found in the specified directory. In this
case, use the Cut button to delete that audio track, or
check whether the media is connected correctly.
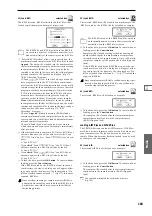
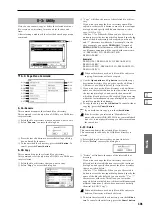
0–4c: Insert, Cut, Clear
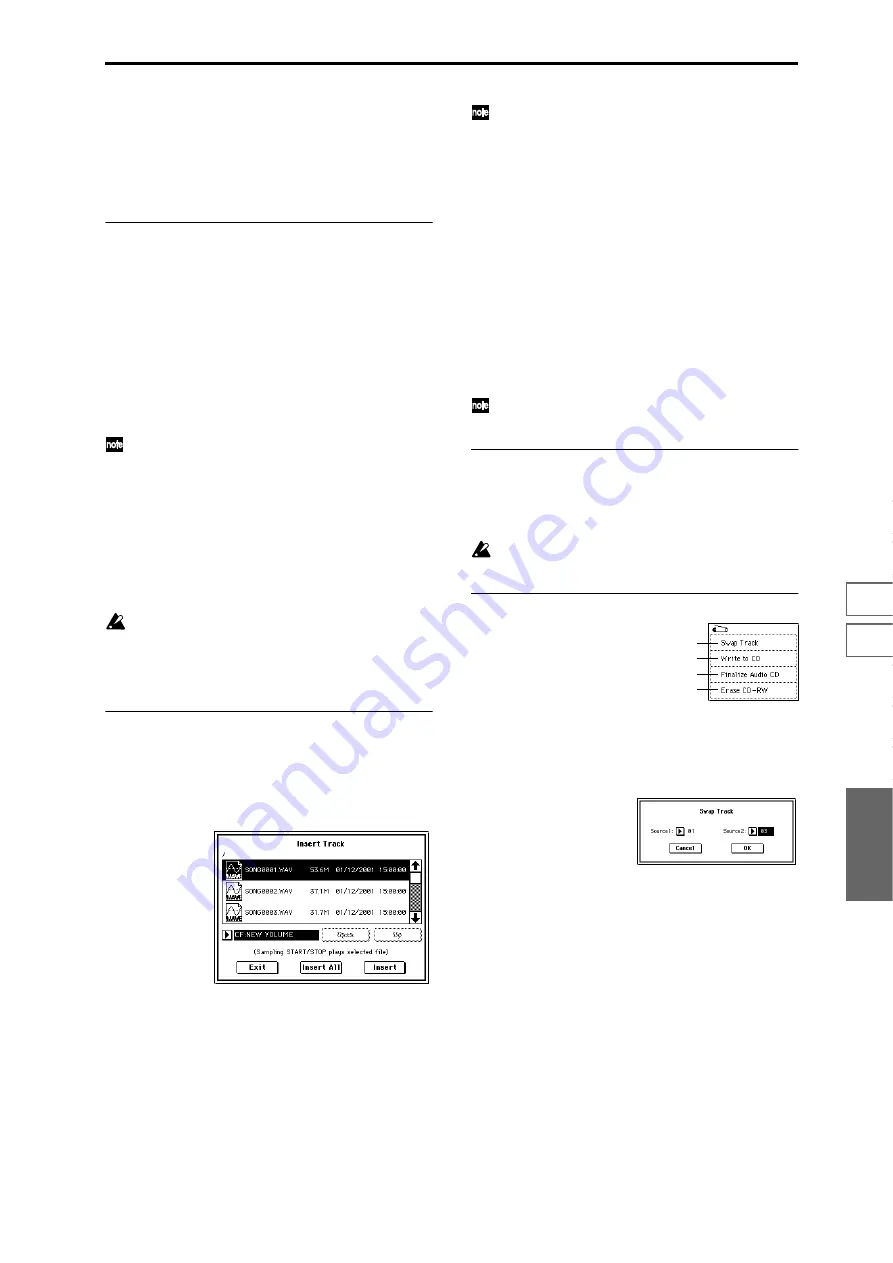
Insert
Adds an audio track to the audio track list.
Highlight the “WAVE File” edit cell following the audio
track you want to add, and press the Insert button to open
the dialog box.
Use “Media Select” to select the media containing the file
you want to add, use the Open button and Up button to
navigate to the appropriate directory, and select the Wave
file. (
☞
0–1c, 0–1d)
Insert:
Adds the selected (highlighted) WAVE file.
Insert All:
Adds all WAVE files in the selected directory
whose sampling frequency is 44.1 kHz or 48 kHz. The files
will be added in the order in which they are displayed.
When you execute Insert or Insert All, the WAVE file(s) will
be added, and any subsequent audio tracks will be moved
toward the end of the list.
If you select a 44.1 kHz or 48 kHz WAVE file, you can
press the SAMPLING [START/STOP] key to play it
back. In this case, the lower line will indicate “(Sam-
pling START/STOP plays selected file).”
If you press the Exit button, the dialog box will close, and no
further WAVE files will be added.
You can continue adding as many WAVE files as desired
until you press the Exit button.
Cut
Deletes the audio track.
When you place the cursor at “WAVE File” of the audio
track that you want to delete, and press the Cut button, that
audio track will be deleted. Any subsequent audio tracks
will be moved forward.
Clear
Erases the audio track list.
If you want to keep an audio track list, use “Save Audio
CD Track List” (0–2I) to save it on media.
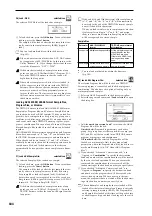
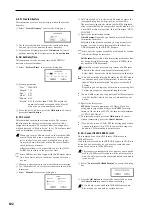
0–4d: Media Select
Media Select
[CDD: Name]
Selects the CD-R/RW drive that contains the media that you
will use to create an audio CD. (
☞
0–1c)
Drives other than a CD-R/RW drive cannot be selected
here.
▼
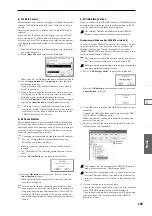
0–4: Page Menu Command
0–4A: Swap Track
This command exchanges (swaps) the order of two audio
tracks.
1
Select “Swap Track” to access the dialog box.
2
Use “Source1” and “Source2” to select the two audio
tracks that you want to exchange.
3
Press the OK button to execute the Swap Track opera-
tion, or press the Cancel button to cancel without execut-
ing.
0–4A
0–4B
0–4C
0–4D
Summary of Contents for TRITON Extreme
Page 1: ...2 E ...
Page 11: ...xii ...
Page 111: ...100 9 5 Page Menu Command 0 1A 0 1I 0 1J Program 9 5A ...
Page 185: ...174 ...
Page 215: ...204 ...
Page 281: ...270 ...
Page 349: ...338 ...
Page 350: ...339 ...
Page 351: ...340 ...
Page 352: ...341 ...
Page 353: ...342 ...