224
Media edit mode
Format
Format
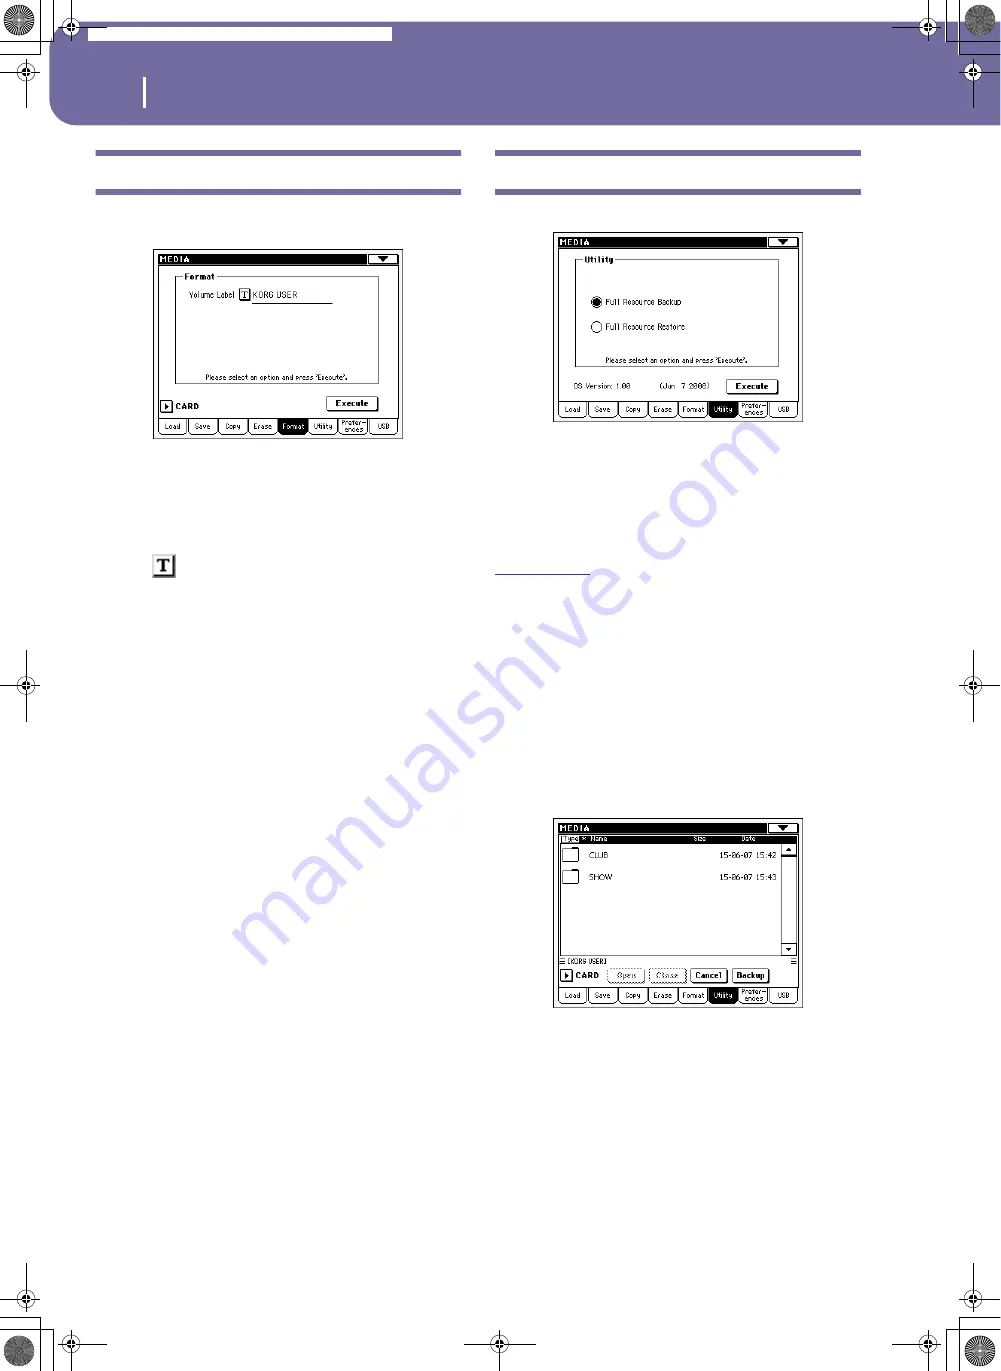
The Format function lets you initialize an SD (Secure Digital) or
MMC (MultiMedia) memory card.
Warning:
When formatting a card, all data it contains is lost for-
ever!
Volume Label
Use this parameter to assign a name to the card to be formatted.
Press the
(Text Edit) button to open the Text Edit window.
Enter the name, then press OK to confirm and close the Text
Edit window.
Note:
When changing the name to a card containing midifiles used
by the SongBook, the links are broken. We suggest to give the card
the same name it had before formatting.
Execute button
Press this button, after setting all the options in this page, to exe-
cute the Format command.
Format procedure
Here is how to format a device.
1.
Insert a card into the card drive.
2.
Press the Execute button in the display to confirm format-
ting.
3.
The “If you confirm, all data in the media will be lost. Are
you sure?” message appears in the display. Press Yes to con-
firm, or No to cancel.
Utility
This page includes a set of backup utilities.
Full Resources Backup
This command allows you to make a backup of the Factory and
User Musical Resources (excluding the Operating System) on a
card. A “.BKP” file will be created.
Note:
Should you not do a backup and your internal data becomes
damaged, you can download the original data from
.
Note:
You will not be able to load data from this file using the nor-
mal Media > Load operations. This file is used for archiving pur-
pose only. To save data that must remain accessible, for example to
load User data after updating the Musical Resources, use the Media
> Save operations instead.
1.
Insert a card into the card drive.
Be sure there is enough free space in your card, or the
Backup procedure will not be completed. The space
required on the card depends on the amount of data to be
backed-up.
2.
Select the Full Resources Backup command, then press the
Execute button in the display. The card appears.
3.
If you wish to save data inside another folder, select this lat-
ter and press the Open button to open it. Press the Close
button to go back to the parent folder.
4.
Select the folder where to save data, and press Backup to
save it. If nothing is selected, data will be saved to the cur-
rent directory.
Pa588-100UM-ENG.book Page 224 Monday, May 26, 2008 4:34 PM
Summary of Contents for Pa588
Page 1: ...User s Manual ENGLISH OS Ver 1 0 1 E ...
Page 8: ...4 Table of Contents Pa588 100UM ENG book Page 4 Monday May 26 2008 4 34 PM ...
Page 9: ...Introduction Pa588 100UM ENG book Page 5 Monday May 26 2008 4 34 PM ...
Page 34: ...30 Interface basics Shortcuts Pa588 100UM ENG book Page 30 Monday May 26 2008 4 34 PM ...
Page 35: ...Quick Guide Pa588 100UM ENG book Page 31 Monday May 26 2008 4 34 PM ...
Page 79: ...Reference Pa588 100UM ENG book Page 75 Monday May 26 2008 4 34 PM ...
Page 239: ...Appendix Pa588 100UM ENG book Page 235 Monday May 26 2008 4 34 PM ...
Page 251: ...Pa588 100UM ENG book Page 247 Monday May 26 2008 4 34 PM ...


