14
Overview
Front Panel
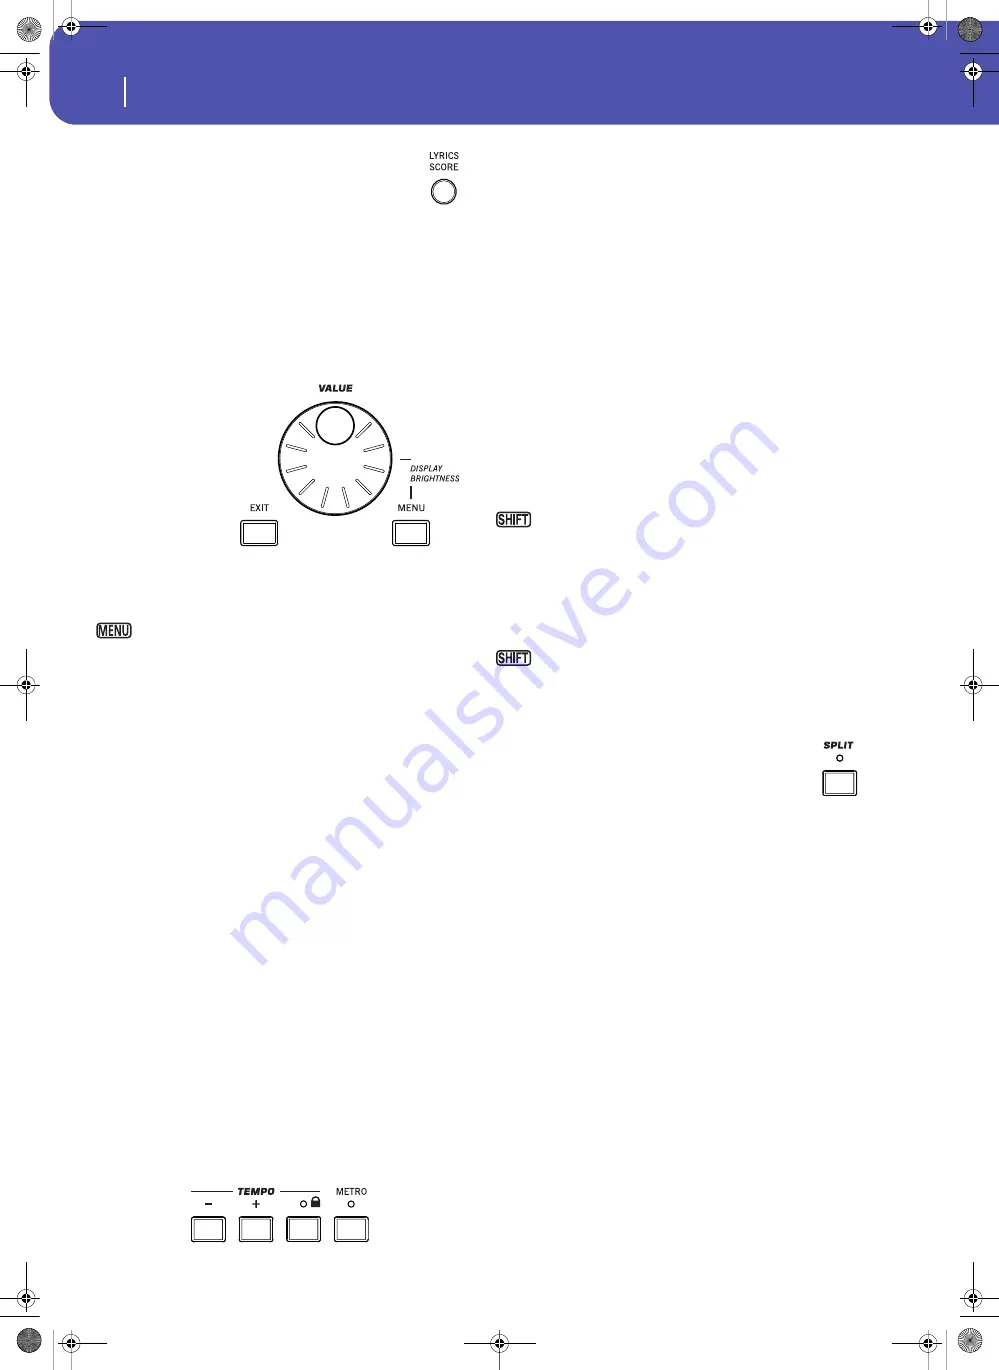
Lyrics, Score
Use this button to access the Lyrics and Score pages.
LYRICS/SCORE
When a Style is selected, this buttons recalls the Lyrics page, or
exits from it.
When a Song is selected, it cycles through the Lyrics and Score
pages. Press it a first time to see the Lyrics page, a second time to
see the Score page. Press it again to return to the main page.
Data Entry and Navigation
The VALUE DIAL can
be used to assign a dif-
ferent value to the
parameter selected in
the display, or to scroll
a list of files in the
Song Select, Song-
Book, Search and
Media pages.
VALUE DIAL
Turn the dial clockwise to increase the value of the selected
parameter. Turn it counter-clockwise to decrease its value.
When used while pressing the MENU button, this con-
trol always acts as a Display Brightness control.
EXIT
Use this button to perform various actions, leaving from the cur-
rent status:
•
exit the edit menu page, without selecting any item
•
make the page menu disappear, without selecting any
item
•
return to the main page of the current operating mode
•
exit the Global or Media edit environment, and return to
the current page of the current operating mode
•
exit from the SongBook mode
•
exit from the Lyrics and Score pages
•
exit from a Style, Pad, Performance or Sound Select win-
dow
MENU
This button opens the edit menu page for the current operating
mode. After opening an edit menu, you can jump to one of the
edit sections by touching the corresponding button in the dis-
play.
Otherwise, press EXIT to return to the main page of the current
operating mode, or the current page of the underlying operating
mode.
Tempo Section
The TEMPO and METRO buttons can be used to control the
Tempo.
TEMPO +/– buttons
TEMPO– decreases the speed of the Style or Song. TEMPO+
increases it.
Press both buttons together to reset the Tempo to the value
memorized in the Style or Standard MIDI File. With MP3 files,
the original speed of the file is recalled (value reset to “0”).
TEMPO LOCK
This button turns the Tempo Lock function on or off.
On
When you select a different Style or Performance,
or select a different Song, the Tempo will not
change. You can still manually change it, by using
the TEMPO +/– buttons, or select the Tempo
value and change it by using the VALUE dial.
Off
When you select a different Style, or select a dif-
ferent Song, the memorized Tempo will be auto-
matically selected.
Note:
This button does not work with MP3 files.
You can jump to the Global > Lock page by keeping
SHIFT pressed and pressing this button.
METRO
Use this button to turn the Metronome click on or off. The met-
ronome uses the same time signature as the latest selected Style
or Standard MIDI File.
You can jump to the Global > General Controls > Basic
page by keeping SHIFT pressed, and pressing this button.
Split
Splitting the keyboard allows for separating the
chords area from the melody.
SPLIT
In Style Play, Song Play and Sequencer-Backing
Sequence mode, use this button to choose how the four Key-
board tracks are positioned on the keyboard, and how chords are
recognized by the arranger.
Note:
The ACCOMP LED must be turned on for the accompani-
ment to play.
On
The Lower track plays below the split point, while
the Upper 1, Upper 2 and Upper 3 tracks play
above it. This is called the
Split
keyboard mode.
By default, turning on the Split mode automati-
cally selects the Lower chord scanning mode. In
this mode, chords are detected below the split
point. The number of notes you should play to
form a chord is defined by the “Chord Recogni-
tion” parameter.
Off
The Upper 1, Upper 2 and/or Upper 3 tracks play
over the whole keyboard range. The Lower track
does not play. This is also called the
Full
key-
board mode.
By default, turning off the Split mode automati-
cally selects the Full chord scanning mode. In this
mode, chords are detected over the full keyboard
Pa300 User Manual v150 (English).book Page 14 Saturday, March 29, 2014 5:29 PM
Summary of Contents for Pa300
Page 2: ...Pa300 User Manual v150 English book Page II Saturday March 29 2014 5 29 PM ...
Page 9: ...Pa300 User Manual v150 English book Page 5 Saturday March 29 2014 5 29 PM ...
Page 31: ...Pa300 User Manual v150 English book Page 27 Saturday March 29 2014 5 29 PM ...
Page 85: ...Pa300 User Manual v150 English book Page 81 Saturday March 29 2014 5 29 PM ...
Page 265: ...Pa300 User Manual v150 English book Page 261 Saturday March 29 2014 5 29 PM ...
Page 376: ...372 Index Pa300 User Manual v150 English book Page 372 Saturday March 29 2014 5 29 PM ...
Page 377: ...Pa300 User Manual v150 English book Page III Saturday March 29 2014 5 29 PM ...


