Sampling: Page Menu Commands Delete Sample
615
Sampling: Page Menu Commands
ENTER + 0-9: shortcuts for menu commands
Each page has a set of menu commands, which
provide access to different utilities, commands, and
options, depending on the page you’re currently on.
You can use the menu commands entirely from the
touch-screen, by pressing the menu button in the
upper right-hand corner of the screen and then
selecting an option from the menu that appears.
Even though each page may have its own unique
menu commands, the menus are standardized as much
as possible. For instance, WRITE is almost always the
first menu item in Program, Combination, and
Sequence modes.
You can take advantage of this standardization by
using a shortcut to access any of the first ten menu
items:
1. Hold down the ENTER key.
2. Press a number (0-9) on the numeric keypad to
select the desired menu command, starting with 0.
For instance, press 0 for the first menu command, 1 for
the second, and so on.
If the menu command just toggles an option on and off
(such as Exclusive Solo), then you’re done. If the
command calls up a dialog box, the dialog will appear
on the LCD, and you can proceed just as if you’d
selected the command from the touch-screen.
Remarks on editing stereo samples
• For stereo samples, the L channel and R channel
samples are edited simultaneously. If you wish to
edit only the L channel or R channel, select a mono
multisample, and select either the L channel or R
channel sample for editing.
• For stereo samples, the display will indicate “Save
to No.(L)” and “(R).” These respectively specify the
writing-destination sample numbers for the L and
R channels.
• If you “Copy” a mono sample into the buffer, and
then “Insert,” “Mix,” or “Paste” it to a stereo
sample, the data will be inserted, mixed, or pasted
into both the L and R sides. (The result is that a
stereo sample will be created.)
If you “Copy” a stereo sample into the buffer, and
then “Insert,” “Mix,” or “Paste” it to a mono
sample, the L- and R-side data in the buffer will be
mixed to mono, and then inserted, mixed, or pasted.
(The result is that a mono sample will be created.)
You can also use these commands if you wish to
mono-mix a stereo sample and use it as a mono
sample. However, be aware that once a sample has
been mixed to mono, it is no longer possible to
return it to a stereo sample.
“Start” and “End” settings
When using the P1: Sample Edit parameters
“Truncate” – “Volume Ramp” and the P2: Loop Edit
parameter “Truncate” to edit the waveform data of a
sample, you must first use “Start” and “End” to specify
the region that you want to edit, and then select and
execute a page menu command.
There is no compare function that lets you return
the edited result to the state before editing. If you
wish to preserve the unedited sample, uncheck the
“Overwrite”
*1
item in the dialog box of each page
menu command before you execute.
Note:
To edit the “Start” (start address) location at
which the sample data (waveform data) will begin
playing, the “Loop Start” (loop start address), or “End”
(end address), use P2: Loop Edit.
If the above parameters are located within an area of
sample addresses that are deleted or moved by your
editing, they will automatically be moved.
The
Loop Start
and
End
(2–1d) must be at least
eight samples apart. If you try to use the
Truncate
,
Cut
, or
Rate Convert
commands, but the results of
the commands would cause the
Loop Start
and
End
to be separated by less than eight samples, you’ll
see the error message “Sample length is shorter than
minimum.” Please set the
Start
and
End
appropriately.
About “Overwrite”
When
“Overwrite” is unchecked
: When the command
is executed, the edited sample will be saved in a
different sample number. The unedited sample will
remain without change.
When
“Overwrite” is checked
: When the command is
executed, the edited sample will be overwritten onto
the original sample (number). The original sample will
be modified.
Note:
Normally, you will leave “Save to No.” at its
default setting, and execute without checking
“Overwrite.” When you execute, both the data before
and after editing will be preserved, and the sample
number of the edited data will be assigned as the
sample of that index.
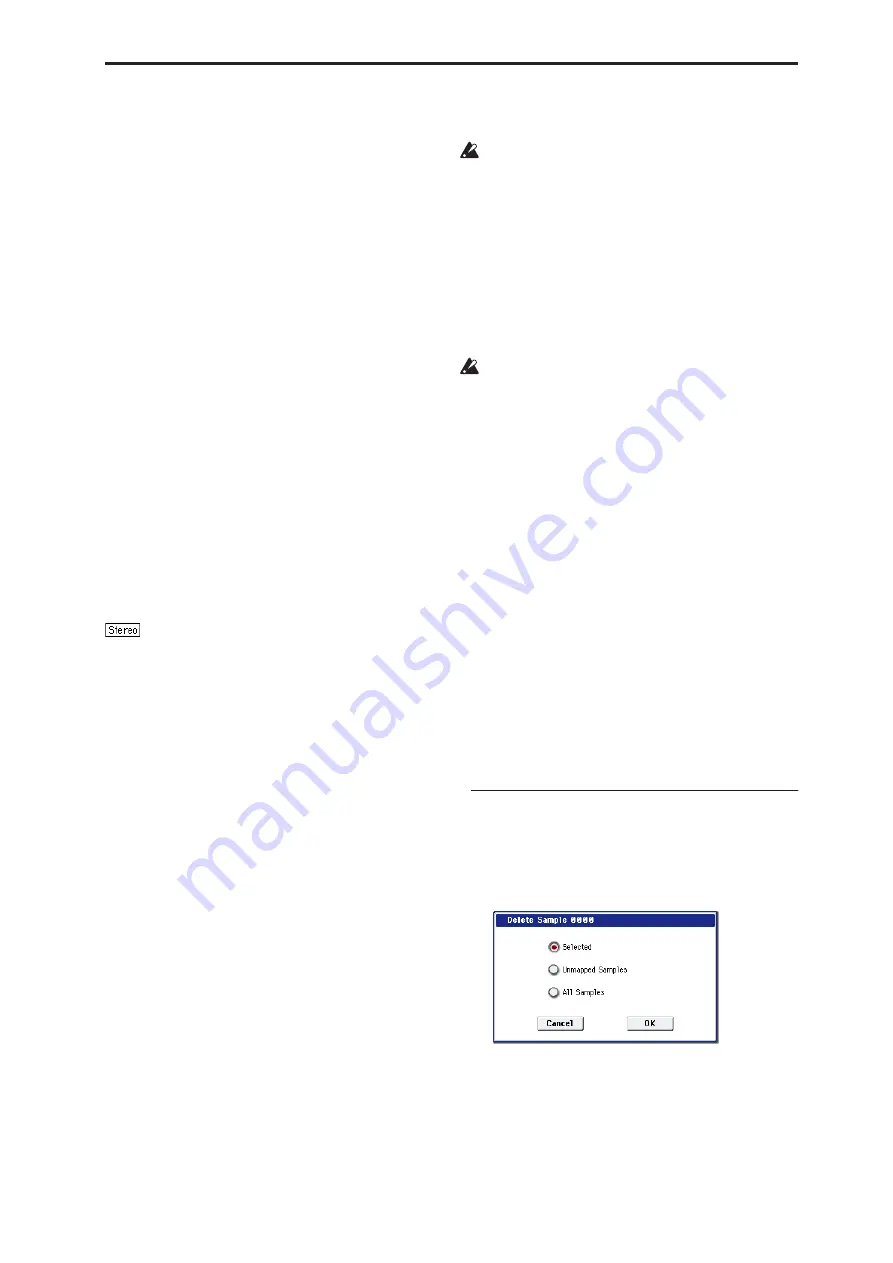
Delete Sample
This command deletes all samples, the currently
selected sample, or unused samples (samples not
mapped to a multisample).
1. Select “Delete Sample” to open the dialog box.
2. Use the radio buttons to specify which samples
will be deleted.
Selected:
The currently selected sample will be
deleted. The sample assignment for
Index
(0–1b)
will change to
---No Assign---
.
Summary of Contents for Electronic Keyboard
Page 1: ...Parameter Guide Parameter Guide ...
Page 2: ......
Page 180: ...Program mode EXi 170 ...
Page 290: ...EXi STR 1 Plucked String 280 ...
Page 572: ...Sequencer mode 562 ...
Page 700: ...Global mode 690 ...
Page 751: ...Insert Effects IFX1 IFX12 Routing 741 Fig 2 3a Fig 2 3b ...
Page 902: ...Effect Guide 892 ...


