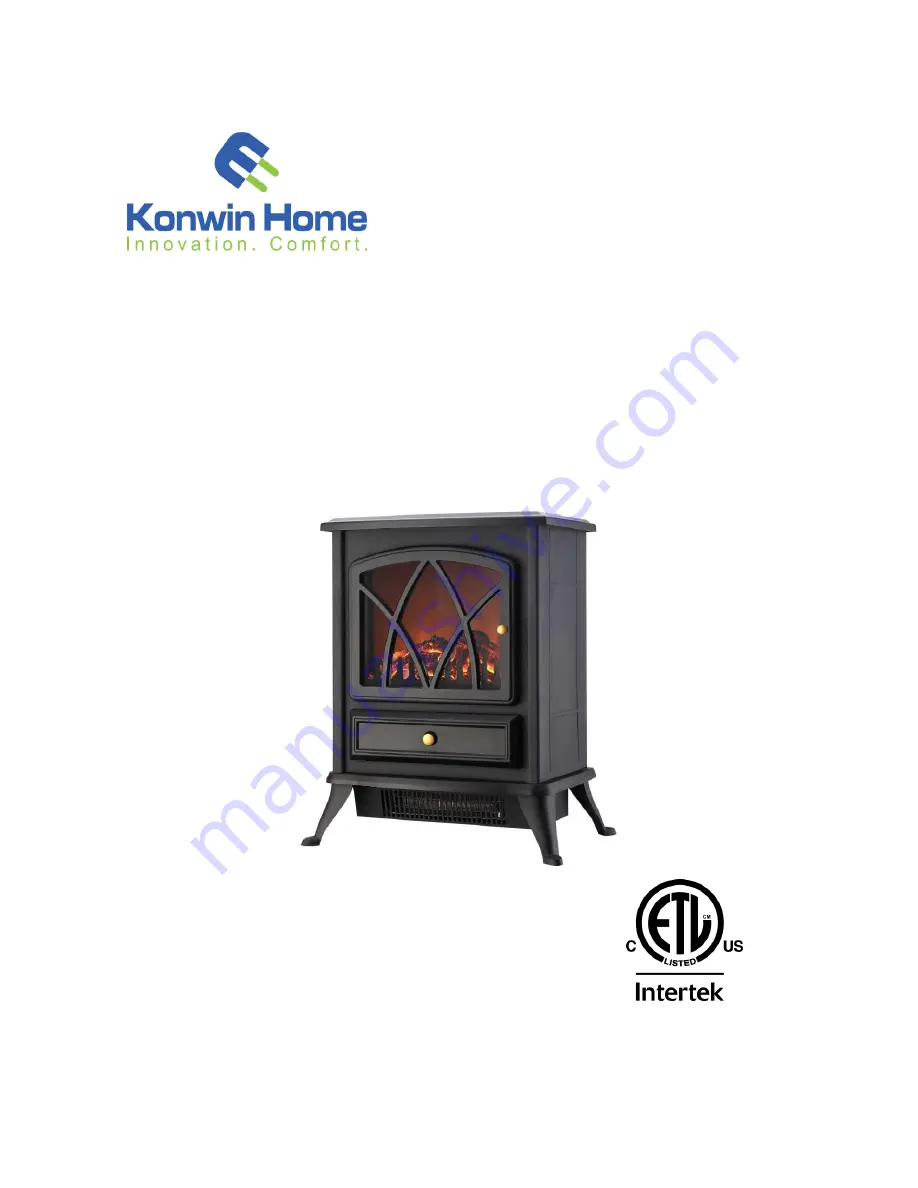
Electric Fireplace Stove with Heater
OWNER’S MANUAL
Model No. GDSFP-1500AS
PLEASE SAVE THESE INSTRUCTIONS
WARNING: READ THIS OWNER’S MANUAL CAREFULLY BEFORE USE.
Page 1: ...Electric Fireplace Stove with Heater OWNER S MANUAL Model No GDSFP 1500AS PLEASE SAVE THESE INSTRUCTIONS WARNING READ THIS OWNER S MANUAL CAREFULLY BEFORE USE ...
Page 2: ...d cord or after the heater malfunctions has been dropped or damaged in any manner Return heater to authorized service facility for examination electrical or mechanical adjustment or repair 7 This heater is not intended for use in bathrooms laundry areas and similar indoor locations NEVER locate heater where it may fall into a bathtub or other water container To protect against electrical hazards D...
Page 3: ...ny electrical or mechanical functions on this unit Doing so will void your warranty The inside of the unit contains no user serviceable parts Qualified personnel should perform all servicing only 22 Save these instructions SPECIFICATIONS Voltage Rating 120V 60Hz Power Consumption 1000W Unit Size 14 6 in W x 9 6 in D x20 in H Unit Weight 13 4 lbs SAFETY FEATURES Overheat Safety Feature This heater ...
Page 4: ...tove upside down on a padded surface with the underside accessible Attach leg to stove by inserting the tab on the top of the leg into the corresponding slot on the bottom of the stove Insert screws into predrilled holes and tighten securely Repeat with remaining three legs Fixing screws Leg ...
Page 5: ...room temperature 2 Heat Switch Two switches for high heat setting 3 Heat switch One switch for low heat setting 4 Flame switch Switches flame effect and power on off 5 Flame dimmer control Adjust to set flame intensity Leg Heater Blower Assembly Control Panel Ember Bed Handle 1 5 2 3 4 ...
Page 6: ...ontrol dial can one or both of the 2 3 switches are in the on position When the heater reaches the desired temperature the heater and one or both of the indicator lights will turn off 2 Ⅰand ⅡHeat Switch For high heat function Press Ⅱswitch while the switch 3 and 4 are in the on position for high heat The indicator light will turn on For low heat function Press Ⅰ switch while the FAN and 4 switche...
Page 7: ...V 25W light bulbs see Fig 2 e Place rear access panel back into position and tighten screws Do not over tighten 2 Glass Information Under no circumstances should this product be operated with missing or broken glass Do not strike or slam the glass Do not use abrasive cleaners to clean the glass Replacement glass is available from the manufacturer and replacement should be carried out by a qualifie...
Page 8: ...ng repair of service 1 Check if the power cord is plugged into an electrical outlet if not plug in 2 Check if electricity to the outlet is working STORAGE Store the heater in a cool dry location when not in use To prevent dust and dirt build up use the original packaging to repack the unit ...