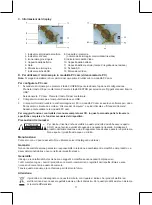
2
ENGLISH
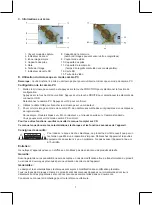
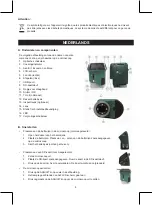
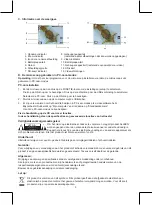
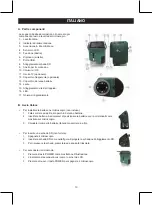
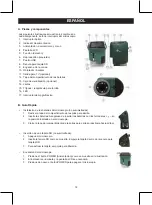
A. Parts and Components
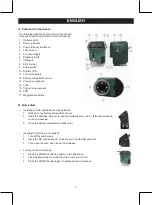
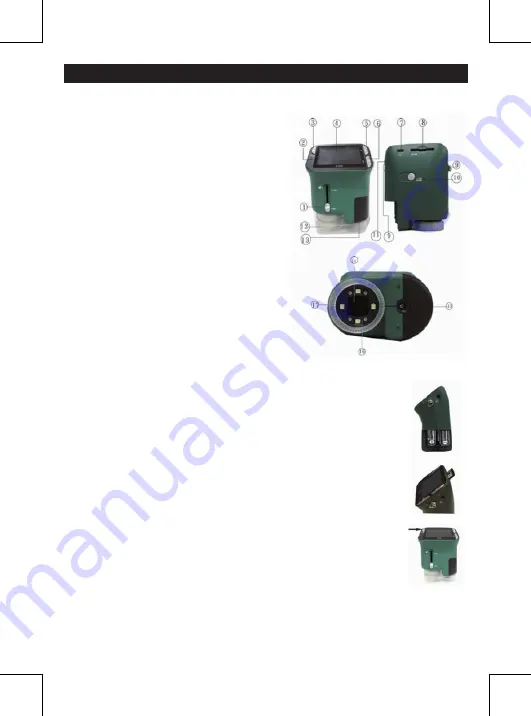
The following illustrations show the names of each
component, button and switch on the microscope.
1. Optical switch
2. Power indicator
3. Power & Zoom in & Menu
4. LCD screen
5. Function (Right)
6. Playback (Left)
7. USB port
8. SD card slot
9. Strap eyelet
10. Shutter / OK
11. TV-out (optional)
12. Battery compartment cover
13. View case (optional)
14. Lens
15. Tripod / screw socket
16. LED
17. Magnification switch
B. Quick start
• Installing microscope batteries (not included):
1. Slide open the battery compartment cover.
2. Insert the batteries. Be sure to load the batteries with + and – terminals as shown
on the microscope.
3. Close the battery compartment (slide it up).
• Inserting a SD card (not supplied):
1. Turn off the microscope.
2. Insert the SD card as shown. Push the card into the SD card slot.
3. To remove the card, push it and it will release.
• Turning on the microscope:
1. Press the POWER button as shown in the illustration.
2. The indicator will light up and the LCD screen will turn on.
3. Press the POWER button again to shutdown the microscope.


