39
Scanning the Object
Setting the Scan Reference Distance
If the entire object is not completely within the effective scan range and a part of the front or back of the object
is not scanned, press
at the end of scan, shift the reference position back or forth as described below, then
perform scan again.
[Operating Procedure]
The following procedure must be carried out if images acquired when scan was performed as explained on page
30 are unsatisfactory.
1
Perform scan and press
at the end of scan.
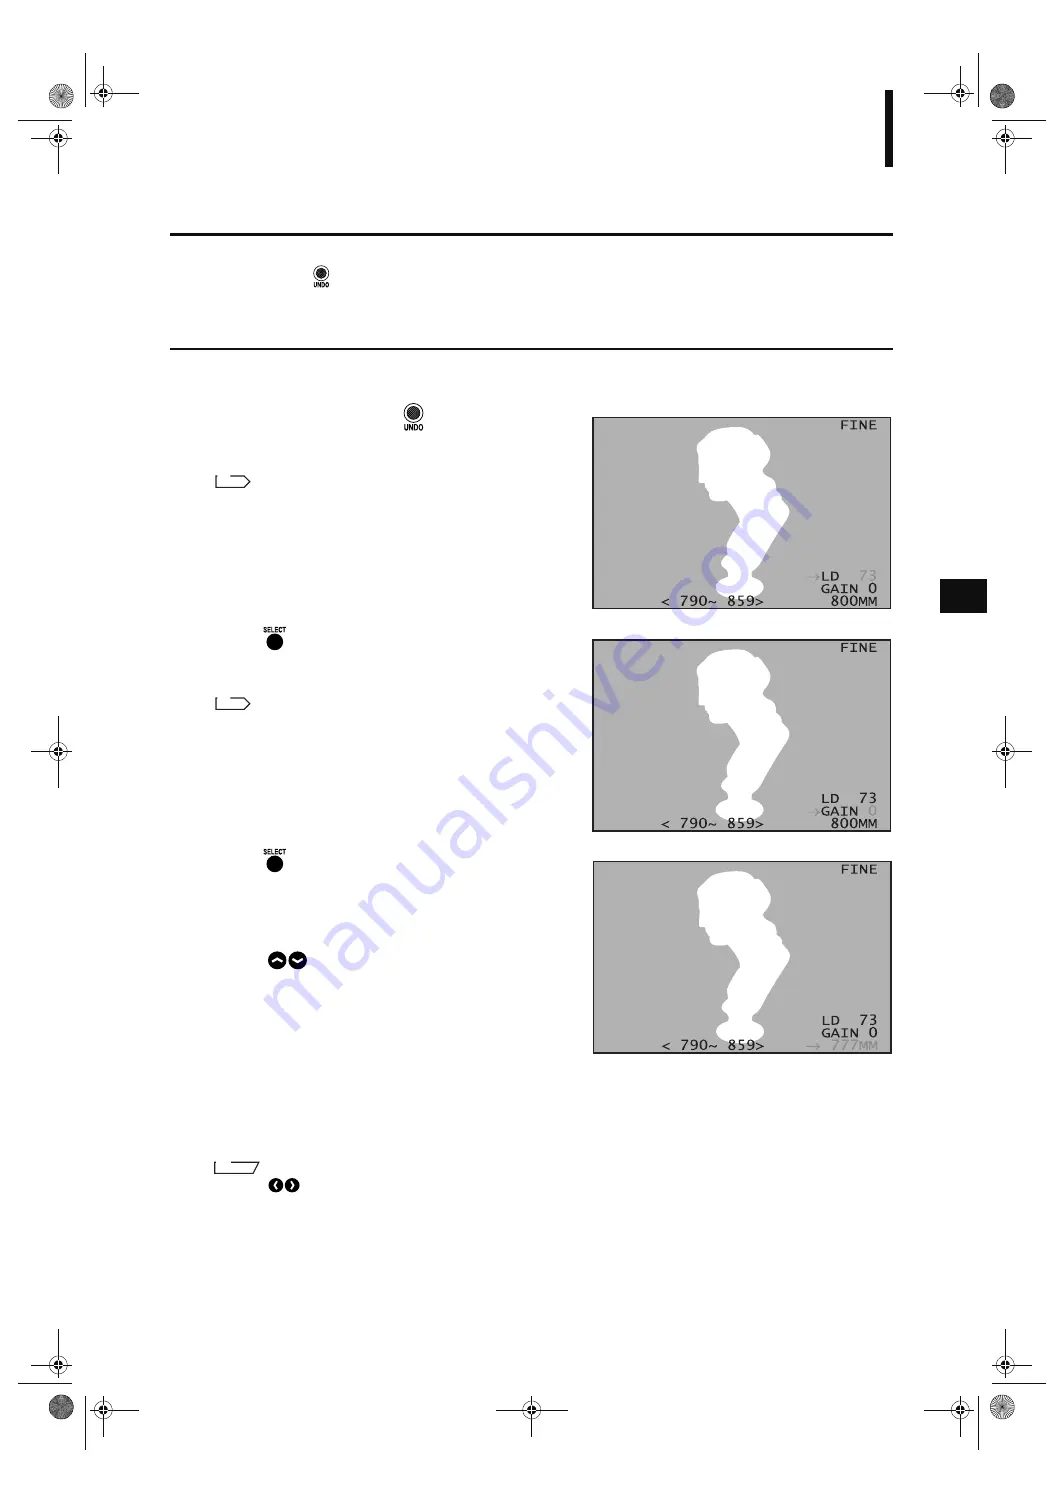
The currently set laser power will turn to pink.
For a description of adjusting the laser power, refer
to page 37.
2
Press .
The currently set CCD gain will turn to pink.
For a description of adjusting the CCD gain, refer to
page 37.
3
Press .
The currently set scan reference distance will turn to
pink.
4
Press
and set the desired scan refer-
ence distance.
If the acquired image lacks a front part of the object,
set the scan reference distance closer to you.
If the acquired image lacks a back part of the object, set
the scan reference distance away from you.
<Settings>
•
600 to 2500:
Scan reference distance (Unit: mm)
M
emo
Pressing
will change the value in steps.
R
ef.
R
ef.
Vivid910-hard-E.book Page 39 Thursday, September 25, 2003 6:49 PM
Summary of Contents for Vivid 910
Page 13: ...11 Chapter 2 Preparation Vivid910 hard E book Page 11 Thursday September 25 2003 6 49 PM...
Page 27: ...25 Chapter 3 Operation Vivid910 hard E book Page 25 Thursday September 25 2003 6 49 PM...
Page 55: ...53 Chapter 4 Appendix Vivid910 hard E book Page 53 Thursday September 25 2003 6 49 PM...
Page 63: ...Vivid910 hard E hyou fm Page 3 Thursday September 25 2003 6 52 PM...
Page 64: ...2001 2006 KONICA MINOLTA SENSING INC AGKCKK 7 Printed in Japan 9222 1888 40 8KXKF JCTF J QW HO...


