Note for Windows Me/98SE USB users
71
Note for Windows Me/98SE USB users
When you are using a USB connection and you cannot select the USB port during
the installation of the KONICA MINOLTA PagePro 1350EN driver and utilities in
Windows Me or Windows 98SE, cancel the CD-ROM installation procedure and
remove the PagePro 1350EN Utilities & Documentation CD-ROM from the PC’s
CD-ROM/DVD drive. Then proceed as follows :
1
Disconnect the USB cable from the printer side (leave the connector on
the PC side).
2
Turn off the printer and the PC. Then turn both on again. Wait until the PC
and printer are ready.
3
Insert the PagePro 1350EN Utilities & Documentation CD-ROM in the
CD-ROM/DVD drive of your PC. When the CD-ROM Installer shows up,
cancel it.
4
Connect the USB cable with the printer. Now, the ‘New Hardware Found’
wizard shows up.
Windows Me
: Proceed with step 5.
Windows 98SE
: Wait until the ‘Add New Hardware’ wizard screen
appears. Then click on
Next
.
5
In the ‘Add New Hardware’ screen, select
Automatic search for a better
driver (Recommended)
. Then click on
Next
.
6
Windows Me
: Proceed with step 7.
Windows 98SE
: When the next dialog appears, check the ‘Specify a
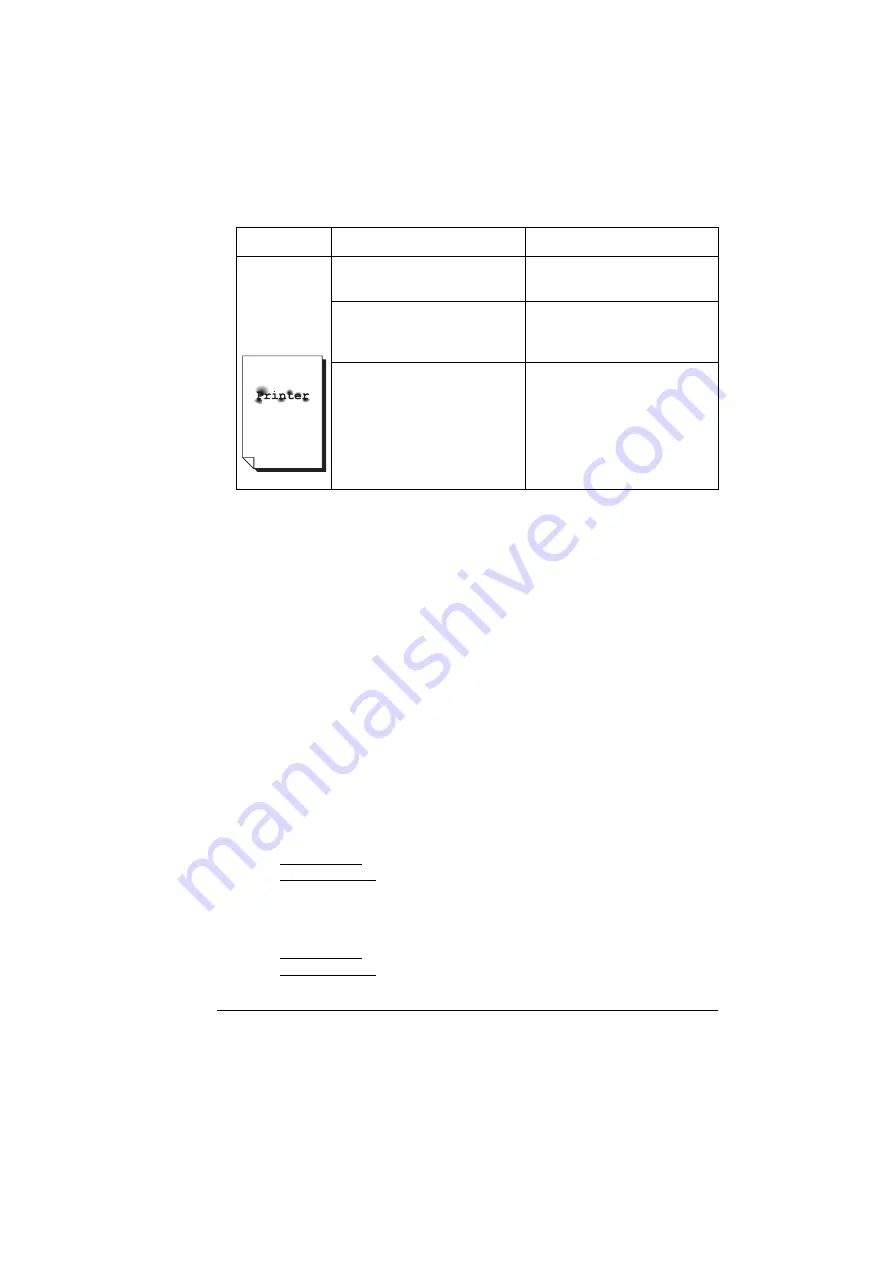
There is insuf-
ficient fusing
or the image
comes off
when rubbed.
The media is moist from
humidity.
Remove the moist media and
replace it with new, dry media.
Media with specifications not
covered by the printer warranty
is being used.
Use media that is covered by
the printer warranty.
The media type may be incor-
rectly set.
When printing envelopes,
labels, thick stock, and trans-
parencies, the appropriate
media type must be specified
in the printer driver.
Symptom
Cause
Solution
Summary of Contents for PagePro 1350EN
Page 1: ...PagePro 1350EN User s Guide 4136 9562 01A 1800813 001B...
Page 9: ...Introduction...
Page 18: ...Uninstalling the Printer Driver 10...
Page 19: ...Working with the PCL 6 Printer Driver...
Page 24: ...Using the PCL 6 Printer Driver 16...
Page 25: ...Working with the PCL 5e Printer Driver...
Page 30: ...Using the PCL 5e Printer Driver 22...
Page 31: ...Working with the Status Display...
Page 36: ...Closing the Status Display 28...
Page 37: ...Using Media...
Page 51: ...Replacing Consumables...
Page 61: ...Replacing the Drum Cartridge 53 8 Press on the front cover grip and close the front cover...
Page 62: ...Replacing the Drum Cartridge 54...
Page 63: ...Maintaining the Printer...
Page 67: ...Troubleshooting...
Page 81: ...Installing Accessories...
Page 85: ...Appendix...
Page 89: ...Technical Specifications 81...
Page 90: ...Technical Specifications 82...


