IC-601
7-6
7.4
Scan Setting
7
7.4
Scan Setting
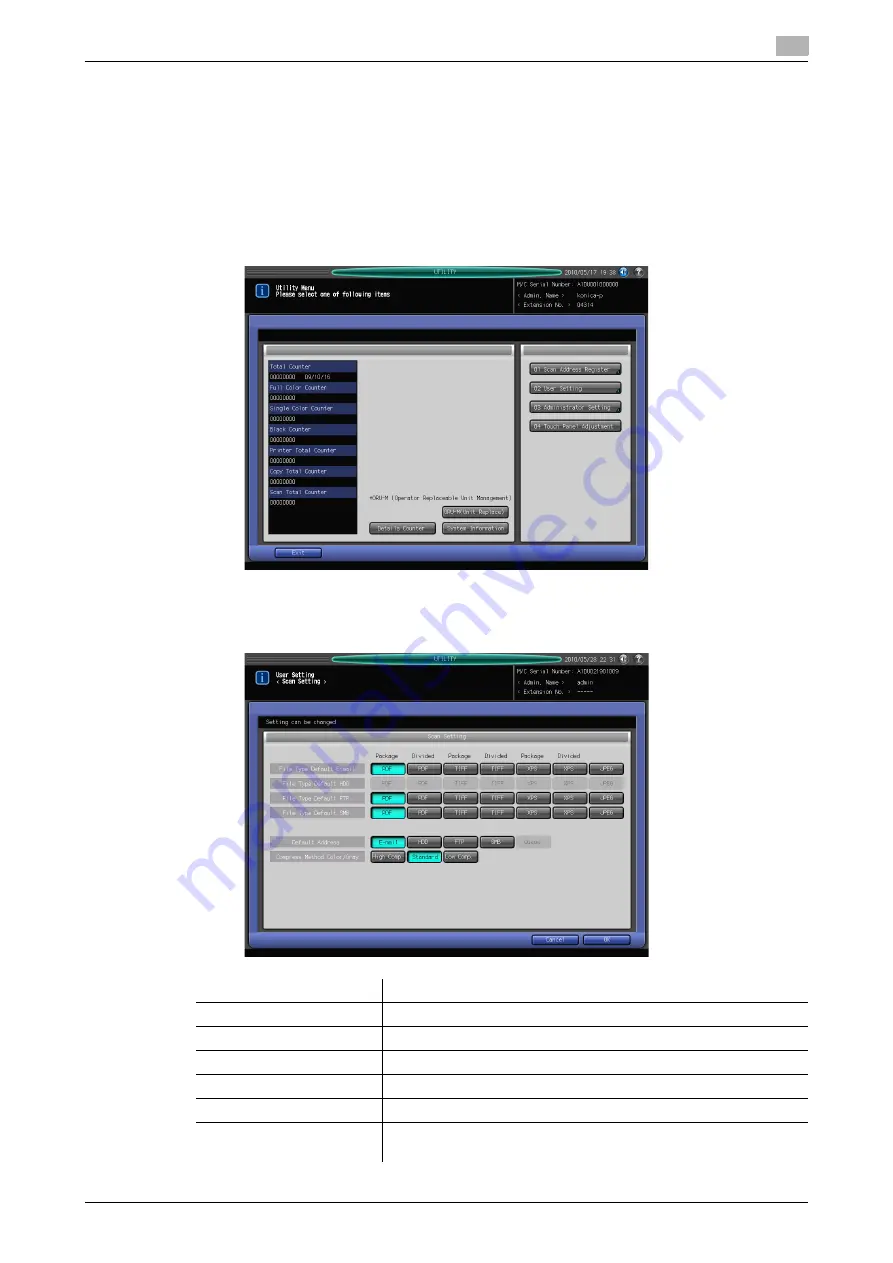
You can set the initial values for the address and file type in the Scan Setting screen in the Utility Menu
screen.
Displaying the Scan Setting Screen
1
Open the Utility Menu screen by referring to page 7-2.
2
Press [02 User Setting].
3
Press [05 Scan Setting].
4
Set the initial values for File Type, Default Address, and Compress method in the Scan Setting screen.
Item
Description
[File Type Default E-mail]
Set the initial value for the file type for Scan to E-mail.
[File Type Default HDD]
This function is disabled when IC-601 is equipped.
[File Type Default FTP]
Set the initial value for the file type for Scan to FTP.
[File Type Default SMB]
Set the initial value for the file type for Scan to SMB.
[Default Address]
Set the default tab displayed as the scan screen.
[Compress Method
Color/Gray]
Set the compression method for scanning in color or gray scale.
Summary of Contents for Color Centro IC-601
Page 1: ......
Page 4: ...1 Introduction...
Page 14: ...2 Overview of the Scanning Features...
Page 18: ...3 Preparation for Use...
Page 29: ...4 About the Network Scanner Features...
Page 41: ...5 Registering Adding an Address for the Network Scanner Features...
Page 64: ...6 Using the Network Scanner Features...
Page 110: ...7 Utility Menu...
Page 116: ...8 Troubleshooting...
Page 119: ...9 Appendix...
Page 123: ...http konicaminolta com...


