
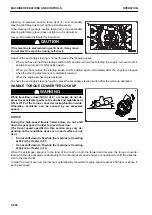


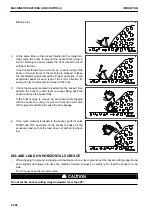


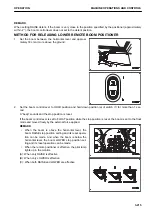


1.
Set the cutting edge somewhat downward from the hori-
zontal.
2.
While driving the machine forward, tilt the boom control
lever somewhat forward to dig bit by bit as earth and sand
are peeled off.
3.
Keep on driving the machine forward while adjusting the
digging depth by using the boom control lever.
When you perform digging by use of the bucket, avoid ap-
plying the digging force only to one side of the bucket.
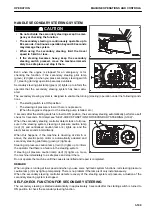
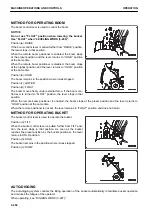
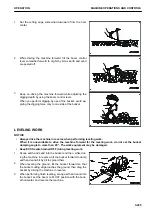
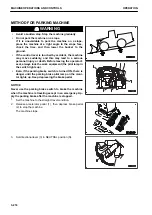
LEVELING WORK
NOTICE
• Always drive the machine in reverse when performing leveling work.
When it is unavoidable to drive the machine forward for the leveling work, do not set the bucket
dumping angle to more than 20 °. The work equipment may be damaged.
• Keep ECSS switch turned OFF during leveling work.
1.
Scoop earth and sand into the bucket and then, while driv-
ing the machine in reverse, tilt the bucket forward to dump
earth and sand bit by bit to spread them.
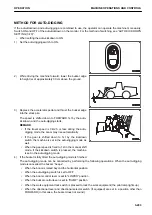
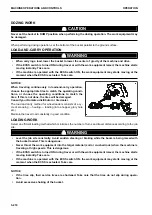
2.
When leveling the ground, tilt the bucket forward so that
the bucket cutting edge touches the ground, then drag the
bucket by driving the machine in reverse.
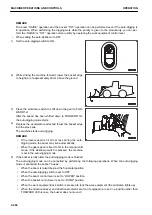
3.
When performing finish leveling, scoop earth and sand into
the bucket, set the boom to FLOAT position with the buck-
et horizontal, and reverse the machine.
OPERATION
MACHINE OPERATIONS AND CONTROLS
3-209
Summary of Contents for WA480-8
Page 2: ......
Page 19: ...Distributor name Address Phone Fax Service personnel FOREWORD PRODUCT INFORMATION 1 17...
Page 29: ...LOCATION OF SAFETY LABELS SAFETY SAFETY LABELS 2 3...
Page 159: ...SWITCHES 1 ECSS switch 2 Front working lamp switch OPERATION EXPLANATION OF COMPONENTS 3 91...
Page 302: ...Securing position Fixing angle A 61 B 53 C 33 D 38 TRANSPORTATION OPERATION 3 234...
Page 324: ......
Page 397: ...Viewed from the rear side of the machine MAINTENANCE MAINTENANCE PROCEDURE 4 73...
Page 402: ......
Page 403: ...SPECIFICATIONS 5 1...
Page 406: ......
Page 422: ......
Page 423: ...REPLACEMENT PARTS 7 1...
Page 439: ......


