2.
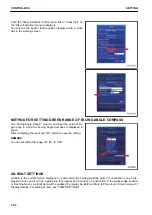
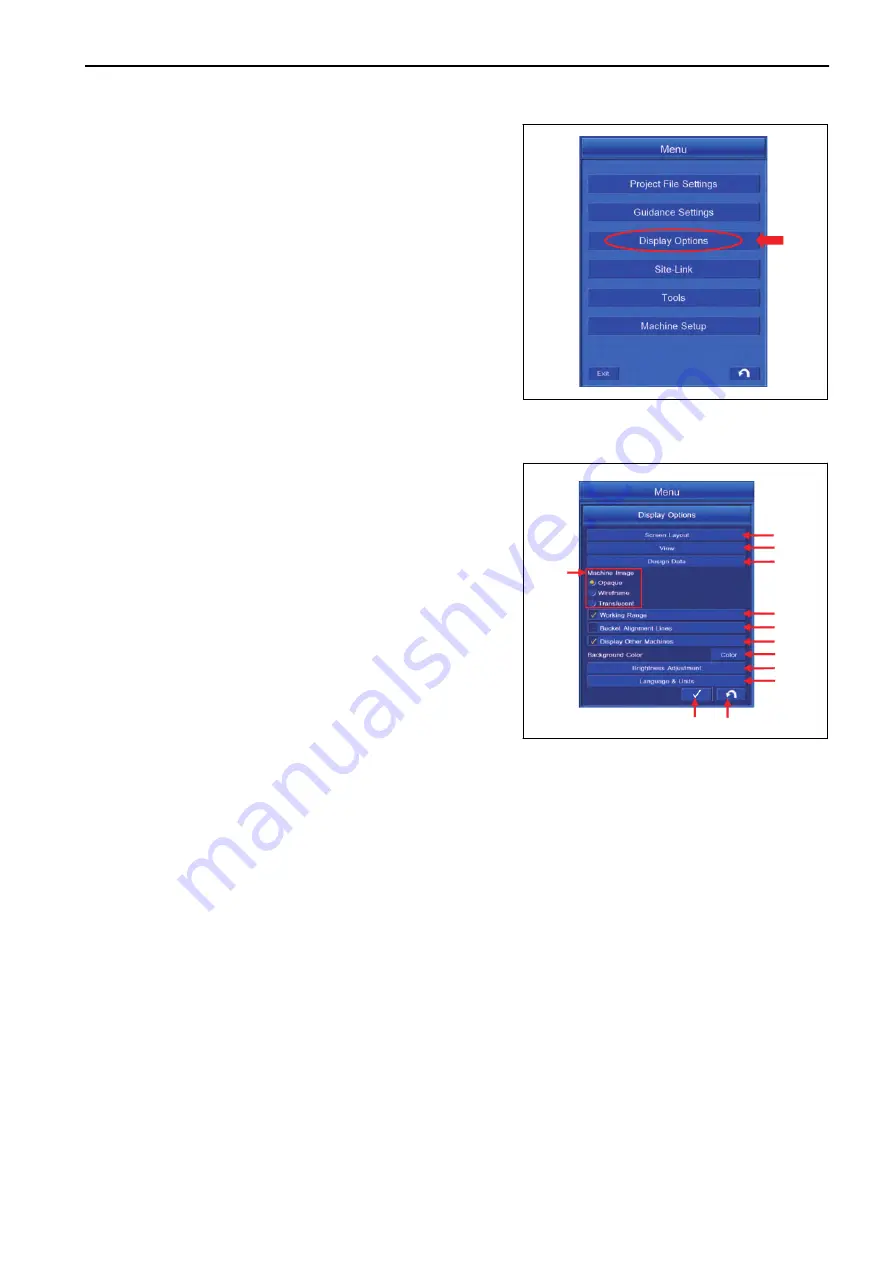
Tap the “Display Options” button on “Menu” screen, and
the screen changes to the “Display Options” setting
screen.
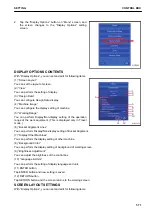
DISPLAY OPTIONS CONTENTS
With “Display Options”, you can set and edit for following items.
(1) “Screen Layout”
You can set the layout of screen.
(2) “View”
You can perform the setting of display.
(3) “Design Data”
You can configure Design Data display.
(4) “Machine Image”
You can configure the display setting of machine.
(5) “Working Range”
You can perform Display/Non-display setting of the operation
range of the work equipment. (This is displayed only in Travel
mode.)
(6) “Bucket Alignment Lines”
You can perform Display/Non-display setting of Bucket Alignment.
(7) “Display Other Machines”
You can perform the display setting of other machine.
(8) “Background Color”
You can perform the display setting of background of working screen.
(9) “Brightness Adjustment”
You can adjust the brightness of the control box.
(10) “Language & Units”
You can perform the setting of display language and unit.
(11) ENTER button
Tap ENTER button and new setting is saved.
(12) RETURN button
Tap RETURN button and the screen returns to the working screen.
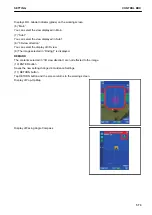
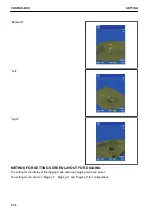
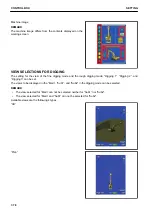
SCREEN LAYOUT SETTINGS
With “Display Options”, you can set and edit for following items.
$-'
1
2
3
5
6
7
8
9
4
11
12
AJD03075
10
SETTING
CONTROL BOX
7-71
Summary of Contents for A31001
Page 12: ...LOCATION OF SAFETY LABELS Options are shown with marks in the figure SAFETY LABELS SAFETY 2 4...
Page 106: ......
Page 107: ...SPECIFICATIONS 5 1...
Page 110: ......
Page 116: ......
Page 117: ...SETTING 7 1...
Page 311: ...EXECUTIONS 8 1...
Page 376: ...PC360LCi 11 PC390LCi 11 HYDRAULIC EXCAVATOR Form No CEAM032703...


