background image

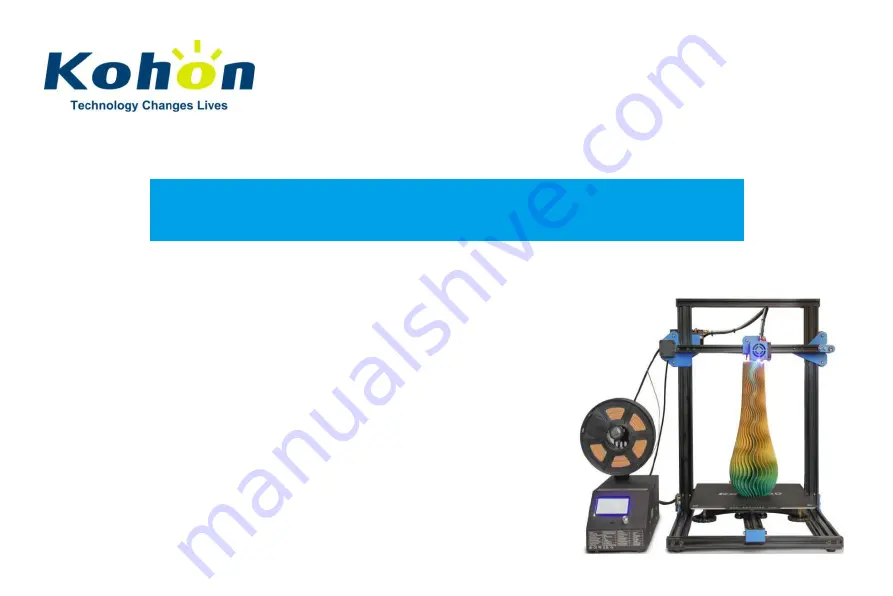
KH-01 Series 3D Printer

Manual

Manual

Manual

Instruction

Instruction

Instruction

T

he manual is made according to KH-01 standard specification,

and also applicable to all KH-01/KH-02/KH-03/KH-04/KH-05 Series.

T

ake practicality as standard of appearances and interfaces

because of software & hardware upgrades.

D

etailed operation instructions are available in the SD card.

Summary of Contents for KH-01 Series

Page 1: ...he manual is made according to KH 01 standard specification and also applicable to all KH 01 KH 02 KH 03 KH 04 KH 05 Series Take practicality as standard of appearances and interfaces because of softw...

Page 2: ...damage 5 Do not install any other power cable instead of the original one connecting with 3 pole plugs 6 Do not touch the nozzle and hot plate during working to avoid burn injuries 7 Do not wear glove...

Page 3: ...sumers Thank you for purchasing our products For the best experience please carefully read the manual and operate in the right way Our engineer and technician team is always ready to assist Please con...

Page 4: ...7 SD slot and USB port 12 X line limit switch 17 Z line limit switch 3 Nozzle kit 8 Power switch 220 110 V 13 Extruder motor 18 Nozzle wire connection 4 Stand frame 9 Control knob 14 Y line motor 19 H...

Page 5: ...t No Image Name Qty No Image Name Qty No Image Name Qty 1 Filament Holder Bracket 1set 5 Installation Tool 1set 9 Cable ties 1dozen 2 Filament 1roll 6 Power Cable 1pc 10 Nozzle Cleaner 1pcs 3 PTFE Tub...

Page 6: ...bles PLA ABS TPU Material diameter 1 75 mm Nozzle diameter 0 2 1 0mm Printing layer thickness 0 05 0 6 mm Printing temperature 120 265 Hot bed temperature 25 75 Printing method SD card Online Operatin...

Page 7: ...on the controller box 4 Fasten the right and left side bolts on the T Bracket to strengthen 2 Loosen the side nut and insert stand frame 3 Screw the 4 pcs M5 bolts in holes and fasten to fix stand fr...

Page 8: ...5 After printing remove the upper magnetic sheet and take off the prints Connecting wires Match each same number to connect...

Page 9: ...r motor X line motor limit switch Y line motor limit switch Z line motor limit switch Connect the limit switches with 3pin 2 wire connector accordingto the yellow label Select the correct input voltag...

Page 10: ...eplace filament Store settings Load settings Restore failsafe Initialize EEPROM Reset to factory setting Language Language selection Print from SD Select the printing model Printing Tune Speed Change...

Page 11: ...ull out the filament immediately then insert new filament 6 Loading Filament 1 preheat 2 Feeding Method 1 Method 2 1 Press and hold the extruder 2 Insert filament through detection switch lamp on extr...

Page 12: ...able steppers 3 Move nozzle to front left leveling screw and adjust platform height by turning the knob underneath Use a piece of A4 paper to assist with the adjustment making sure that the nozzle lig...

Page 13: ...10 8 Software Installation 3 Add printer as above image showed 4 Set printer parameter as above image showed 2 Start Cura Slicing Software 1 Double click the Cura to install the Cura Slicing Software...

Page 14: ...11 9 Prepare to Print 1 Slicing Open software Select file Prepare Save to Removable Drive 2 Printing Insert SD card Press knob Select print from SD Select the file to print...

Page 15: ...12 10 Trouble shooting The working process Fault diagnosis The cause of the problem Fault handling The result feedback...

Page 16: ...tps www facebook com gro ups 1434740216669942 Shenzhen Kohon Optoelectronics Technology Co Ltd Tel 86 755 61109558 Official Website www kohon3d com Company Address 2F 6th Factory Tangzhong Industrial...

Reviews: