background image

13

Recording


There are two types of recording: 

Instant Recording

 and 

Schedule Recording

.

Instant recording can record current TV programmes, while schedule recording 

can be set to record TV programmes automatically on the day, time, and 

duration you choose.

Instant recording


Select the channel you want, then press the 

rec

 Record button on the remote 

control to start recording. You will be prompted to confirm – press 

enter

 to 

begin recording.
To hide the information bar at the bottom of the screen, press the 

rec

 Record 

button once more.

NOTE

• Don’t connect or disconnect any USB device while in USB playback mode. 
• Ensure all personal data is backed up before inserting USB device into TV. 

We assume no liability for any loss of data due to malfunction or misuse.

• USB device should have capacity at least 512MB.
• USB device must support USB 2.0 high-speed specification.
• Use only USB storage devices formatted to FAT32.
• You cannot change channels while recording.
• If the signal is interrupted while recording, the recording will stop until signal is 

regained.

• While in time-shift mode, do not turn TV off.

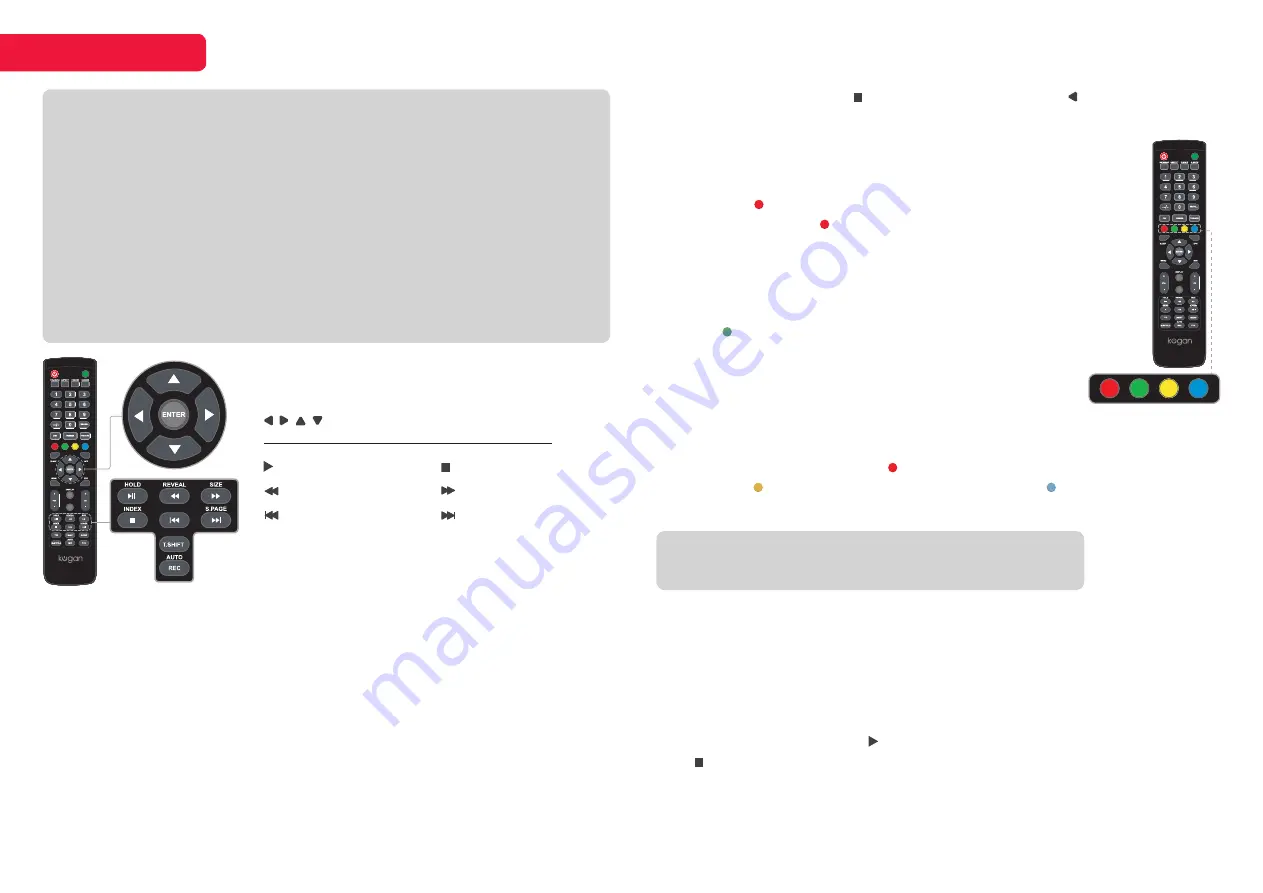
Recording and Timeshift controls

enter


Confirm selection

/ / /  Navigation

PVR MODE

INPUT

PVR

MUTE

ON/OFF

To stop the recording, press 


Stop button and then press   to select ‘Yes’ 

when prompted.

Schedule recording


Press the 

epg

 button to bring up the Electronic Program Guide. 

Use the navigation buttons to select the desired programme, 

and press the   

Red 

colour button to schedule a programme 

for recording. Press the   

Red 

button again to cycle through the 

schedule options;

Record once

Record this channel and time slot daily

Record this channel and time slot weekly

Press the   

Green

 button to set a reminder for a programme 

without scheduling to record.
You can schedule several items to record. Press the 

pvr

 button to view the Recorded List and Schedule List. 

Different schedules should not overlap and there must be at least a one-

minute time gap to set up between two schedules.
From the schedule list, press the   

Red

 button to delete a programme from the 

schedule, the   

Yellow

 button to add an item, and the   

Blue

 button to edit an 

existing item.

Timeshift mode


With the Timeshift turned on, you may pause and rewind normal TV viewing at 

any time without missing any of the live broadcast. This can also allow you to 

create a buffer and skip forward through commercials.
Press the 

t

.

shift

 Timeshift button on the remote control while in DTV mode to 

activate the Timeshift function. The TV stores the channel from the point of 

view you want to record. 

Press

   II Play/Pause


to resume from where you left off. 

Press 


Stop

 to exit Timeshift mode. If a USB device dedicated to recording is 

disconnected, Timeshift files that were saved will automatically be deleted.

NOTE

Schedule recording still works when TV is in standby mode.


II 

Play/Pause


Skip backward


Skip to start

t

.

shift

 Timeshift


Stop


Skip forward


Skip to end

rec

 Record

INPUT

PVR

MUTE

ON/OFF

PVR

INPUT

PVR

MUTE

ON/OFF

INPUT

PVR

MUTE

ON/OFF

Summary of Contents for Series 8 JU8200

Page 1: ...USER GUIDE 50 4K HDR LED TV SERIES 8 JU8200 KALED50JU8200ZA ...

Page 2: ...e cloths curtains etc No naked flame sources such as lit candles should be placed on the apparatus To prevent the spread of fire keep candles or other open flames away from this product at all times The device may malfunction when under electrostatic discharge It can be manually resumed by switching power off completely at wall outlet then switching power on again To avoid any injury caused by ove...

Page 3: ...product It is not recommended to keep a certain still image displayed on the screen for a long time as well as displaying extremely bright images on screen Figures and illustrations in this User Manual are provided for reference only and may differ from actual product appearance Product design and specifications may be changed without notice SAFETY AND WARNINGS cont d CAUTION TO REDUCE THE RISK OF...

Page 4: ... A Kogan 4K HDR LED TV B Remote control C Stand x2 D M4 x 22mm screw x4 E AAA battery x2 F Quick start guide G Warranty card INPUT PVR MUTE ON OFF B A D E F G C NOT INCLUDED Phillips head screwdriver antenna cable ...

Page 5: ...rage devices can be inserted to record and pause live TV in PVR mode or to watch media files stored on device in media mode VGA Connect to a desktop or laptop computer ANT For free to air TV use an antenna cable not supplied to connect to a working antenna either via an antenna wall socket or directly LAN For a wired internet connection via a broadband modem or router connect an Ethernet cable to ...

Page 6: ...play a light showing that the TV is receiving power b Press the POWER button either on your remote control or the lower side of the back panel on the TV see page 8 to turn the TV on The standby light will turn off when the TV is on TURNING TV OFF Press the POWER button on the remote control to enter standby mode To power down the TV completely unplug the power cord from the power outlet Do not lea...

Page 7: ...o select the current item or confirm selection 18 MENU to bring up the menu 19 EXIT to the previous menu or quit the current interface 20 DISPLAY shows the currently program information 21 vol to adjust the volume up or down 22 ch to scroll channels 23 MUTE to toggle sound on off 24 REVEAL show or hide hidden text in teletext mode Reverse playback rapidly in media mode 25 HOLD teletext page on dis...

Page 8: ...d to use the remote controller for a long period of time remove them to avoid damage due to leakage Do not use old and new batteries together The batteries battery pack or batteries installed shall not exposed to excessive heat such as sunshine fire or the like TIPS Do not block the path between the sensor and the remote control 2 Using remote control Point the remote towards the sensor at the fro...

Page 9: ... will see all the channels that the TV has saved but will not see channels that were either not saved or manually erased Volume adjustment and mute setup Press VOL buttons on the remote control or the TV to adjust the volume of the TV To increase the volume press VOL button To decrease the volume press VOL button Press the Mute button to toggle TV sound on and off The mute icon will appear in the ...

Page 10: ... appointment time of the schedule Signal information Available in DTV mode only this will display the current signal information PICTURE Picture mode Choose from the following selection of presets or select Personal mode to configure your own custom settings Standard Default picture settings Dynamic Brighter colours and richer blacks Mild Ideal for low light areas Bright Increased brights Colour t...

Page 11: ...tings Standard Default sound settings Music Provides clear and live sound for music Movie Enhances treble and bass Sport Emphasises bass over other sounds If Personal is selected as the Sound mode the equalizer settings become adjustable Balance You can adjust the sound balance of the speakers to preferred levels Auto volume As each broadcasting station has its own signal conditions this setting a...

Page 12: ...ime installation Select from the initial setup options language country and timezone without a factory reset Restore factory default Reset all system settings to the factory default When the restore is complete the TV will enter standby mode When turned on the first time installation steps will be shown LOCK The default password is 0 0 0 0 Lock system The feature can prevent unauthorized operating...

Page 13: ...o select the desired programme and press the Red colour button to schedule a programme for recording Press the Red button again to cycle through the schedule options R Record once D Record this channel and time slot daily W Record this channel and time slot weekly Press the Green button to set a reminder for a programme without scheduling to record You can schedule several items to record Press th...

Page 14: ...uire Media mode Press Input button on the remote control and select Media The USB you ve inserted to record to will appear as a folder for media playback Playing other media To access media playback mode insert a USB drive containing files of the following type into the TV s USB input port The following file types are supported Data Format Photo JPEG PNG BMP Audio MP3 WAV AAC AC3 FLAC Video MP4 M4...

Page 15: ...ce of threaded holes on the back panel of the TV before creating any holes in the wall b Insert the 14mm screws B within the four threaded holes on the back panel of the TV and tighten c Use a mounting bracket A as a guide to mark the positions for the four holes on the wall with a pencil d Using a drill create holes in the marked positions on the wall e Insert the four wall anchors D into the scr...

Page 16: ...ours 1 07B Computer Supported Resolutions 640 360 853x480 1024x576 1280x720 1366x768 1920x1080 3840x2160 60Hz Contrast Ratio 5000 1 Native Aspect Ratio 16 9 Panel Manufacturer CHOT Refresh Rate 60Hz Resolution 3840 x 2160 Response Time 9 5ms Size 50 Viewing Angle 178 178 Features EPG Yes HDCP Yes 2 2 TV Resolution 4K UHD USB Media Playback Yes USB Media Playback Formats JPG JPE PNG BMP MP3 AAC MPG...

Page 17: ...s the TV AV button Make sure TV is plugged in Check the antenna connection No sound or sound is too low at maximum volume Check the volume settings on any external speakers connected to your television Adjust the TV volume accordingly Check another channel or input Check that MUTE hasn t been turned on Picture rolls vertically Check all connections No colour wrong colour or tints Make sure the pro...

Reviews: