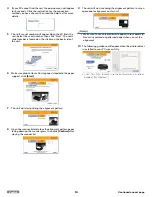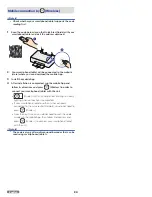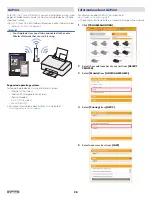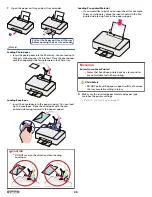
Print settings
Confirming Printing Preferences for
Windows
®
Note(s)
Microsoft
®
Windows
®
Screenshots
●
The screen shots in this guide were made with Windows
®
10. If you use Windows
®
OS other than Windows
®
10, the
screen interfaces look slightly different. The functions,
however, are the same.
Edit print settings
When you print a document, the
[Print]
dialog box appears.
Select
[VERITE 64]
(this unit) and click on
[Properties]
or
[Preferences]
and such. The changes to the settings only apply to
a print job of the respective application and only until this application
is closed.
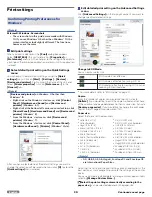
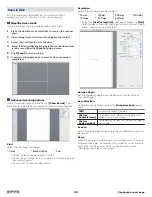
Select default print setting on the Quick Settings
menu
You can adjust the default print settings using the
[Quick
settings]
menu. Click on
[Start]
>
[Settings]
>
[Devices]
>
[Devices and printers]
. Right click on the name of the unit and
select
[Printer properties]
. Click on
[Preferences...]
in the
[General]
tab.
Note(s)
[Devices and printers]
on Windows
®
OS other than
Windows
®
10
●
Right-click on the Windows
®
start menu, click
[Control
Panel]
,
[Hardware and Sound]
and
[Devices and
printers]
(Windows
®
8.1).
●
Right-click at the bottom left corner on your desktop, click
[Control Panel]
,
[Hardware and Sound]
and
[Devices and
printers]
(Windows
®
8).
●
From the Windows
®
start menu, click
[Devices and
printers]
(Windows
®
7).
●
From the Windows
®
start menu, click
[Control Panel]
>
[Hardware and Sound]
>
[Printers]
(Windows
®
Vista).
After you have selected one of the default settings you want to
change the selection will be saved when you click
[X]
to close the
[Quick settings]
menu window.
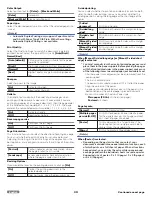
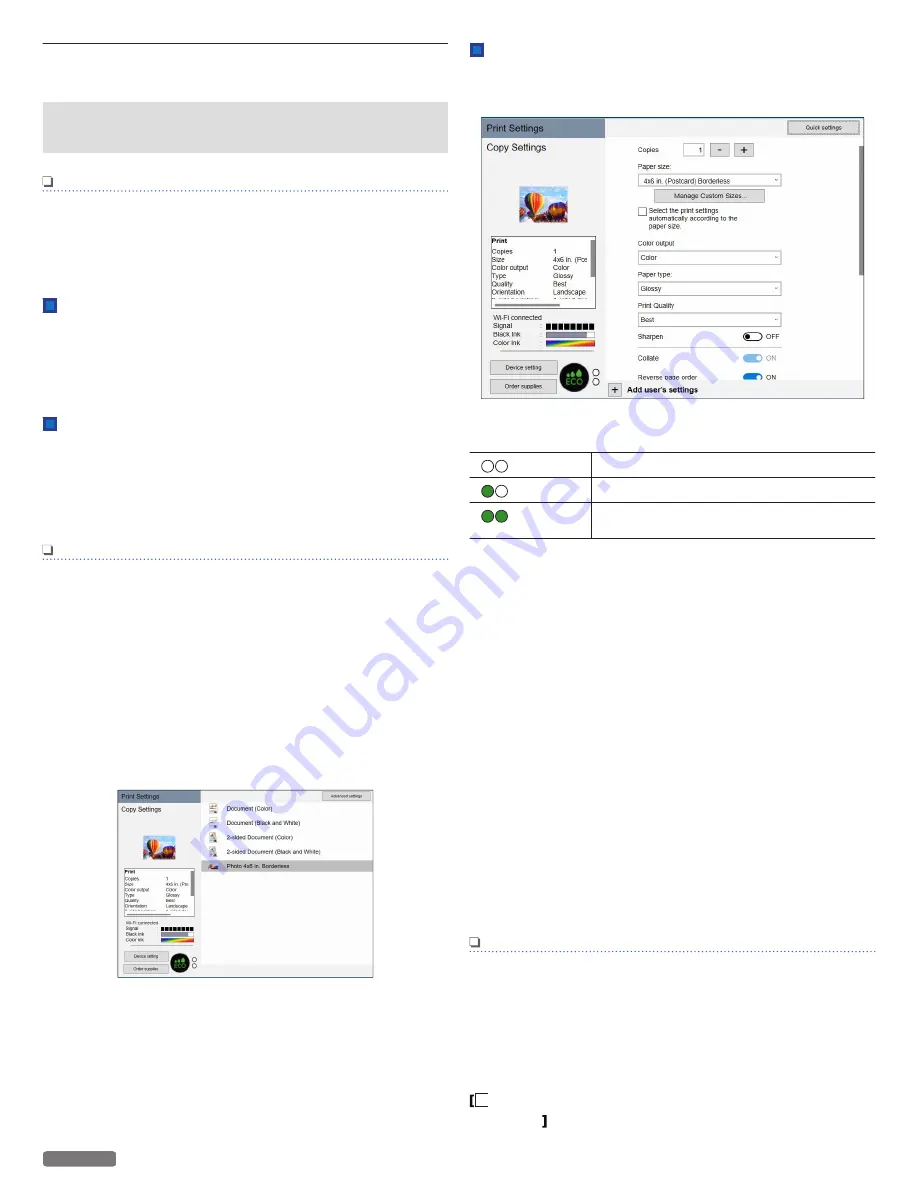
Edit detailed print setting on the Advanced Settings
menu
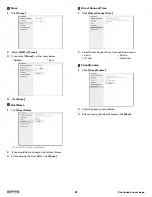
Click
[Advanced Settings]
on the top right corner if you want to
change specific detailed settings.
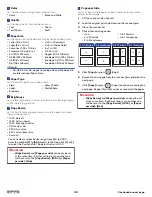
Change to ECO Mode:
You can easily use less Ink.
[
]
ECO mode is not effective.
[
]
ECO mode is effective for saving 20% ink.
[
]
ECO mode is effective for saving 20% ink and
reducing 12% printed area.
●
For more details, refer to “ECO mode” on page 21.
Copies:
Enter the number of copies you would like to print. Activate
[Collate]
, if you would like to print the copies sorted and not have
all the copies of one page behind each other in succession. Activate
[Reverse page order]
, if you would like to change the print order
to print the last page of your document first.
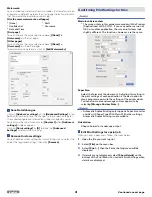
Paper size:
Select the format of the document.
●
Letter (8.5 x 11 in.)
●
Letter Borderless
●
Legal (8.5 x 14 in.)
●
Executive (7.25 x 10.5 in.)
●
Statement (5.5 x 8.5 in.)
●
4x6 in. (Postcard)
●
4x6 in. (Postcard) Borderless
●
3x5 in. (Index card)
●
5x7 in. (2L)
●
5x7 in. (2L) Borderless
●
3.5x5 in. (L)
●
3.5x5 in. (L) Borderless
●
A4 (210 x 297 mm)
●
A4 (210 x 297 mm) Borderless
●
JIS B5 (182 x 257 mm)
●
A5 (148 x 210 mm)
●
A5 (148 x 210 mm) Borderless
●
A6 (105 x 148 mm)
●
A6 (105 x 148 mm) Borderless
●
Hagaki (100 x 148 mm)
●
Hagaki (100 x 148 mm) Borderless
●
Envelope 10 (4.125 x 9.5 in.)
●
Envelope DL (110 x 220 mm)
●
Envelope C5 (162 x 229 mm)
Note(s)
●
A4, JIS B5, A5, A6, Hagaki, Envelope DL and Envelope C5
are International Paper Sizes.
Adjusting this setting in the print settings of each application is the
best option as many programs overwrite the settings of the printer
driver.
You can also create, edit or delete to manage custom paper size by
selecting
[Manage Custom Sizes...]
.
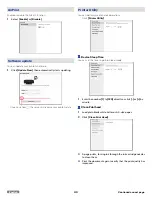
Select the print settings automatically according to the
paper size.
can be selected depend on the paper size.
29
English
Continued on next page.


