


Scan Recipes - Creating and Editing a Scan Recipe
KLA-Tencor P-16+ / P-6 User’s Guide
3-40
KLA-Tencor Confidential
0142530-000 AB
3/13/09
Leveling Cursors
In general, the most effective way to set the
Leveling Cursors
is in the
Analysis
screen
by clicking and dragging them into position. When they are in position, use the CALC
procedure to enter the new
Cursors
variables. By visually positioning the cursors, the
leveling positions are correct for the actual scan.
Setting the Leveling Cursor positions
:
1.
After the scan is complete, the
Analysis
screen is displayed. Click
LEVEL
to
activate the Leveling Cursors.
2.
Reposition the leveling cursors using the following procedure. Click the
LEVEL
button in the tool bar. This activates the Leveling cursors. The active cursor
header is displayed as a 3D rectangle. The cursor header being moved is
indented while the other cursor is in relief. The Measurement cursor heads
appear as 2D line boxes.
a.
As the track ball cursor approaches one of the active cursor heads, the
cursor head changes appearance to indented and the track ball cursor
appears as a double arrow.
Click and hold on the cursor that is to be moved. Drag it to the desired
position, using the track ball to move it. Release the mouse button when
the cursor is in position.
3.
When the cursor is in position, set each cursor boundary using the following
procedure:
a.
Move the track ball cursor down into the black scan trace screen. The
boundary that the arrow is pointing at is the one that is moves. (See
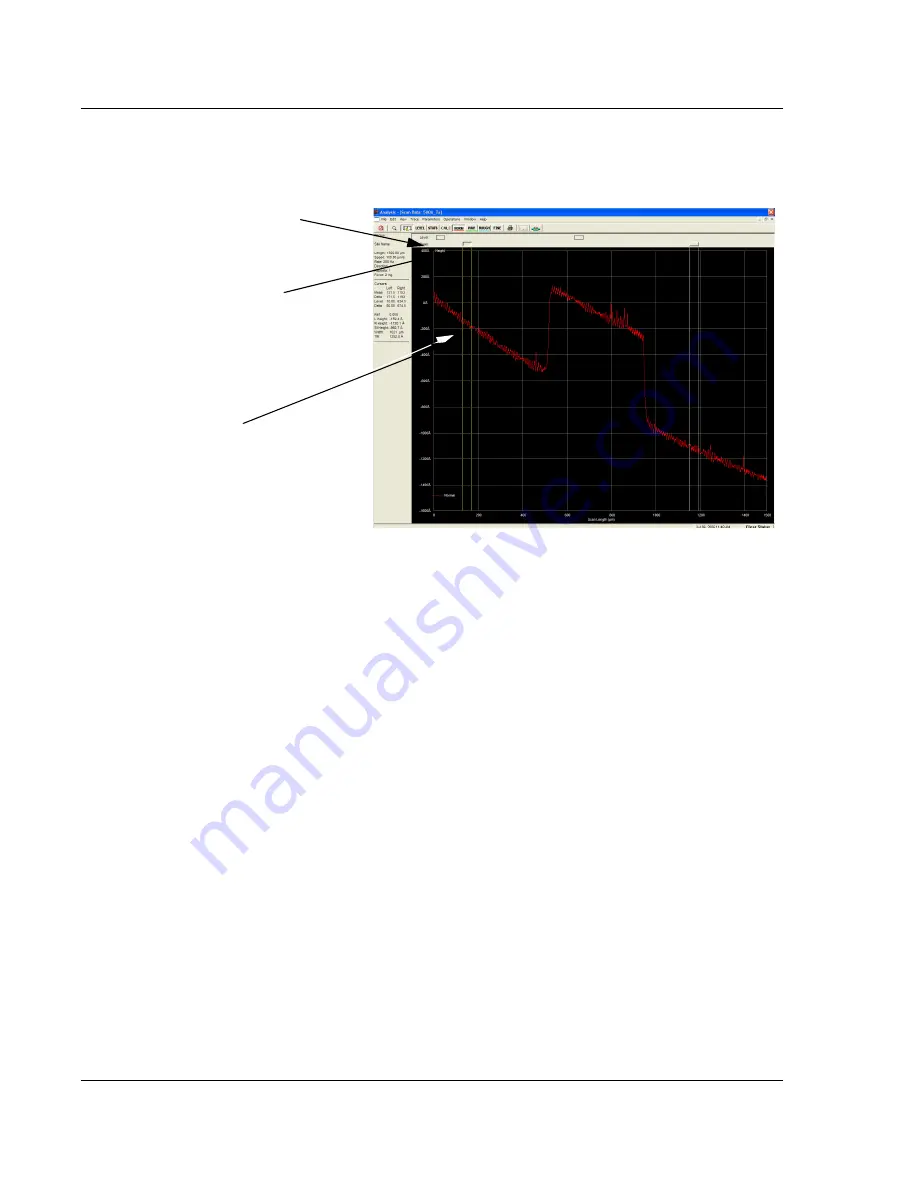
Figure 3.30
Analysis Screen with Trace in Need of Leveling
The Leveling Cursors are the top set
The Measurement Cursors are the
bottom set.
The trace is shown running from the
top left to the bottom right of the
screen. This clearly shows the need
for data leveling.


