High Power Amp Teaching Resources
www.kitronik.co.uk/2143
Soldering in Ten Steps
1. Start with the smallest components working up to
the taller components, soldering any interconnecting
wires last.
2. Place the component into the board, making sure
that it goes in the right way around and the part sits
flush against the board.
3. Bend the leads slightly to secure the part.
4. Make sure that the soldering iron has warmed up
and if necessary, use the damp sponge to clean the
tip.
5. Place the soldering iron on the pad.
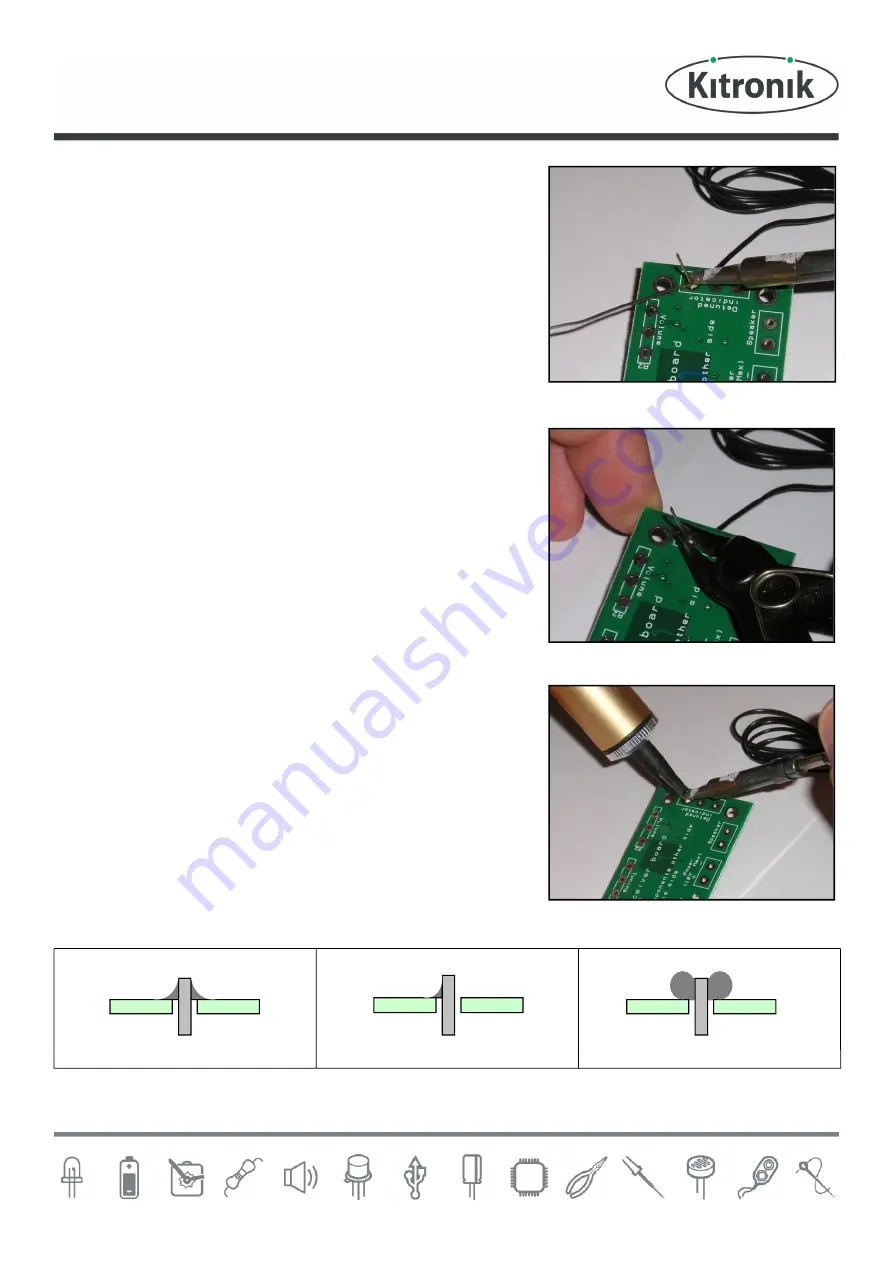
6. Using your free hand, feed the end of the solder onto
the pad (top picture).
7. Remove the solder, then the soldering iron.
8. Leave the joint to cool for a few seconds.
9. Using a pair of cutters, trim the excess component
lead (middle picture).
10. If you make a mistake heat up the joint with the
soldering iron, whilst the solder is molten, place the
tip of your solder extractor by the solder and push
the button (bottom picture).
Solder joints
Good solder joint
Too little solder
Too much solder


