Portable Air Conditioner
Owner’s Manual
Original Instructions
Item NO: A4211D2-8K
Applicable model: OL-A011D2-05CD
READ AND SAVE THESE INSTRUCTIONS
Page 1: ...Portable Air Conditioner Owner s Manual Original Instructions Item NO A4211D2 8K Applicable model OL A011D2 05CD READ AND SAVE THESE INSTRUCTIONS...
Page 2: ......
Page 3: ...CONTENTS 1 BEFORE YOU BEGIN 2 FOR YOUR SAFETY 3 PRODUCT OVERVIEW 4 INSTALLATION 5 OPERATION 6 CLEANING AND CARE 7 TROUBLESHOOTING 8 DECOMMISSIONING...
Page 4: ......
Page 5: ...ventilation and dehumidifying function to circulate air and remove moisture It is designed with a self contained system that does not require any permanent installation allowing you to move it to wher...
Page 6: ...bilities or lack of experience and knowledge if they have been given supervision or instruction concerning use of the appliance in a safe way and understand the hazards involved Children shall not pla...
Page 7: ...or when not in use Do not operate with wet hands Prevent water from spilling onto the unit Do not immerse or expose the unit to rain moisture or any other liquid Do not leave the unit running unatten...
Page 8: ...osting process or to clean other than those recommended by the manufacture The appliance shall be stored so as to prevent mechanical damage from occurring Do not piece or burn even after use Be aware...
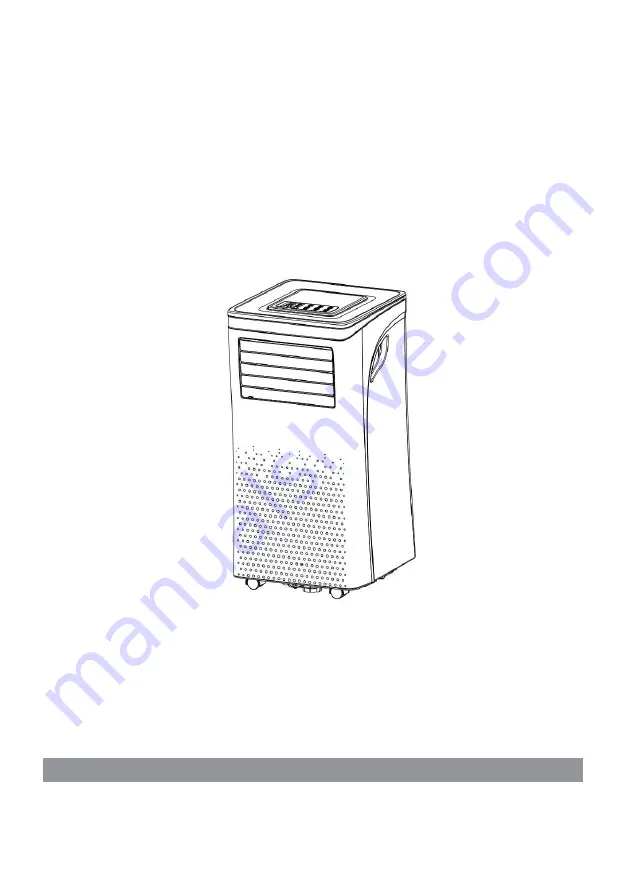
Page 9: ...DIAGRAM 1 Control panel 4 Air inlet with air filters 6 Drainage hole 2 Air outlet with adjustable louvers 5 Caster 7 Air exhaust 3 Handle Note The appearance is only for reference Please see the real...
Page 10: ...and display LED Digital display Electronic control with built in timer and sleep mode Self evaporating system for better efficiency Auto shut off upon tank full Auto re start in the event of power ou...
Page 11: ...e carton and take out the appliance and accessories Check the device after unpacking for any damage or scratches on it Accessories 1 Exhaust hose 2 Hose connector 3 Window kit adapter 4 Remote control...
Page 12: ...er air circulation Don t operate in close proximity to walls curtains or other objects that may block the air inlet and outlet Keep the air inlet and outlet free of obstacles Never install the unit wh...
Page 13: ...ill shut down the unit due to low back pressure Step 1 Connect the hose connector to one end of the exhaust hose Step 2 Connect the window kit adapter to the other end of the exhaust hose Step 3 Exten...
Page 14: ...fficiency Step 5 Attach the hose connector to the exhaust air outlet of the unit Step 6 Adjust the length of the flexible exhaust hose and avoid bends in the hose Then place AC near an electrical outl...
Page 15: ...between fan cooling and dehumidify 3 FAN SPEED Indicator Display high fan speed low fan speed 4 MODE Indicator Display the mode between cooling dehumidify and fan 5 TIMER Indicator Display the Timer...
Page 16: ...12 8 UP Increase the desired temperature 61 90 or the timer setting 9 SPEED Press to switch the fan speed between HIGH and LOW 10 TIMER Set a time for the unit to automatically start or stop...
Page 17: ...13 5 2 REMOTE CONTROL...
Page 18: ...p Press Up Down button to adjust the temperature which is displayed on the screen The temperature can be set between 61 and 90 Press SPEED button repeatedly until the desired fan speed indicator light...
Page 19: ...n power off Cancel timer 5 3 4 Automatic Defrosting At low room temperatures frost may build up at the evaporator during the operation The unit will automatically start defrosting and the POWER LED wi...
Page 20: ...104 and the differential temperature between the coil temperature and the room temperature is below 66 after the compressor runs for 20minutes the unit will start defrosting for 5 minutes and the pow...
Page 21: ...y Switch off the unit before operating Remove the plug of the water outlet opening and keep it in a safe area Securely and properly connect the drain hose and make sure it is not kinked and clear of o...
Page 22: ...ontaminated 1 Press POWER button to switch off the unit and unplug the power cord 2 Remove the filter mesh from the unit 3 Use a vacuum cleaner to suck dust from the filter 4 Turn the filter over and...
Page 23: ...otection equipment PPE 4 Evacuate unnecessary personnel 5 Do not get the refrigerant in eyes on skin or on clothing Do not breathe vapors or gas 6 Prevent entry to sewers and public waters 7 Stop the...
Page 24: ...l The exhaust hose is detached Make sure the exhaust hose is securely attached Water Leakage Overflow while moving the unit Empty the water tank before transport Check if the drain hose is kinked or b...
Page 25: ...maging your health and well being 1 Unplug the unit and store the exhaust hose with the window kit 2 Drain the remaining water from the unit 3 Clean the filter and let the filter dry completely in a s...
Page 26: ...m P S T DATED PROOF OF PURCHASE IS REQUIRED FOR WARRANTY SERVICE AVIS Veuillez appeler le service la client le pour toutes questions au 213 4467172 661 4358826 8 30am 5 30pm P S T PREUVE D ACHAT ORIGI...
Page 27: ......
Page 28: ......