A
Page 21 / 30
Datasheet 1.10-65.030-01-EN
RPW404P-FTL
Product Description
Issue 2017-04-03
Once the last value for the day has been entered, this is indicated by a moving line on
the display.
The time and date settings are complete and are saved.
The display then switches to the initial display.
NOTE
If no input is made for approx. 10 seconds, the display returns to the initial display. Any settings that
were previously made are not saved.
Daylight saving time switching occurs automatically according to Central European standards.
Default setting:
current CET Central European Time
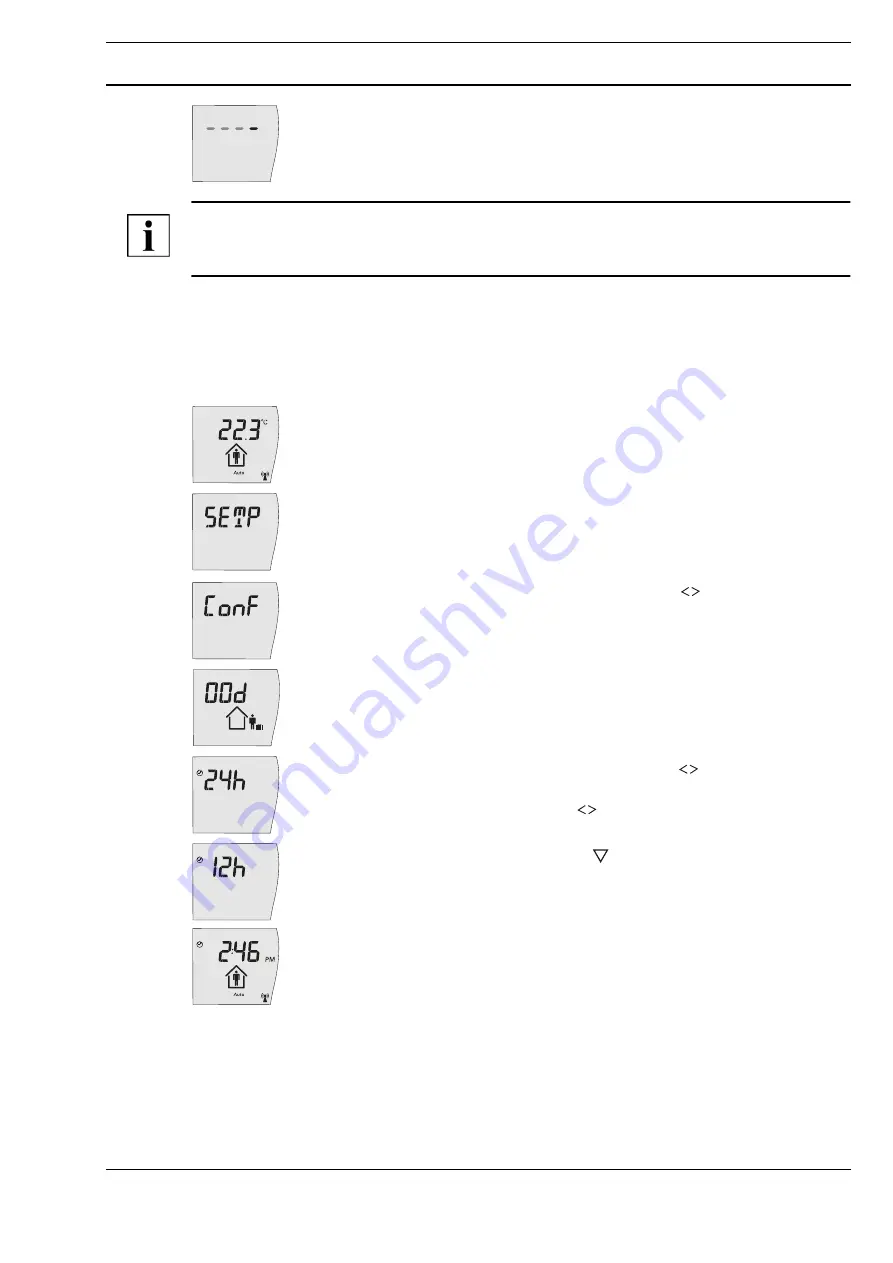
Setting the 12/24 hour display
►
Hold down the “Occupancy button” for 5 seconds.
The text “
Menu
” briefly appears on the display, followed by “
SETP
”.
►
Release the “Occupancy button”.
►
Briefly press the “Occupancy button” repeatedly or the “
”
button to select the “
Conf
” function.
►
Hold down the “Occupancy button” for 5 seconds.
The “Set vacation” menu item appears in the display.
►
Briefly press the “Occupancy button” repeatedly or the “
”
button to select the “
24h
” function.
►
Release the “Occupancy button” or the “
” button.
►
Hold down the “Occupancy button” or the “
” button for 5 seconds;
the 12h display is then set.
After approx.3 seconds, the display returns to the initial display.
When the 12 hour display is activated, an additional
PM
is shown in the display in the
afternoon.
Default setting:
24h


