


The Geometer’s Sketchpad
®
for TI-89, TI-92 Plus, and
© 2000-2002 KCP Technologies, Inc.
6
Voyage™ 200 PLT User Guide and Reference Manual
With Sketchpad’s drawing tools and menus, you can construct figures that
are very flexible, so that you can drag any parts of them wherever and
however you want; or you can construct them with properties that limit
how you can change them. In this tour, you’ll draw a triangle that can be
any size or shape. Then you’ll construct an isosceles triangle, which is
constrained so that two sides are always equal. You’ll also discover some
other properties of isosceles triangles. In the process, you’ll learn some of
the basics of using Sketchpad’s drawing tools, as well as the
ƒ
Edit,
„
Display,
…
Construct, and
‡
Measure menus.
Follow the steps below to construct a general triangle.
Steps
Display
1. Press
O
and select [The
Geometer’s] Sketchpad to open
Sketchpad. You’ll see a blank
Sketchpad sketch, with
Sketchpad’s menus (
ƒ
–
ˆ
)
along the top of the screen and
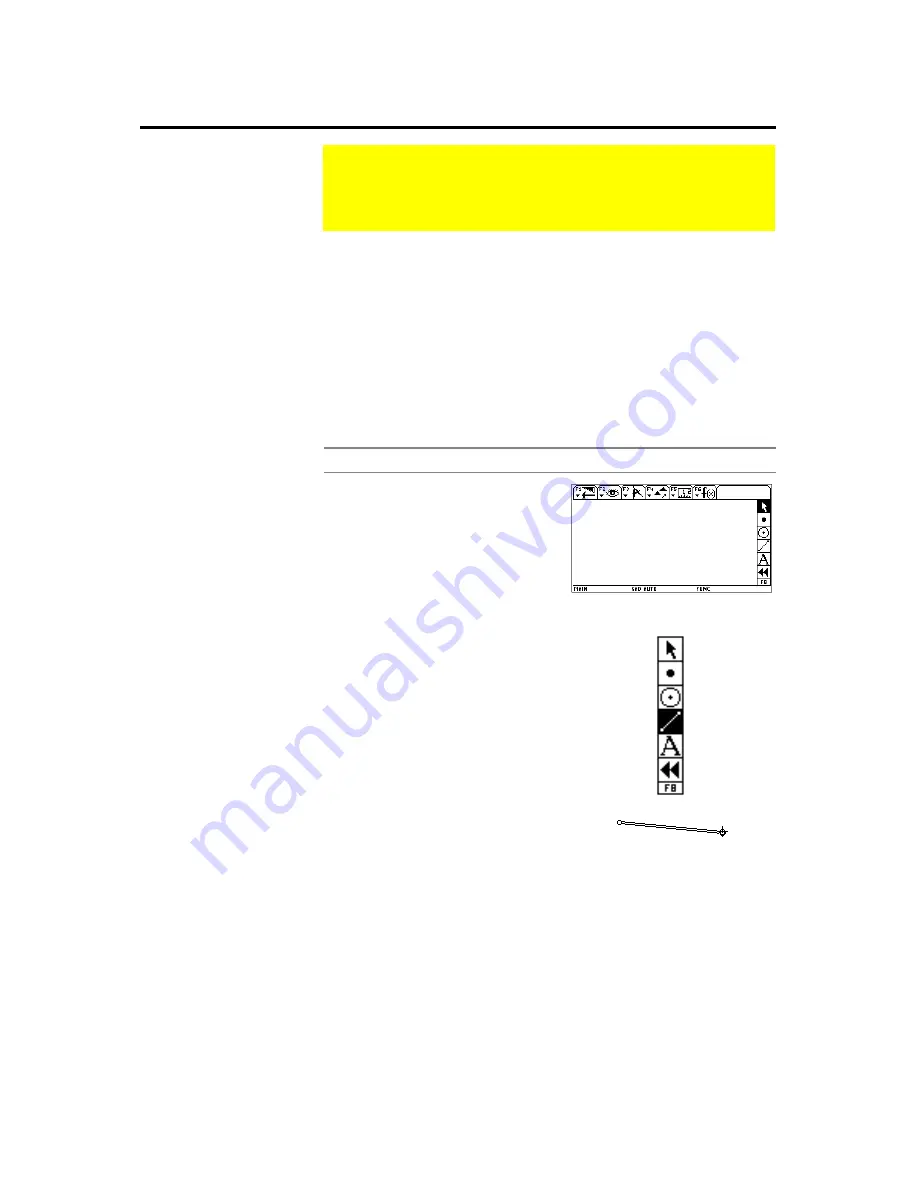
the toolbox (
Š
) along the right
edge.
2. Press
Š
(TI-89:
2 Š
) to
enter the toolbox. Then press
@
until the Segment tool blinks.
(The Segment tool appears at
the left of three pop-up
Straightedge tools.) Press
¸
to choose it. Once the Segment
tool is active, the cursor
becomes a cross-hair.
3. Press
¸
to construct a
segment endpoint. Press
@
to
move away from the first
endpoint, constructing a
segment as you move. Press
¸
again to construct the
segment’s second endpoint.
4. Construct the first of two more segments to complete the triangle.
With the cursor still positioned on the endpoint of your first segment,
construct a second segment by pressing
¸
,
@
to drag away, and
¸
again to complete the second segment.
Introductory Tour
This is the first of two Guided Tours, which are geometric
investigations with step-by-step instructions designed to
introduce you to many of Sketchpad’s features.
Drawing
The square brackets in the
instructions at right mean
that text this appears as
Sketchpad on the TI-89
and as The Geometer’s
Sketchpad on the
TI-92 Plus/Voyage™ 200
PLT.
The
@
symbol refers to the
large multidirectional cursor
pad on the TI-92 Plus and to
the four cursor keys on the
TI-89.
The Straightedge tools are
used for making segments,
rays, and lines. When you
choose one, it remains
active until you choose a
different tool or arrow.
On the TI-89, you can use
M
instead of
¸
for
easier keyboard entry when
using tools or selecting
objects.


