Kenwood KTG606S19 Installation Instructions Manual Download Page 1

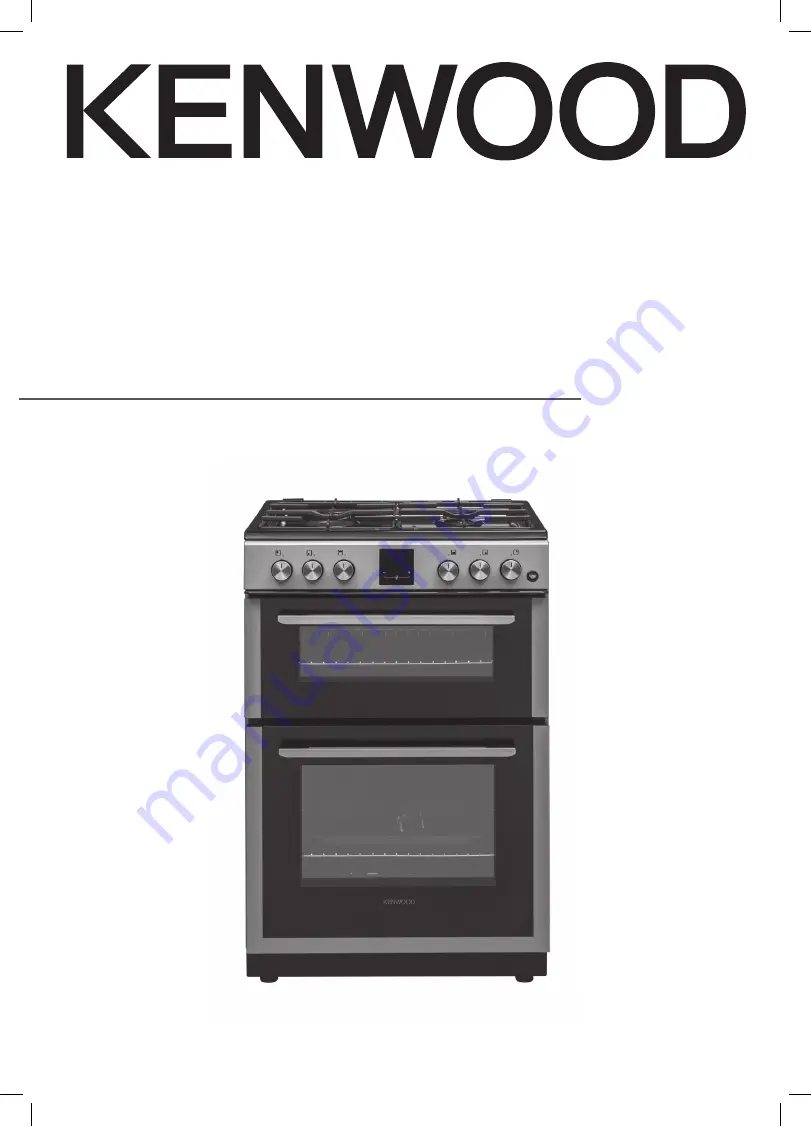
Free-Standing Twin Cavity  

Gas Cooker

KTG606S19

installation / instructions manual

Kenwood Free Standing Twin Cavity Gas Cooker KTG606S19 Manual.indd   1

Kenwood Free Standing Twin Cavity Gas Cooker KTG606S19 Manual.indd   1

15/01/2021   15:59

15/01/2021   15:59

Summary of Contents for KTG606S19

Page 1: ... Gas Cooker KTG606S19 installation instructions manual Kenwood Free Standing Twin Cavity Gas Cooker KTG606S19 Manual indd 1 Kenwood Free Standing Twin Cavity Gas Cooker KTG606S19 Manual indd 1 15 01 2021 15 59 15 01 2021 15 59 ...

Page 2: ...Kenwood Free Standing Twin Cavity Gas Cooker KTG606S19 Manual indd 2 Kenwood Free Standing Twin Cavity Gas Cooker KTG606S19 Manual indd 2 15 01 2021 15 59 15 01 2021 15 59 ...

Page 3: ...me Failure Safety Feature 16 Before Using the Oven 16 Replacing the Anti tilting Oven Shelf 16 Using the Oven 17 Preheating 17 Cooking 17 Switching the oven light on 17 Fitting the Grill Deflector Heat Shield 18 Grill Control 18 Lighting the Grill Burner 18 Using the Grill 19 Using the Minute Minder Timer 20 Adjusting the Tone of the Minute Minder Timer 21 General Advice 22 Cleaning the Outside of...

Page 4: ... Cooker 32 Stability Bracket 32 Ventilation Requirements 33 Gas Installation 33 Installation and Service Regulations 33 Gas Connection 34 Installation Relevant to Natural Gas 34 Installation Relevant to Liquid Petroleum Gas LPG 34 To Connect the Gas Supply 34 Replacement of Burner Injectors 35 To Replace the Hob Injectors 35 Adjusting the Reduced Flame Position 35 To Replace the Grill Injector 36 ...

Page 5: ...orized service agent or qualified electrician in order to avoid a hazard The cooker must be used in a well ventilated location and installed on flat level surface Do not install your appliance on a carpeted surface it will restrict the products ventilation Only operate your appliance in a dry atmosphere Keep the electrical cables of your other appliances away from hot areas do not let them touch t...

Page 6: ...VER try to extinguish a fire with water but switch off the appliance and then cover the flame e g with a lid or a fire blanket Danger of fire Do not store items on the cooking surfaces When the hob is hot never touch any parts that get hot Allow the hob to cool before touching these parts When the oven is hot never touch the oven glass or any other parts that get hot Allow the oven to cool before ...

Page 7: ...ol system This appliance is not designed to be used with hob guards Use of inappropriate hob guards can cause accidents The inside surface of storage compartment may be hot during use Care should be taken to avoid touching inside surfaces To prevent the appliance tipping the stabilizing bracket must be installed Kenwood Free Standing Twin Cavity Gas Cooker KTG606S19 Manual indd 7 Kenwood Free Stan...

Page 8: ...staller to view the installation section of this manual Read all the safety instructions carefully before use and keep this manual for future reference If items are missing or damaged please contact Partmaster UK only Tel 0344 800 3456 for assistance Stability Bracket x 1 LPG Conversion Kit LPG nozzles x 6 LPG Replacement Rating Plate Sticker x 1 Large Burner Standard Burner x 2 Small Burner Oven ...

Page 9: ...l Door 3 Small Burner Simmer 5 Oven Door Handle 6 Oven Door 7 Adjustable Feet 1 2 3 5 4 6 7 2 1 3 All images are for indication only please refer to your individual unit for actual item Kenwood Free Standing Twin Cavity Gas Cooker KTG606S19 Manual indd 9 Kenwood Free Standing Twin Cavity Gas Cooker KTG606S19 Manual indd 9 15 01 2021 15 59 15 01 2021 15 59 ...

Page 10: ... gas through each of the burners OFF Minimum Flame Maximum Flame You can cook at any heat setting between and but never between and the 0 position 1 2 3 4 5 6 7 8 All images are for indication only please refer to your individual unit for actual item Off Off Off Off Off Max Max Max Max Max Min Min Min Min Min Off Kenwood Free Standing Twin Cavity Gas Cooker KTG606S19 Manual indd 10 Kenwood Free St...

Page 11: ...d hold the and buttons at the same time the number will stop flashing but the dot will carry on flashing 3 While the dot is still flashing press the or buttons to adjust the time Pressing and holding the buttons will quickly adjust the time 4 Once you have set the correct time just wait for a few seconds When the dot stops flashing the time is then set The Symbol will appear after 30 second Press ...

Page 12: ...rol counter clockwise so that the control is at its maximum position Hold an ignition source e g candle lighter close to the upper circumference of the burner Move the ignition source away as soon as you see a stable flame Continue holding the control in for approximately 5 to10 seconds after the burner has lit Releasing the control too soon will extinguish the flame due to the flame failure safet...

Page 13: ...s Not Light If the burner does not light check that The cooker is switched on at the mains supply to enable the ignition circuit to work The gas is turned on You have held in the control for at least 5 to 10 seconds The ignitors are sparking If the ignitors are not sparking they may be dirty or wet Clean them gently with a small nylon brush such as a toothbrush as shown below Never operate the ign...

Page 14: ...nimum dimensions stated below will cause energy loss Saucepan sizes should be as per the table shown below Burners Diameter Minimum Diameter Maximum Diameter Small Simmer 12 cm 18 cm Standard 14 cm 22 cm Large Fast 22 cm 26 cm General Guidelines To get the best out of your hob follow these simple suggestions Use saucepans with thick flat bottoms Food in a saucepan with an uneven bottom will take l...

Page 15: ...direction so that the control shows 0 OFF position in line with the marking on the control panel First Time Use of the Oven Ensure that nothing has been left in the oven Remove any insert cards or plastic bags Before connecting the power use a damp cloth to carefully wipe the inner cavity wall and housing Clean all the detachable parts in hot soapy water before using Heat the oven on maximum for 4...

Page 16: ...rn off the burner and do not try to light it again for at least one minute to allow the gas to disperse Before Using the Oven Accessible parts may become hot during use Young children should be kept away All images are for indication only please refer to your individual unit for actual item Under no circumstances should the oven be lined with aluminium foil as overheating may occur Do not place di...

Page 17: ...e bottom of the food Shiny aluminium or polished steel trays reflect the heat away and give less browning of the bottom of the food When cooking more than one dish in the oven place dishes centrally on different shelves rather than cluster several dishes on one shelf this will allow the heat to circulate freely for the best cooking results If you are cooking more than one tray of similar items for...

Page 18: ...umference of the burner Move the ignition source away as soon as you see a stable flame Continue holding the control in for approximately 5 to10 seconds after the burner has lit Releasing the control too soon will extinguish the flame due to the flame failure safety feature 2 After ignition check the flames visually If you see yellow tipped lifted or unstable flames turn the control off If the bur...

Page 19: ...ot 1 2 3 or 4 The food to be cooked must be placed on the grill rack Ensure there is at least 30 mm between the food and the grill burner The handle must be removed once the grill rack tray is in position Check the food regularly to ensure you do not overcook it The grill pan has a detachable handle Ensure when using the grill pan handle that it is centralised and secure as shown below Using the G...

Page 20: ...e the time You can also press the button to decrease the amount of time 3 When you have set your desired time wait for a few seconds the symbol will stop flashing and the time will be displayed 4 If you want to see the time remaining at any time unlock the display then press the button and you ll see the time counting down 5 Once the timer has counted down to 0 00 your cooker will beep and the sym...

Page 21: ... display will show the current tone number either tone 1 2 or 3 3 Press the button to scroll through the 3 tones you will hear each tone with each press of the button When you have chosen a tone you like wait a few seconds When the display returns to the clock your choice has been saved Kenwood Free Standing Twin Cavity Gas Cooker KTG606S19 Manual indd 21 Kenwood Free Standing Twin Cavity Gas Cook...

Page 22: ...ean the oven or grill door glass since they may scratch the surface which could result in the glass shattering Before you start cleaning your cooker please Read the cleaning instructions and the Safety Warnings sections Turn the cooker off at the mains socket and disconnect the plug from the socket Allow the cooker to completely cool down before cleaning Do not use a steam cleaner Do not keep flam...

Page 23: ...e liner may discolour with age If a large amount of fat is spilled onto the liner it may reduce its efficiency To overcome this problem set the oven to maximum temperature for about 20 30 minutes After the oven has cooled wipe out the floor of the oven Manual cleaning of the catalytic liners is not recommended Damage will occur if a soap impregnated steel wool pad or any other abrasives are used I...

Page 24: ...apy water or non abrasive detergents Clean spills regularly before they become burnt on Do not wash these parts in a dishwasher After cleaning check that the burner ring and burner caps are dry before replacing correctly It is very important to check that the burner ring and burner caps have been correctly positioned Failure to do so can cause serious problems To avoid damage to the electric ignit...

Page 25: ...ve problems with the gas taps call your Authorised Service Centre These parts are NOT user serviceable Both the ignitor and probe must be very carefully cleaned using a toothbrush When replacing the burner parts ensure you do not damage the ignitor or temperature probes Kenwood Free Standing Twin Cavity Gas Cooker KTG606S19 Manual indd 25 Kenwood Free Standing Twin Cavity Gas Cooker KTG606S19 Manu...

Page 26: ... the metal bar above them Lift the retainers as shown Lift the grill door slightly The notch on the bottom of the hinge will disengage Now pull the grill door forwards off the appliance Releasing both hinge sections from the slots Ensure that the cooker is switched off before replacing the lamp to avoid the possibility of an electric shock Bulb specifications 230V 50 Hz 25W E14 All images are for ...

Page 27: ...h your approved service agent The low setting may have been adjusted incorrectly Check this with your approved service agent My burners do not turn down much when running on bottled gas or LPG Your burners may not have been adjusted correctly Check this with your approved service agent The flame tips are very yellow Call your approved service agent There are objectionable odours During first time ...

Page 28: ...ed on at the wall socket outlet The display isn t working properly The display may be locked press and hold the and buttons for 2 seconds to unlock the display Remember the display will automatically lock after 30 seconds Clean the display moisture on the display may prevent it from working properly Kenwood Free Standing Twin Cavity Gas Cooker KTG606S19 Manual indd 28 Kenwood Free Standing Twin Ca...

Page 29: ... Total Consumption 1143 l h Total Power 12 kW Type of Hob Gas Number of Cooking Zones 4 Energy Efficiency of Hob 58 3 This Hob Complies with EN 30 2 1 Features and specifications are subject to change without prior notice Burner in Values According to the Gas Type LPG Natural Gas Energy Efficiency G 30 31 28 30 37 mBar G 20 20 mBar Large Burner Fast Power kW 3 00 kW 2 90 kW 57 Standard Burner Powe...

Page 30: ...of cooking Do not open the oven door during cooking Hob Use cookware that has a flat base Use the correct sized cookware for the cooking zone being used Use a lid on your cookware Minimize the amount of liquid or fat used When liquids start boiling reduce the heat Kenwood Free Standing Twin Cavity Gas Cooker KTG606S19 Manual indd 30 Kenwood Free Standing Twin Cavity Gas Cooker KTG606S19 Manual ind...

Page 31: ...heat resistant material check with your furniture supplier The veneered synthetic material and the glue used must be resistant to a temperature of 100 C in order to avoid ungluing or deformations Flammable materials such as curtains wood wallpaper etc must not be fitted immediately behind the appliance or within 500 mm of the sides Do not place next to a refrigerator This cooker must NOT be placed...

Page 32: ...d Using the fitted adjustable feet is MANDATORY For safety reasons and to ensure adequate ventilation the cooker chassis MUST NOT sit directly on the floor a plinth or other support surface Two people must always raise the cooker as shown to prevent damaging the adjustable feet Do not lift the cooker by the door handles DO NOT DRAG the cooker Lift the feet clear of the floor All images are for ind...

Page 33: ... the appliance must have direct access to the outside air via a window that opens or equivalent Where there are other fuel burning appliances in the same room the latest edition of BS 5440 2 should be consulted to determine the correct amount of free area ventilation requirements This cooker uses and is ready to use NATURAL GAS only and cannot be used with any other gas without modification This a...

Page 34: ...ertake a full gas tightness test 3 To avoid damage to the appliance gas rail inlet pipe tighten the fittings using two suitable spanners 4 Using a suitable leak detection fluid solution check each gas connection one at a time by brushing the solution over the connection The presence of bubbles will indicate a leak If there is a leak tighten the fitting and then recheck for leaks Only a suitably qu...

Page 35: ...sition to the minimum position Create an artificial wind with your hand toward the flame to see if the flames are stable Injector Spanner Select the injectors to be replaced according to the Table for the choice of the injectors To Replace the Hob Injectors Turn off and isolate the Gas and Electric supplies to the cooker Remove the burner ring and cap Unscrew the injectors For this use a 7mm socke...

Page 36: ...e injector with a 7mm spanner and replace the injector with the ones from the spare set with corresponding diameters suitable to the type of gas that is going to be used according to the information chart which is also supplied in the gas conversion kit Screw Remove the injector with a 7mm spanner and replace the injector with the ones from the spare set with corresponding diameters suitable to th...

Page 37: ...Power kW 3 000 2 900 Standard Burner Injector mm 0 650 0 970 Gas Flow 15 C and 1013mbar 127 20 gr h 166 70 lt h Power kW 1 750 1 750 Small Burner Simmer Injector mm 0 500 0 720 Gas Flow 15 C and 1013mbar 72 70 gr h 95 20 lt h Power kW 1 000 1 000 Grill Burner Injector mm 0 690 1 100 Gas Flow 15 C and 1013mbar 152 70 gr h 209 50 lt h Power kW 2 100 2 200 Main Oven Burner Injector mm 0 750 1 150 Gas...

Page 38: ...d be routed away from any hot parts If the mains cable is damaged it must be replaced by the manufacturer its service agent or similarly qualified persons in order to avoid a hazard L N Live Brown Earth Green Yellow Neutral Blue Cord Clamp All images are for indication only please refer to your individual unit for actual item Kenwood Free Standing Twin Cavity Gas Cooker KTG606S19 Manual indd 38 Ke...

Page 39: ...Kenwood Free Standing Twin Cavity Gas Cooker KTG606S19 Manual indd 39 Kenwood Free Standing Twin Cavity Gas Cooker KTG606S19 Manual indd 39 15 01 2021 15 59 15 01 2021 15 59 ...

Page 40: ...osed of with your other household waste Instead it is your responsibility to dispose of your waste equipment by handing it over to a designated collection point for the recycling of waste electrical and electronic equipment The separate collection and recycling of your waste equipment at the time of disposal will help conserve natural resources and ensure that it is recycled in a manner that prote...

Reviews: