background image

5

Table of contents

SURROUNDINGS

Check that the work area is free from bystanders and objects before hitching or using the 

equipment. Otherwise, there is a risk of serious injury. Be extra careful if there are children in the 

vicinity of the area where the equipment or product is used or stored. Check that there are no low-

hanging electrical cables within the work area. Exercise caution when working on slopes and close 

to ditches. 

Always work alone with equipment or products that are made for working alone. Never leave 

rubbish in the work area, and keep work surfaces clean. Always respect the equipment’s risk zone.

BEFORE USE

Carefully read the safety instructions and the operating manual. Make sure that you 

understand the safety instructions, the operating manual and warning decals. Use common 

sense and suitable personal protective equipment when using the product. Always check the 

performance of the machine combination to be used. It is important that these are compatible 

and work satisfactorily together. This is to ensure that the equipment or product works as 

expected, and to guarantee the safety of yourself and others. Carry out a visual inspection 

of the equipment or product before use. Repair or replace damaged or worn parts to reduce 

the risk of injury. Grease moving parts and check that all nuts and bolts are tightened. Repair 

if necessary. Learn and remember the correct working method. Beginners must work slowly 

until they have learned how the machine or product works. 

Users/customers are responsible for ensuring users can handle the situation. If a user feels  

that the machine is dangerous to use, they should not use it until they have received thorough 
training.

WARNING! 

Never use equipment or products with defective safety components.

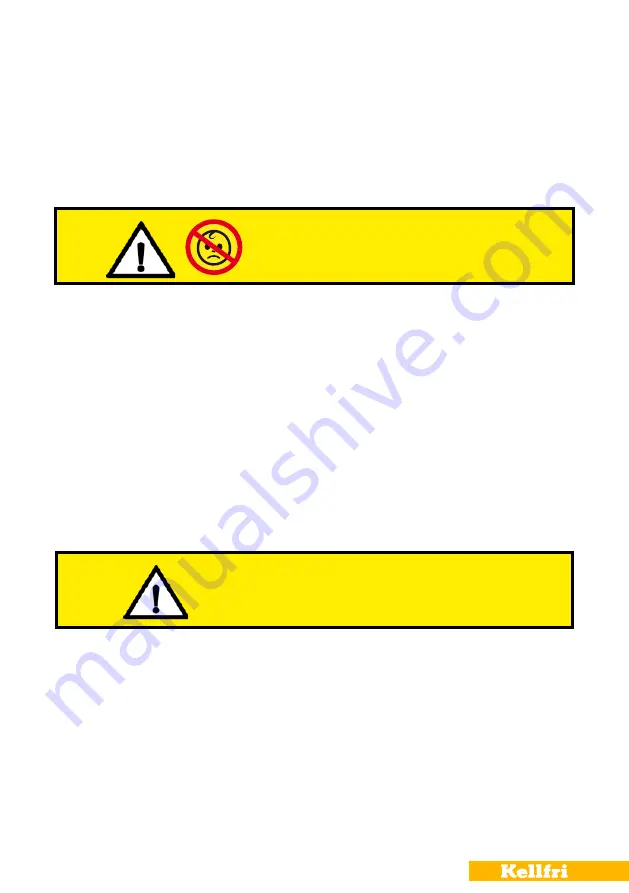
Children must not be left unsupervised in the area!

Warning! 

Summary of Contents for 23-TV07PRO

Page 1: ...Carefully read the operating instructions before using the product Operating instructions translated from Swedish 23 TV07PRO TIPPING AND FORESTRY TRAILER ATV PRO...

Page 2: ...n 3 Product information 3 Area of use 3 Safety instructions 4 Instructions for emergency situations 4 Personal protection 4 Surroundings 5 Before use 5 Environment 5 Use 6 Maintenance and service 7 Tr...

Page 3: ...m galvanised tread plate floor Eyelet in front edge of floor for tiltable floor with a winch Front side and tailgate are removable AREA OF USE Intended for transporting timber but can also be used to...

Page 4: ...TRUCTIONS FOR EMERGENCY SITUATIONS In case of emergency call 112 Always have a mobile phone or emergency phone available when working alone A first aid kit and fire extinguisher must be kept in an eas...

Page 5: ...suitable personal protective equipment when using the product Always check the performance of the machine combination to be used It is important that these are compatible and work satisfactorily toget...

Page 6: ...arning This symbol indicates that a serious accident will occur if the directions in the operating manual are not followed The accident will lead to serious injury possibly death or serious damage Thi...

Page 7: ...with a non brake trailer is allowed to go Take care to comply with these regulations Max 40 km h An SMV sign must be attached when travelling on roads IMPORTANT Adapt the speed when the trailer is ful...

Page 8: ...s stable and cannot tip over when carrying out maintenance and service work Replace damaged or worn parts to reduce the risk of injuries Carry out maintenance service and checks in line with recommend...

Page 9: ...t the equipment or product is well anchored and that available transport lashings are fitted Always position the load as low as possible All protruding loads should be well anchored Respect the risk z...

Page 10: ...the engine of the towing vehicle must be turned off and the ignition key removed Warning Risk of crushing Risk area of 15 metres Respect the equipment s risk zone WARNING Risk of crushing Do not permi...

Page 11: ...35 12 Nut 4 pcs M12 13 Bolt 20 14 Stub axle 2 pcs 18x110 15 R pins 20 pcs 16 Bolt sleeve 2 pcs 16 17 Bolt 4 pcs M16x120 18 Nut 4 pcs M16 19 Washer 2 pcs 45 20 Split pin 2 pcs 6x60 21 Wheel hub nut 16...

Page 12: ...12 Table of contents Bolsters PARTS TRAILER Headboard 1 2 pcs Bogie with wheel hub Wheels 4 Beam rear 1 Beam front 1 Frame 1 Tow bar beam inner part 1 R21 SV07 005...

Page 13: ...13 Table of contents Stabilisers 2 PARTS TRAILER Tow bar with ball coupling 1 Main beam outer part 1 R21 SV07 006 Height adjustable foot 1 Floor 1 Stabiliser bracket 2 Rear flap...

Page 14: ...in beam outer part with two bolts 2 Now fit all the wheels Note The wheel tracks must point in the direction of travel there is an arrow on the tyres indicating the direction of travel 3 Now assemble...

Page 15: ...fore the headboard 5 Mount the headboard stabiliser brackets and stabilisers Mounted on both sides of the headboard See illustrations below 6 Fit the ball coupling and the height adjustable stabiliser...

Page 16: ...16 Table of contents 7 Fit the rear beam 8 Fit the floor on the trailer Carefully lift the floor onto the trailer and secure with pins Rear flap from inside the floor...

Page 17: ...on the headboard tighten all bolts Now mount the crane holder Mount the crane s outer tube in the desired position and then mount the inner tube Slewing house 1 ASSEMBLY THE CRANE Tube outer 1 Inner...

Page 18: ...18 Table of contents BOLSTERS Bolsters are used when the floor is not installed The bolsters are fitted with pins on the front and rear beams...

Page 19: ...he wire rope as this can damage the wire rope Use a sling When winching loads wind in slowly so that the wire rope is tensioned Before continuing to winch check all wire rope connections and that the...

Page 20: ...ways load by weight not by volume IMPORTANT The operator the person tipping the floor must stand behind the crane People must not be in the trailer Make sure that the hook is hooked onto the floor s t...

Page 21: ...oned Before continuing to winch check all wire rope connections and that the hook is attached securely Do not move the trailer to move or pull the load e g when the wire rope is attached to a log It c...

Page 22: ...22 Table of contents NOTES...

Page 23: ...e contact the dealer in the first instance REASON YES 11 Transport damage 09 Product complaint 04 Wrong goods delivered 03 Wrong quantity Purchaser Customer number Address Invoice number E mail Daytim...

Page 24: ...bour costs Travel costs Machines on which the purchaser has made or commissioned modifications Any additional costs arising as a result of damage to the machine Damage due to normal wear and tear of t...

Reviews: