Instruction Manual
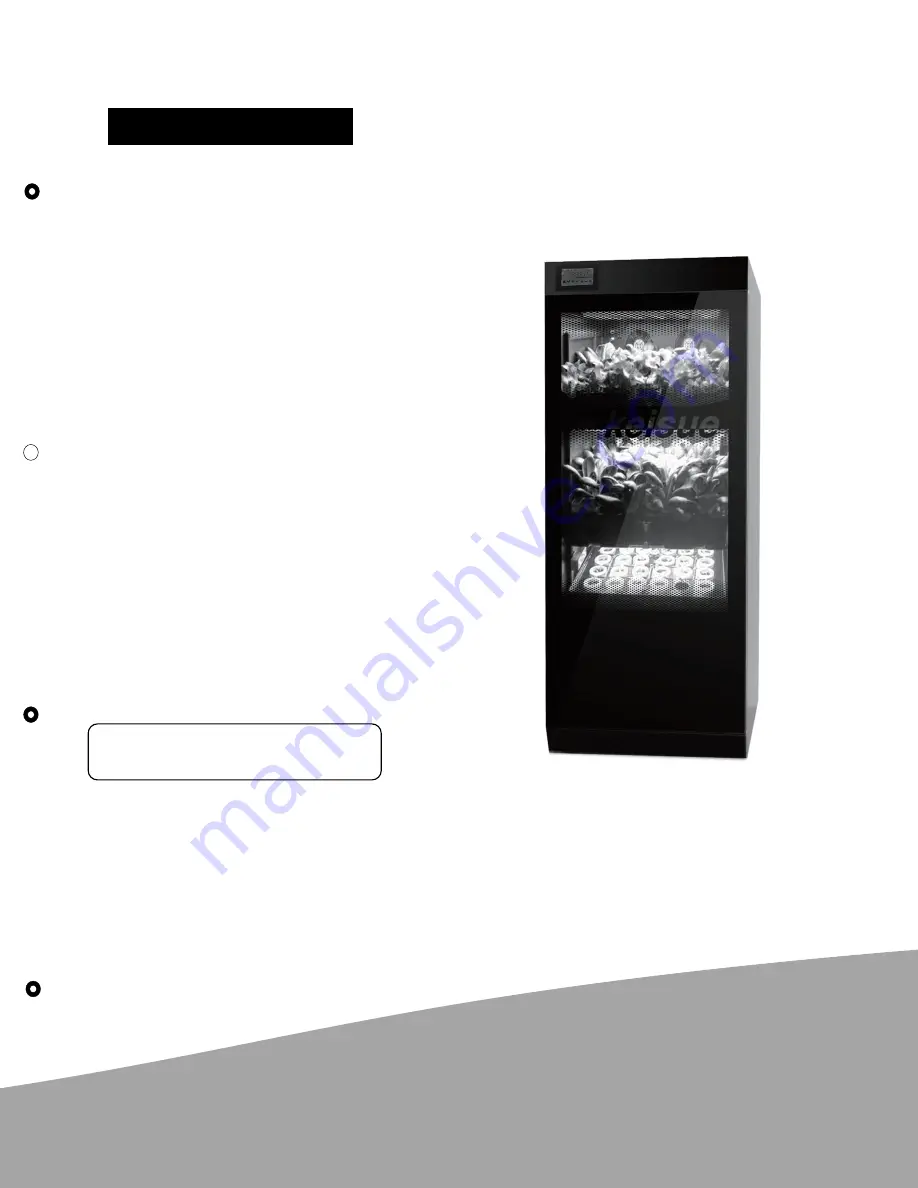
Keisue Household Vertical Farm
Please read the instruction carefully before using the product. After reading, please keep the Manual in
a safe place for future reference.
Keisue
The Greatest Farming Helper
Indoor
KES1.0
、
KES2.0
Page 1: ...isue Household Vertical Farm Please read the instruction carefully before using the product After reading please keep the Manual in a safe place for future reference Keisue The Greatest Farming Helper...
Page 2: ...SWITCH CONFIGURATIONS VIII 3 2 Accessories IX 3 3 Gifts set IX 4 Instructions X 4 1 Getting ready for planting X 4 2 Ready to cultivate X 4 2 1 Vegetable mode cultivation X 4 2 2 Sprouts Mode Cultiva...
Page 3: ...ence using our product Before you use the appliance we recommend that you read through the whole user manual which provides the description and its functions including some guidelines for growing your...
Page 4: ...here are children at home please activate the Child lock at the bottom of the machine Children are able to use the machine under adult supervision Product is for indoor only If to be placed on the bal...
Page 5: ...ages are AC220V AC110V LED lights and water pumps are using DC12V power supply If the floor is uneven the pump cover can be removed for a few minutes to let the water flow to every tray Caution The wa...
Page 6: ...and Configurations 3 1 Main Body and Control Switches 3 1 1 KES1 0 Configuration Picture 1 KES1 0 Household Vertical Farm with Seedlings Sprout Layer Picture is for reference only Refer to any change...
Page 7: ...ES2 0 Configuration Picture 2 KES2 0 Household Vertical Farm for taller plants Notice the two vertical grow lights near the bottom shelf Picture is for reference only Refer to any change on actual app...
Page 8: ...3 1 3 KES1 0 KES2 0 SWITCH CONFIGURATIONS Picture 3 KES1 0 KES2 0 Household Vertical Farm Switch Configurations Picture is for reference only Refer to any change on actual appliance...
Page 9: ...4 System Accessories 3 3 Gifts set Picture 5 Miscellaneous Tools Gifts set Note The pump is 12VDC It can only be connected to the pump socket Accessory and Gifts lists are for reference only Refer to...
Page 10: ...ble mode cultivation 4 2 1 1 Components to start cultivating Fig 1 Some accessories to start cultivations Self prepared apparatus Notes 1 If the water is level too high the water level can be adjusted...
Page 11: ...e the planting sponge into the nursery box which is filled with water Figure 4 7 Turn On the Vegetable Mode button in the appliance start nursery Water and Lighting of 3rd layer should be turned on No...
Page 12: ...til water level reach the 2 5 mark Figure 5 5 Close the tray cover Notes i The cup measuring glass can be used to pour the water into the tray ii Pump should be switched ON after water level reach to...
Page 13: ...ng The most suitable EC value for early stage growth of the plants would be about 1 1 for reference Figure 8 4 2 1 7 The Use of EC detector 1 Press the ON OFF switch to turn on the EC detector 2 Press...
Page 14: ...place them at the 2nd 3rd layer separately 4 2 1 9 Move the 1st batch of seedling 1 After the seedlings grown for 20 days add water Nutrient Solution to the 2nd layer and move those seedlings to 2nd l...
Page 15: ...he 3rd layer to 2nd layer The other batch of seedling can be moved to the 3rd layer about 4 5days can be moved if you can see 2 3 sprouts 2 Seedling can start again after harvesting of 1st 2nd layer t...
Page 16: ...water pump cord to the water pump socket 2 Connect the grow light to the grow light socket 3 Fill the sprout tray with 4L of water using the measuring glass provided Fig 18 4 Insert the stand up pipe...
Page 17: ...cover the sprinkling tray again At the same time to avoid water leakage outside the product please pay attention to the water tubes Note During the growth process take off the shade hood 5 Adding Nutr...
Page 18: ...lume required Nutrient Solution A 60ml 2caps Nutrient Solution B 30ml 1 cap 6 Seedlings can be collected around 10 days seed can be collected by depending on their growth process Cut at 0 8 1cm of the...
Page 19: ...4 3 KES1 0 KES2 0 Planting cycle plan Note If you re going to enjoy 4 plants per day for each harvest 2 plants per net pot you need to plant seeds into 18 net pots to start the batch planting process...
Page 20: ...Note 1 If there is any extra seedling you may put it into the 3rd layer It will grow up but slower Note 2 Refer to the above planting plan you may design your own plan to fulfill your need...
Page 21: ...5 Functions Description 5 1 Control Panel Instruction...
Page 22: ...should hear a Beep sound When Vegetable icon flashes press OK button ON icon lights up digital display and plant light twinkle to enter Light Timer setting mode Press to set the Light On time b After...
Page 23: ...st the humidity Ranging from 55 to 75 Setting can be exited automatically either by pressing OK button or hand off for 10 seconds 3 Seedling Mode Custom 1 Light Timer Setting a Hold the SET for 3 seco...
Page 24: ...mer setting is for the 1st Light Up time of Seedling layer For instance with the setting of 72 hours it means that the light will turn on at the seedling layer after the 72 hours of starting the Seedl...
Page 25: ...rature displays C1 3 High temperature fault the temperature displays HA alternately display with room temperature lights turn off 4 Low temperature fault the temperature displays Lo alternately displa...
Page 26: ...tact seeds no insect bites after soaking the seed shape is fullness texture and soft Excellent seeds From left to right completely bubble open not completely open and not bubble open 2 Not soaked seed...
Page 27: ...bad species are as follows due to external forces such as extrusion or pest eating resulting in the overall normal physiological structure of the seed changes affecting the normal seed germination gen...
Page 28: ...or put into the freezer of your fridge Please keep away from children considering that they might accidentally consume it Our company would not be responsible for this Please seal the bag after used U...
Page 29: ...onment it is recommended that the tray cover and tray can be cleaned regularly with warm water Be attention that plugs do not get wet while cleaning 7 2 Maintenance 1 Please follow the manual in stric...
Page 30: ...th room temperature or C1 HA Lo E1 and KES1 0 body temperature alternately display Evaporator failure E1 and C1 alternately show Evaporator failure temperature probe failure E1 and HA alternately show...
Page 31: ...KEISUE Email info keisue com Web http www keisue com...
Page 32: ...Head Office Keisue Group Limited Shenzhen Keisue Technology Co Ltd Tel 86 755 8988 5853 Address 4 F No 20 Baofu Road Ping Hu Street Long Gang District Shenzhen 518100 China...