


88
Installing Built-in Viewer
1.
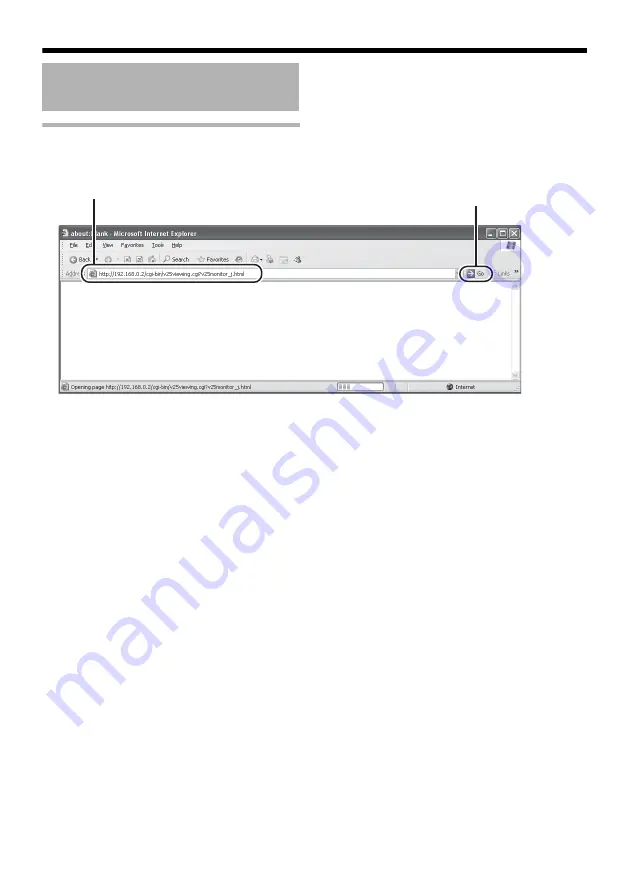
Enter IP address of camera in the address bar ofInternet Explorer
Operation of Built-in Viewer
(continued)
A
B
Click [Go]
Enter the following IP address into the address field.
http://192.168.0.2
Summary of Contents for VN-X35U - Network Camera
Page 52: ...52 Setting Using Internet Explorer Alarm Page continued Setting continued E F G H I J K ...
Page 56: ...56 Setting Using Internet Explorer Alarm Environment Page continued Setting continued C ...
Page 82: ...82 Setting Using Internet Explorer Settings Page continued Setting continued ...
Page 83: ...83 ...
Page 111: ... 2008 Victor Company of Japan Limited LST0789 001A VN X35U MEGAPIXEL IP CAMERA ...