


153
10 Configuration
10.16 Ethernet
The Ethernet settings must be requested from the administrator of the
network in which the device is installed.
Open:
Device menu
r
Configuration
r
Ethernet
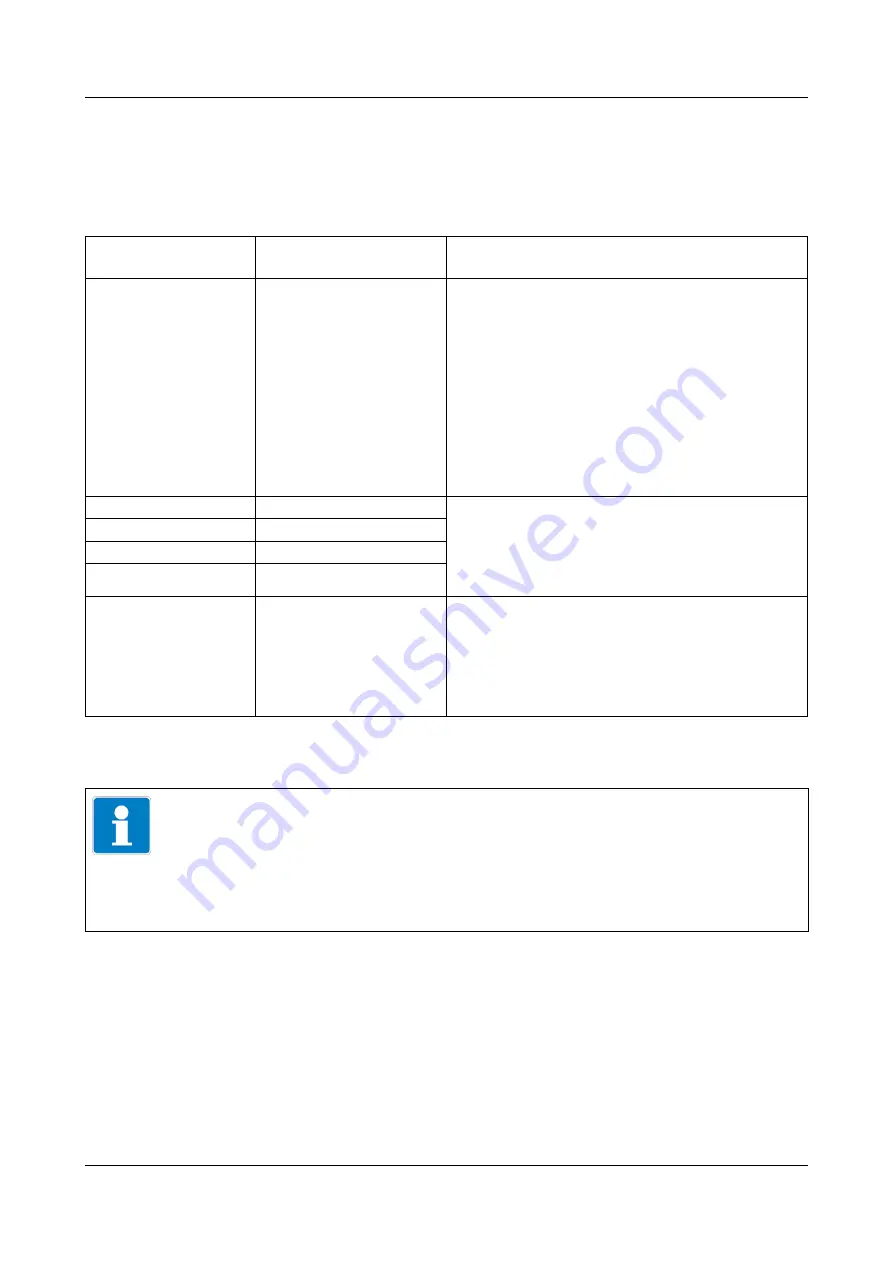
Configuration point Selection/
setting option
Explanation
Assign IP address
Manual
Automatic
manual:
If no DHCP server is installed
or a dedicated IP configuration is desired and the
IP address configuration is known (e.g. from the
network administrator), the data can be entered
manually.
automatic:
A DHCP server is installed
in the network. During power-up and booting,
the JUMO AQUIS touch P receives
the IP configuration from the DHCP server; the
IP configuration takes place automatically.
Manual IP address
Valid IP address
a
IP configuration of the Ethernet optional board
Manual entry of known configuration data or au-
tomatic configuration by the DHCP server (see
configuration item "IP address assignment")
Subnet mask
Valid subnet mask
a
Standard gateway
Valid IP address
a
DNS server
Valid IP address
a
Transfer rate
Automatic
10 Mbit/s half duplex
10 Mbit/s full duplex
100 Mbit/s half duplex
100 Mbit/s full duplex
Transmission speed (bit rate) and duplex mode
of the Ethernet optional board
This setting must match the setting of the
switch or router port to which
the JUMO AQUIS touch P is connected.
a
To enter an IP configuration manually for the JUMO AQUIS touch P, a valid available IP address in the
network must be known. Please contact your network administrator in this regard.
NOTE!
The Ethernet settings are entered in the online parameters in the JUMO PC
setup program.
The IP configuration of the device can also be changed from the PC if the PC
and device are connected via Ethernet. In this case, changing the IP address
or subnet mask can interrupt the PC-device connection.
v
Summary of Contents for AQUIS touch P 202580
Page 12: ...Content...
Page 26: ...4 Identifying the device version 26...
Page 29: ...29 5 Mounting Mounting depth with Ci conductivity sensor 283 3 mm 2 3 mm 36 mm 25 mm 23 2 mm...
Page 32: ...5 Mounting 32...
Page 64: ...7 Startup 64...
Page 100: ...1 2 3 4 5...
Page 107: ...107 8 Operation Example of a Quad View...
Page 108: ...8 Operation 108...
Page 114: ...9 Parameterization 114...
Page 160: ...10 Configuration 160...
Page 182: ...13 Calibrating a pH measuring chain 182...
Page 196: ...16 Calibrating CR conductivity sensors 196...
Page 206: ...17 Calibrating Ci conductivity sensors 206...
Page 214: ...18 Calibrating universal inputs 214...
Page 228: ...19 PC Setup Program 228...
Page 319: ...319 20 Technical data...
Page 320: ...20 Technical data 320...
Page 321: ......


