Programming Overview
There are three menus used to view, program, and
configure the TEC2104-1 thermostats:
The
Status Display Menu
displays during normal
thermostat operation. The menu continually scrolls
through the following parameters:
•
Room Temperature
•
System Mode
•
Schedule Status (Occupied/Unoccupied/Override
[see Note])
Note:
Override displays only when in the
Overrride mode.
•
Auxiliary Temperature (Displays outdoor or other
auxiliary temperatures. Requires the sensor to be
wired to the Auxiliary/Outdoor Air Sensor terminal
OS [Figure 5].)
•
Applicable Alarms (The backlight lights up as an
alarm condition is displayed.)
To temporarily stop the scrolling, press the up
arrow/SCROLL key.
Use the
Main User Menu
to access and change the
thermostat’s basic operating parameters. Access the
menu by pressing the MENU key during normal
thermostat operation.
Use the
Installer Configuration Menu
to set up the
thermostat for application specific operation. Access
the menu by removing the front cover and pressing the
configuration key, labeled CONFIG (Figure 7).
Configuring the TEC2104-1
The TEC2104-1 ships from the factory with default
settings for all configurable parameters. The default
settings are shown in Table 2. To reconfigure the
parameters, follow the steps in this section for the
corresponding parameters. The parameters must be
set up first by accessing the Installer Configuration
Menu. Access the Installer Configuration Menu by
removing the front cover and pressing the
configuration key (Figure 7).
Exit the Installer Configuration Menu any time by
pressing the MENU key and, at the exit prompt,
pressing the YES key. To pass over a parameter
without changing it, press the NO key.
When the thermostat is in the Installer Configuration
Menu and left unattended for 45 seconds, it reverts to
the Status Display Menu.
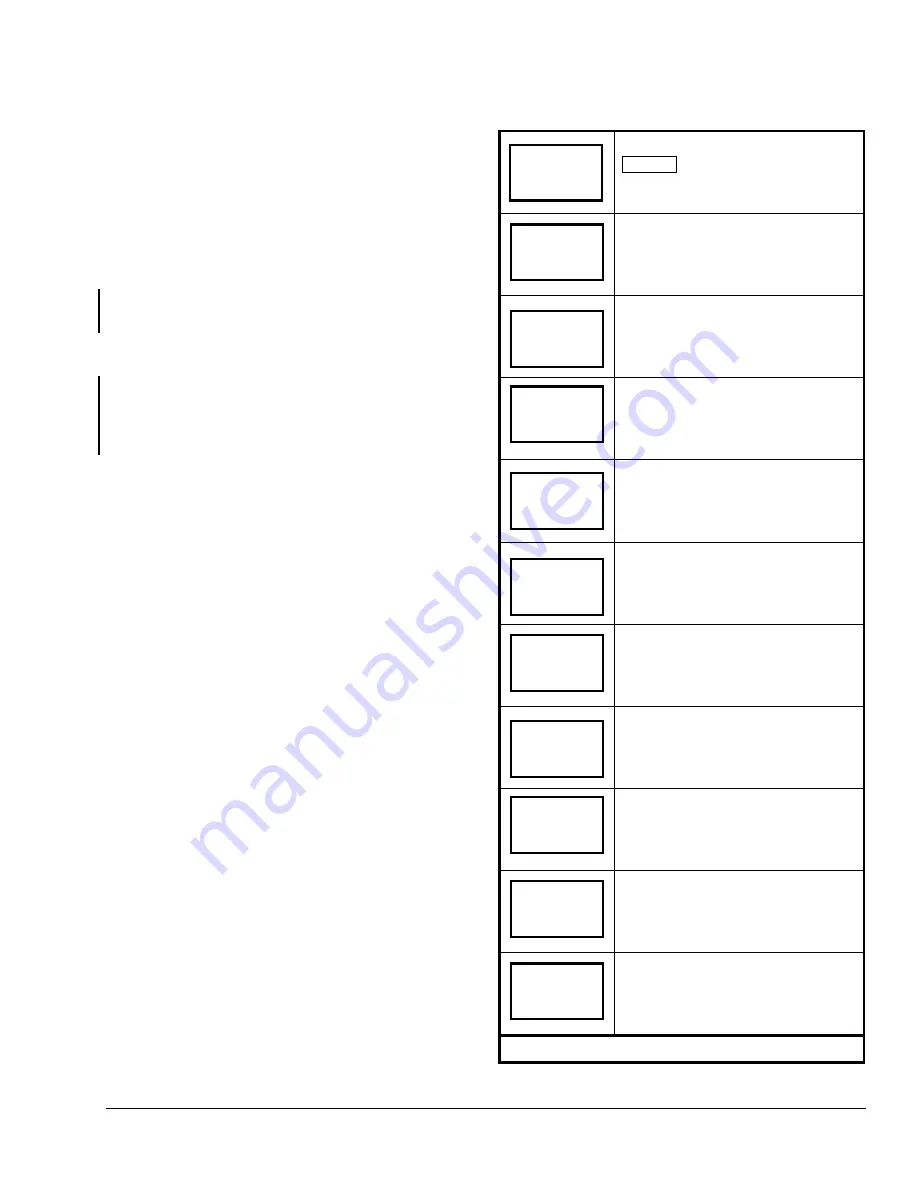
Table 2: Installer Configuration Menu
Remove the cover and press the
CONFIG key from the Status Display
Menu to enter the Installer
Configuration Menu.
Configures Digital Input 1
Default: No Function
(None)
See the
Configuring the Digital Inputs
(DI1 and DI2)
section
.
Configures Digital Input 2
Default: No Function
(None)
See the
Configuring the Digital Inputs
(DI1 and DI2)
section
.
Sets Keypad Lockout Level
Default: No Lockout
(0)
See the
Enabling the Keypad Lockout
(Lockout)
section
.
Sets Power-up Delay
Default: Ten Seconds
(10.0 sec)
See the
Setting the Power-Up Delay
(Pwr del)
section
.
Enables/Disables Frost Protection
Default: Disabled
(Off)
See the
Enabling Frost Protection
(Frost pr)
section
.
Sets the Maximum Heating Setpoint
Default:
90.0
°
F (32.0
°
C)
See the
Setting the Maximum Heating
Setpoint (Heat max)
section
.
Sets the Minimum Cooling Setpoint
Default:
54.0
°
F (12.0
°
C)
See the
Setting the Minimum Cooling
Setpoint (Cool min)
section
.
Sets the Anti-Short Cycle Timer
Default: Two Minutes
(2.0 min)
See the
Setting the Anti-Short Cycle
Timer (Anticycl)
section
.
Sets the Heating Cycles per Hour
Default: Four
(4.0)
See the
Setting the Maximum Heating
Stage Cycles per Hour (Heat cph)
section
.
Sets the Cooling Cycles per Hour
Default: Four
(4.0)
See the
Setting the Maximum Cooling
Stage Cycles per Hour (Cool cph)
section
.
Continued on next page . . .
RoomTemp
75.0
°
F
DI1
set? Y/N
DI2
set? Y/N
Lockout
set? Y/N
Pwr del
set? Y/N
Frost pr
set? Y/N
Heat max
set? Y/N
Cool min
set? Y/N
Anticycl
set? Y/N
Heat cph
set? Y/N
Cool cph
set? Y/N
TEC2104-1 Networked Multi-Stage Economizer Thermostat Installation Instructions
7


