background image


Operating Instructions and Parts Manual 

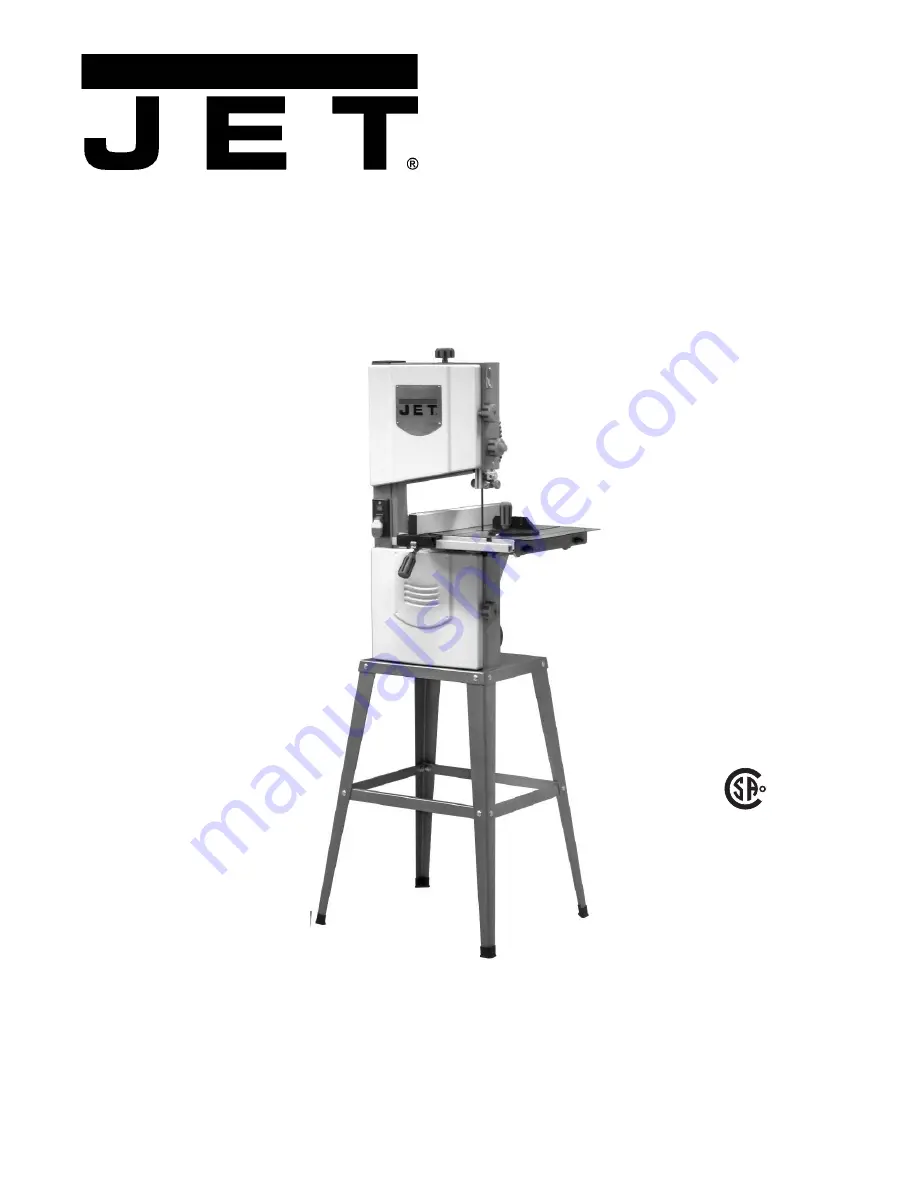
10-inch Band Saw 

Model JWBS-10OS 


WALTER MEIER (Manufacturing) Inc. 

427 New Sanford Road 
LaVergne, Tennessee 37086 

Part No. M-707200


Ph.: 800-274-6848 

Revision A2  02/2012 

www.waltermeier.com 

Copyright © 2012 Walter Meier (Manufacturing) Inc. 

C

US

R


162920

Summary of Contents for JWBS-10OS

Page 1: ...10 inch Band Saw Model JWBS 10OS WALTER MEIER Manufacturing Inc 427 New Sanford Road LaVergne Tennessee 37086 Part No M 707200 Ph 800 274 6848 Revision A2 02 2012 www waltermeier com Copyright 2012 Walter Meier Manufacturing Inc C US R 162920 ...

Page 2: ...ation postage prepaid to a location designated by us For the name of the location nearest you please call 1 800 274 6848 You must provide proof of initial purchase date and an explanation of the complaint must accompany the merchandise If our inspection discloses a defect we will repair or replace the product or refund the purchase price at our option We will return the repaired product or replace...

Page 3: ...he Table 10 90º Table Stop Adjustment 10 Changing Blades 11 Adjusting Blade Tension 11 Upper Blade Guide Positioning 12 Blade Guide Adjustment 12 Operating Controls 13 Adjusting Blade Tracking 11 Replacing the Poly V Belt 14 Adjusting Poly V Belt Tension 14 Grounding Instructions 15 General Information 15 115 Volt Operation 15 Extension Cords 15 Troubleshooting 16 Optional Accessories 17 10 Band S...

Page 4: ...ca from bricks cement and other masonry products Arsenic and chromium from chemically treated lumber Your risk of exposure varies depending on how often you do this type of work To reduce your exposure to these chemicals work in a well ventilated area and work with approved safety equipment such as face or dust masks that are specifically designed to filter out microscopic particles 10 Do not oper...

Page 5: ...25 Maintain tools with care Keep blades sharp and clean for the best and safest performance Follow instructions for lubricating and changing accessories 26 Turn off the machine before cleaning Use a brush or compressed air to remove chips or debris do not use your hands 27 Do not stand on the machine Serious injury could occur if the machine tips over 28 Never leave the machine running unattended ...

Page 6: ...eight in 4 1 8 Cutting Capacity width in 9 1 2 Maximum Rip Left of Blade w Fence in 5 Maximum Rip Right of Blade w Fence in 5 Blade Length in 67 5 Blade Speed FPM 2750 Minimum Blade Width in 1 8 Maximum Blade Width in 1 2 Table Size in 13 1 8 x 13 3 8 Table Size with Extension in 13 1 8 x 19 Table Tilt degrees 0 to 45 Table Height from Floor in 42 1 2 Wheel Diameter in 10 Dust Chute Diameter in 4 ...

Page 7: ...ts of Shipping Container 01 Band Saw A 01 Table Insert B 01 Table C 01 Miter Gauge D 01 Fence E 01 Rail Guide F 04 Stand Leg G 02 Short Support Plate H 02 Long Support Plate J 01 Owner s Manual not shown 01 Warranty Card not shown 01 Hardware Bag see below for contents Contents of Hardware Bag p n JWBS10OS HB 01 Hex Wrench 3mm K 01 Combination Wrench 10 13mm L 04 Rail Lock Knob M 04 Rubber Foot N ...

Page 8: ...t legs in the same manner Secure each leg with 2 ea M8x16 carriage bolts Q3 M8 flat washers R3 and M8 hex nuts S3 Hand tighten only at this time 6 Slip rubber feet Figure 2 onto the ends of the stand legs Figure 2 7 Place the saw and stand upright on a level surface Make sure that all four legs are contacting the surface 8 Tighten all nuts with a 13mm socket or wrench Table Installation Referring ...

Page 9: ...need to be removed 4 Adjust the fence so it is parallel to the miter slot 5 Lock the fence handle securing it to the rail guide F and verify that the fence is still parallel to the miter slot 6 Re tighten two screws S1 to secure the fence to the fence body and replace end cap S2 This completes the rail guide and fence installation Fence scale adjustment Referring to Figure 6 1 Place fence assembly...

Page 10: ...nob A Fig 7 then tilt the table C Fig 7 down bringing it to rest against the table stop E Fig 7 3 Use a square J Fig 8 placed on the table C Fig 8 and against the blade H Fig 8 to see if the table is 90º to the blade 4 If an adjustment is necessary tilt the table up to access the table stop E Fig 7 5 Loosen the jam nut D Fig 7 and turn the table stop E Fig 7 in or out to raise or lower the stop Ti...

Page 11: ...eel a few times to allow the blade to position itself in the center of the tire Note If blade does not center see Adjusting Blade Tracking section this page A scale X directly behind the upper wheel M indicates the approximate tension according to the width of the blade 4 Set the blade tension with knob T to corres pond to the blade width as marked on the gauge X Note A meter is recommended to pre...

Page 12: ...connect machine from the power source Never make adjustments with the machine running Failure to comply may cause serious injury Referring to Figure 12 1 Disconnect machine from power source Note Blade must already be tensioned and track ing properly Adjusting Blade Tension page 10 2 For the upper thrust bearing loosen thumb screw B For the lower blade guide loosen setscrew B with the 3mm hex wren...

Page 13: ...r the upper blade guide loosen two thumb screws E For the lower blade guide loosen two setscrews E with the 3mm hex wrench provided 3 Slide the adjustment shaft F to position each roller guide D approximately 1 16 behind the gullets of the saw blade The roller guide D is mounted on a concentric shaft F When the shaft is rotated the relative position of the guide to the blade can be changed 4 Rotat...

Page 14: ...e new belt D partially around the motor pulley C to get it started then turn the wheel B by hand until the belt D is completely seated on the motor pulley C 11 Push the motor down to add tension to the belt E The belt is properly tensioned when moderate finger pressure on the belt between the two pulleys causes a 1 2 deflection 12 Tighten the hex cap screw on the back of the cabinet that secures t...

Page 15: ...at 115 volt operation This bandsaw is intended for use on a circuit that has an outlet and a plug that looks like the one illustrated in Figure 4 An adapter with a grounding ear Figure 16 may be used temporarily to connect this plug to a two pole receptacle as shown Figure 11 if a properly grounded outlet is not available The temporary adapter should only be used until a properly grounded outlet c...

Page 16: ... feed rate Reduce feed rate Incorrect blade for cut Change blade to correct type Blade tension not set properly Set blade tension according to blade size Guide bearings not set properly Review guide bearing adjustment Saw makes unsatisfactory cuts Dull blade Replace blade Blade mounted wrong Teeth should point down Gum or pitch on blade Remove blade and clean Incorrect blade for cut Change blade t...

Page 17: ... 10 Band Saw Blades Stock No Application Length Width Thickness TPI 707201 Scrollwork 67 5 0 125 0 025 18TR 707202 Resaw 67 5 0 5 0 032 4HK 707203 General Purpose 67 5 0 5 0 025 6HK 707204 General Purpose 67 5 0 25 0 025 6SK ...

Page 18: ...ulley 1 15 JWBS10OS 15 Tire 2 16 JWBS10OS 16 Nut M20 1 17 JWBS10OS 17 Lower Wheel Shaft 1 18 JWBS10OS 18 Belt 1 19 JWBS10OS 19 Spacer Bushing 1 20 JWBS10OS 20 Brush 1 21 JWBS10OS 21 Carriage Bolt M8x70 1 22 JWBS10OS 22 Switch Plate 1 23 TS 2284121 Flat Head Machine Screw M4x12 2 24 JWBS10OS 24 LED Lamp Switch 1 25 JWBS10OS 25 Start Stop Switch 1 25 1 JWBS10OS 25 1 Switch Safety Key 1 26 JWBS10OS 2...

Page 19: ...lug 1 75 JWBS10OS 75 Voltage Adapter 1 76 JWBS10OS 76 Knob Cover 1 77 JWBS10OS 77 Hex Jam Nut 5 78 JWBS10OS 78 Fastening Shaft 1 79 JWBS10OS 79 Tension Sleeve 1 80 JWBS10OS 80 Nut M14x1 5P 1 81 JWBS10OS 81 Hub 1 82 JWBS10OS 82 Handle 1 83 JWBS10OS 83 Handle Grip 1 84 TS 1490081 Hex Cap Screw M8x45 1 85 JWBS10OS 85 Wing Nut 1 86 JWBS10OS 86 Blade Tracking Window 1 87 TS 1550021 Flat Washer M4 2 88 ...

Page 20: ... JWBS10OS 114 Extension Wing 1 115 JWBS10OS 115 Extension Rod 2 116 JWBS10OS 116 Extension Bracket 2 117 TS 1533032 Pan Head Machine Screw M5x10 4 118 JWBS10OS 118 Lock Knob 1 119 JWBS10OS 119 Rubber Foot 4 120 JWBS10OS 120 Stand Leg 4 121 JWBS10OS 121 Short Support Plate 2 122 JWBS10OS 122 Long Support Plate 2 123 JWBS10OS 123 Carriage Bolt M8x16 16 124 TS 1540061 Hex Nut M8 16 125 JWBS10OS 125 M...

Page 21: ...6 110 109 53 108 62 106 107 52 31 103 102 39 101 100 99 94 95 96 98 60 97 89 90 91 39 92 93 52 86 87 88 85 77 41 84 76 83 82 81 80 79 78 77 41 40 77 76 75 74 33 73 70 69 68 67 66 65 64 63 62 61 60 52 48 49 58 59 58 57 55 56 55 54 53 52 50 51 47 46 45 44 43 42 41 40 39 38 37 36 35 34 33 27 28 22 23 24 25 25 1 26 15 21 20 19 17 16 15 14 10 13 12 11 10 9 9 8 7 6 5 4 1 3 2 ...

Page 22: ...22 Electrical Connections 1 2HP 1PH 115V Band Saw Model No JWBS 10Os wiring diagram RBS230C jpg 1584x1223x16M jpeg ...

Page 23: ...23 ...

Page 24: ...24 WALTER MEIER Manufacturing Inc 427 New Sanford Road LaVergne Tennessee 37086 Phone 800 274 6848 www waltermeier com ...

Reviews: