


Chapter 15 Fiber Testing
122
CellAdvisor JD720C User's Manual
NOTE
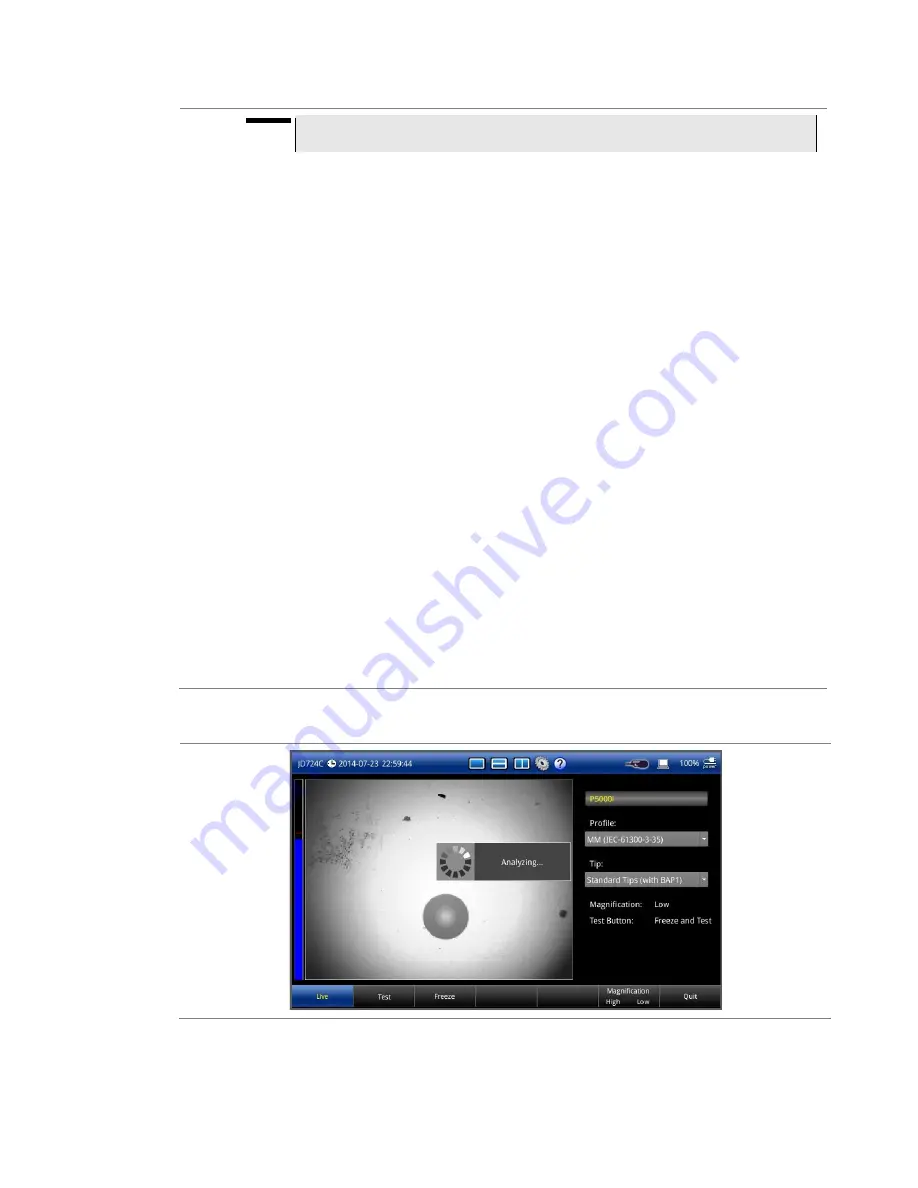
If the image is not properly focused in step
3
, you will encounter an analysis failure.
6
Once the test is completed, check the result displayed on the screen with the following
information:
–
Image overlay of the zone locations, defects, and scratches
–
PASS/FAIL result
–
Specific test result for each Zone
is an example of the test result screen.
7
Optional
. To remove or display image overlay, touch the
Overlay
screen key.
8
Optional.
If you have checked the box for the
Link OPM readings with fiber analysis
in the
Setup and you want to integrate OPM readings into a report, complete the following steps:
a
Connect your MP-series optical power meter to your instrument.
b
Tap the
Go to OPM
screen key.
c
In the optical power meter mode, measure optical powers, and then tap the
Store
screen
key as needed.
d
Tap the
Return to Inspection
screen key.
e
Do the following step
9
.
9
Optional
. To save the fiber inspection result with specific details as a report in PDF or HTML file
type, complete the following steps:
a
Tap the
Save Report
screen key.
The Save window appears.
b
Select the file format option from the choices:
and
HTML
.
c
Name the file and save it in the default
FiberInspection
folder.
See
“Using save/load” on page 139 for more information on saving a screen.
d
Tap the
Save
button.
10
Touch the
Live
screen key to return to the live image screen and do more tasks. Otherwise, touch
the
Quit
screen key to exit.
Figure 79
Testing a fiber


