INSTRUCTION MANUAL
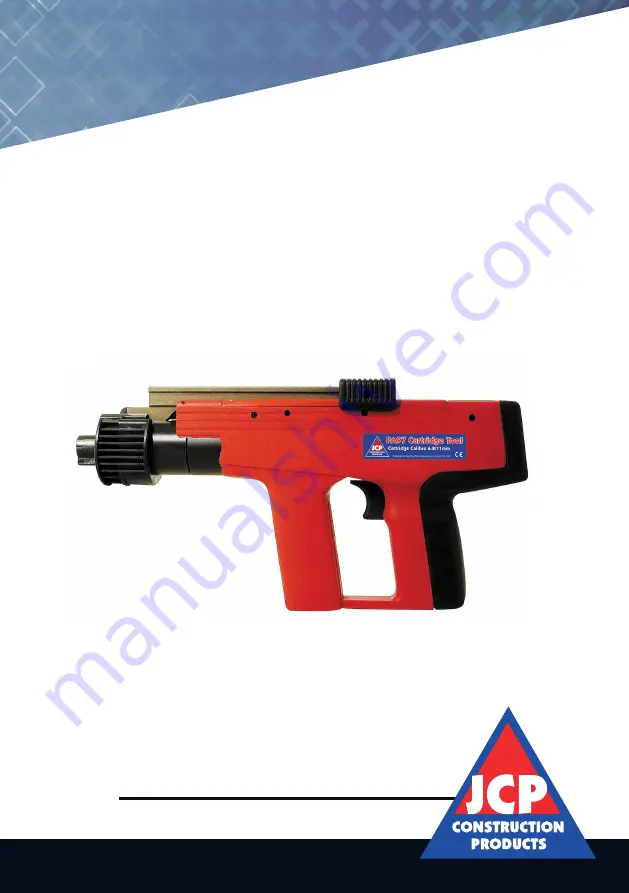
for JCP Cartridge Tool PA97
Cartridge Calibre 6.8/11mm
The Specialist Fixing Supplier
Exclusively to the Distributor
Page 1: ...INSTRUCTION MANUAL for JCP Cartridge Tool PA97 Cartridge Calibre 6 8 11mm The Specialist Fixing Supplier Exclusively to the Distributor...
Page 2: ......
Page 3: ...on 4 General Description 5 Warning 6 Testing Base Material 6 Using The Tool 7 Misfire Procedure 7 Parts List 8 9 Fastener Selection 10 Cartridge Selection 11 Loading and Firing 12 Cleaning and Mainten...
Page 4: ...in its use TRAINING Training and certification must be obtained from the supplier of the tool whether it is purchased or hired Should proper training not be available at the point where you obtain th...
Page 5: ...hese applications are only meant as a guide and there are many others GENERAL DESCRIPTION The JCP PA97 Cartridge Tool is a low velocity indirect acting tool using the expanding gases of a blank cartri...
Page 6: ...ion for levels up to 149dB safety helmets to EN397 or BS5249 safety boots to EN345 or BS1870 4972 together with any other safety equipment as determined by the location and application Ensure the base...
Page 7: ...and spacing distances Maximum repetition rate 12 fixings minute Noise Level EN15895 1 A weighted sound level LWA in decibels 88 Uncertainty KwA in decibels 3 A weighted sound level at work station LPA...
Page 8: ...SP707 Connector Assembly 32 SP724 Special Pin Sleeve 10 SP708 Firing Pin Assembly 33 SP725 Magazine Detent 11 SP709 Cocking Lever Assembly 34 SP726 Retention Plate 12 SP710 Ram Assembly 35 SP727 Nut...
Page 9: ...1 Disc 96 SP758 Compression Spring 56 SP742 Threaded Pin 97 SP759 Self Tapping Screw 58 SP743 Fastener Detent 98 SP760 Self Tapping Screw 59 SP744 Spring 99 SP761 O Ring 60 SP745 Pivot Pin 100 SP762 C...
Page 10: ...all and 1 full brick in from an edge Only 1 fixing per brick should be made and do not fix into mortar joints EDGE SPACING DISTANCES 8 When fixing to steel of a suitable type and strength the base mat...
Page 11: ...ng gradually increasing the power and cartridge strength until the correct fastener penetration is achieved Do not overpower the tool as this may cause the fastener to break and ricochet or pass compl...
Page 12: ...at the end of the fixing operation DO NOT LEAVE LOADED TOOLS UNATTENDED LOADING AND FIRING THE TOOL through 180 to the forward position Pull back the cocking grip as far as it will go then return it t...
Page 13: ...y maintenance ensure the cartridge strip has been removed Release Cocking Grip Disconnect Cocking Assembly from Connector Assembly and unscrew Baseplate Remove Fastener Guide from Baseplate Remove Pis...
Page 14: ...r setting on power adjuster Use stronger cartridge Strip tool clean and lubricate Ensure piston is pushed fully to the rear when cocking Examine piston and replace Fastener will not penetrate base mat...
Page 15: ......
Page 16: ...Unit 14 Teddington Business Park Station Road Teddington Middlesex TW11 9BQ 0208 943 1800 www jcpfixings co uk...