Installation Manual
Intellivox ADC - V90 & H90 Mark II models
(Part Nos. 576125, 577125, 577135, 576126, 577126 and 577136)
EN 54 -24
Page 1: ...Installation Manual Intellivox ADC V90 H90 Mark II models Part Nos 576125 577125 577135 576126 577126 and 577136 EN54 24...
Page 2: ...models Document references Datasheet s 201104 V90MKII_2 x V90 datasheet 201104 H90MKII_2 x H90 datasheet Other references ITT report No 5136 BA 11 Notified product certification body Name Scientific a...
Page 3: ...te names mentioned in this manual may be registered trademarks or copyrights of their respective companies They are used here for indicative purposes only The information contained in this manual has...
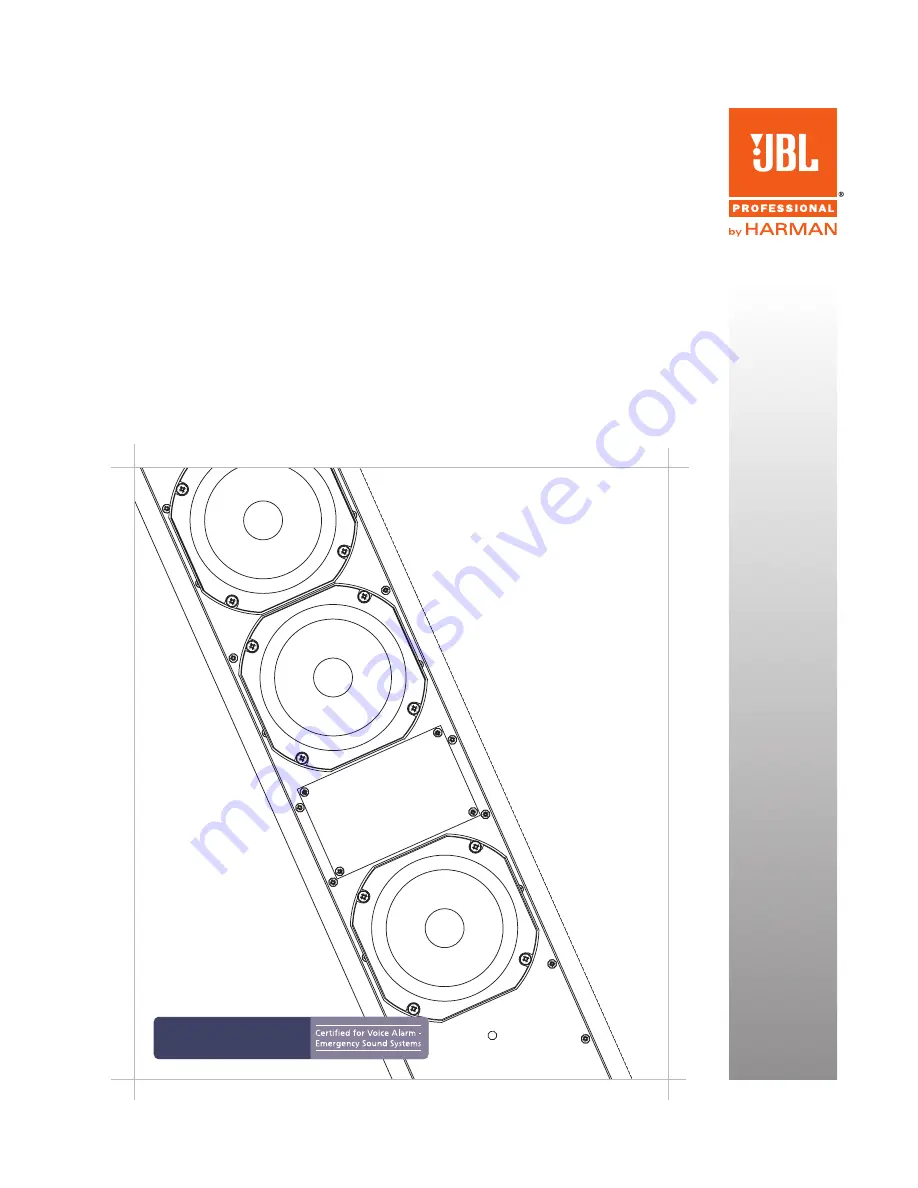
Page 4: ...JBL Professional Intellivox ADC Installation Manual 4 201402 ADCIM This page has been left blank intentionally...
Page 5: ...7 What s in the packaging 8 3 Installation Guide 9 Preparing For Installation 9 Intellivox ADC Connections 9 Mechanical Installation 10 Acoustic Centre 10 Mounting Options 11 Mounting Procedure 13 Wir...
Page 6: ...s radiators heat registers stoves or other apparatus including amplifiers that produce heat 9 Only use attachments accessories specified by the manufacturer 10 Use only with the cart stand tripod brac...
Page 7: ...glass thermal fuse and ceramic terminal block EQ correction and high pass filter This manual covers Wiring and connection details Mechanical installation of the loudspeaker Please note that a full ran...
Page 8: ...is document ADC Datasheet Box containing REF ITEM QTY USE A Mounting brackets 2 Speaker mounting B 30 mm hex headed screws with washers and wall plugs 4 Mounting bracket fixings wall C M5 x 12 mm pan...
Page 9: ...plane This restriction does not apply to the Model H90 which is intended to be tilted downwards INTELLIVOX ADC CONNECTIONS The Intellivox ADC range loudspeakers are designed to be connected to 100 V o...
Page 10: ...cker see fig 3 The horizontal position is on the vertical centre line When calculating the positions for the mountings see below the distance from the acoustic centre to the top or bottom of the louds...
Page 11: ...radiating angle of the unit is correct fig 4 2 Acoustic centre reference point for H90 Reference point for acoustical mounting position H90 fig 4 3 H90 further mounting information A C H90 B MOUNTING...
Page 12: ...mation 3 The third method is to mount the column within a recess in the wall or dedicated mounting panel so that the front of the unit is flush This is a specialised mounting situation which will be e...
Page 13: ...s on one or both brackets if necessary 6 Attach the brackets to the rear of the loudspeaker using the M5 x 12 pan head screws and shakeproof washers supplied The 10 mm diameter holes allow screwdriver...
Page 14: ...g location the wiring scheme as indicated in fig 8 2 can be used Note that the application dependent safety regulations should be consulted in order to determine the proper grounding scheme TAP SETTIN...
Page 15: ...on The frequency response of the high pass filter is indicated in fig 10 2 Model V90 respectively fig 10 4 Model H90 The filter response is slightly dependent on the tap setting the curves are valid f...
Page 16: ...Pilot tones of other frequencies and or levels may be used if the fault monitoring system demands them the illumination of the LED is not essential for such a system to operate correctly SPEAKER PROTE...
Page 17: ...02227 Intellivox hinge bracket 90 RAL 9007 802005 Intellivox swivel bracket 90 RAL 9007 806668 Intellivox swivel bracket 45 RAL 9007 806678 Intellivox wall bracket set 2 pcs 25 mm RAL 9010 802225 Inte...
Page 18: ...JBL Professional Intellivox ADC Installation Manual 18 201402 ADCIM This page has been left blank intentionally...
Page 19: ...JBL Professional Intellivox ADC Installation Manual 19 201402 ADCIM This page has been left blank intentionally...
Page 20: ...JBL Professional 8500 Balboa Boulevard Northridge CA 91329 U S A Copyright 2014 JBL Professional www jblpro com...