www.javad.com
15
Click Install to continue. Keep the default installation
location or select a new location. If desired, create a
shortcut on the computer’s desktop for quick access
to NetView.
JAVAD GNSS NetView software provides an inter-
face for various configuration, monitoring, and man-
agement functions for the receiver.
To configure, manage files, or maintain the receiv-
er, connect the receiver and a computer using one of
the following methods and start NetView:
• a USB cable and a computer/controller with the
JAVAD GNSS USB driver installed;
• a Bluetooth®-enabled external device (comput-
er/controller).
Once you have established a connection between
the receiver and the computer/controller, you will be
able to configure the receiver and its components,
send commands to the receiver, download files from
the receiver’s memory; as well as, upload new firm-
ware, upload an OAF, and upload configuration files
to a receiver, using NetView
Establishing an USB connection
Make sure the computer has JAVAD GNSS’s USB
driver installed (available from www.javad.com) be-
fore continuing.
Using the USB cable, connect the USB port on the
receiver to a USB port on the computer.
Press the power buttons on the receiver and com-
puter to turn them on.
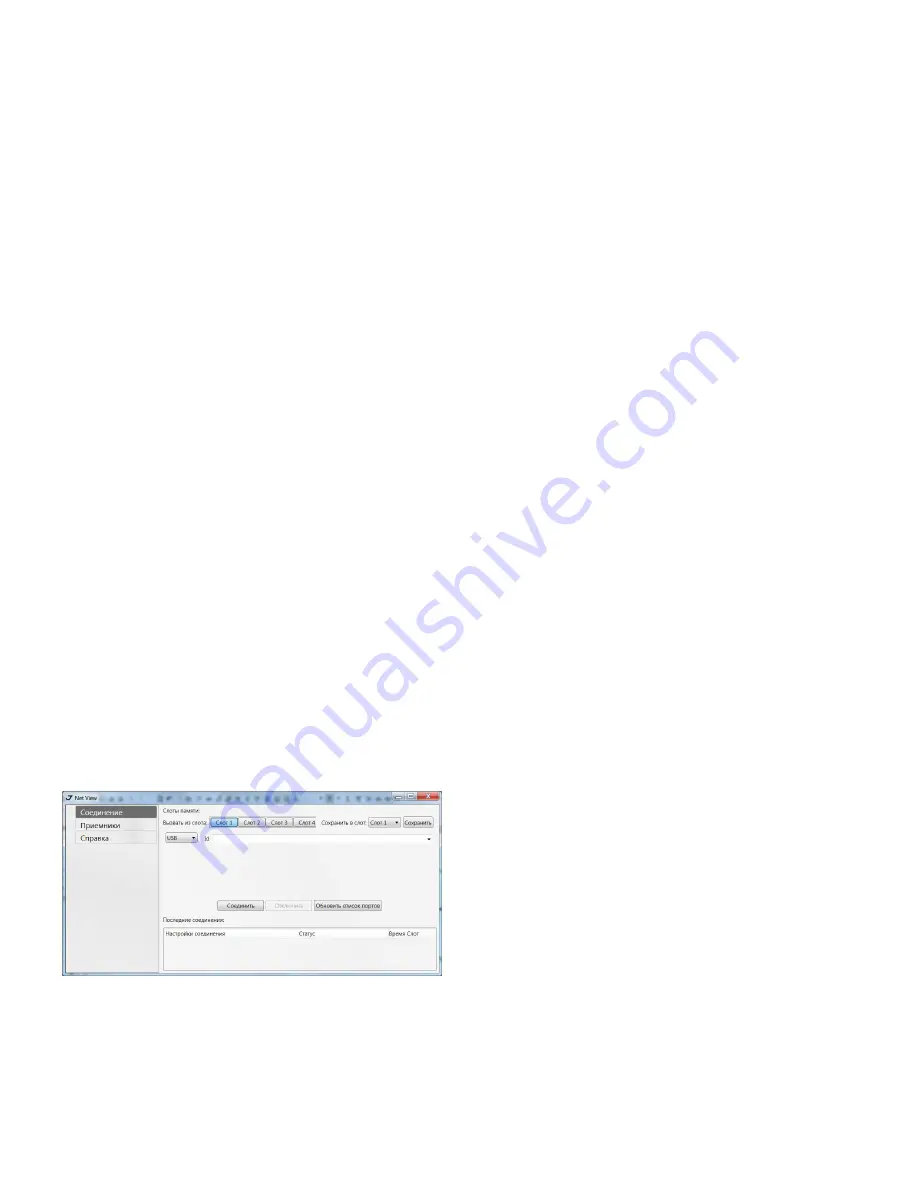
Start NetView and select USB as type of connection
mode and select USB port ID from the list
Figure 8.
NetView: USB connection
Establishing a Wireless Connection
The TRIUMPH-1M receiver contains Bluetooth®
wireless technology that allows file transfer and syn-
chronization between the receiver and any other ex-
ternal device that supports Bluetooth® wireless tech-
nology. TRIUMPH-1M and external device connection
procedure varies slightly depending on the type of
external device used.
Refer to your Bluetooth®-enabled external device documentation for more detailed
connection information.
In general, the connection procedure with PC is as fol-
lows:
1. Turn on a Bluetooth®-enabled PC and your receiv-
er. The default external device mode is Master; the re-
ceiver’s Bluetooth® module mode is Slave.
2. Instruct the external device (Master) to search for
the receiver (Slave).
3. Once the Master device detects the receiver, use
the procedure described in the external device’s doc-
umentation to connect it with the receiver.
4. Start NetView, select SER as type of connection
mode, and specify the port the receiver is connected
to
CONFIGURING RECEIVER
Both Base and Rover receivers must be configured
according to the desired survey method.
• In applications where real-time positioning re-
sults are required, the Base receiver provides the
correction information needed to properly cal-
culate the location of the Rover receiver. A Base
station is normally set up over a known point and
collects GPS/GLONASS data from satellites. As the
receiver picks up satellite data, it measures the
carrier and code phases to accurately compute
and verify its location. Then, the receiver transmits
this information via radio (UHF or GSM) to the Rov-
er receiver.
• The Rover receiver applies correction informa-
tion from the Base station to its current location
to accurately calculate one or more points. Rovers
are mobile GNSS receivers on a survey pole or bi-
pod that compares the information from the Base
station to the data it logs from satellites and ap-
plies correction algorithms to accurately calculate
a new point.
• In applications intended for post-processing, the
receivers typically log code phase and/or carrier
phase measurements separately from common
satellites and during the same time interval. This
data is then processed using post-processing soft-
ware (for example, Justin).


