


J.Sikora
–
Initial
and
Initial MAX
Turntable Manual
11
© 2021 Notable Audio Products | www.notableaudio.com
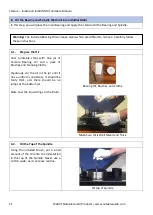
1.2.
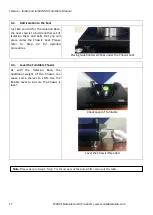
Remove Tall Arm Tower
The Arm Tower is mounted via a bolt
and washer under the Turntable
Chassis.
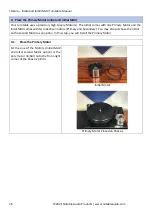
Bolt Holding Arm Tower in Track
Insert the largest Wrench into the Bolt.
However, before removing the Bolt,
hold the Arm Tower in place with your
other hand to prevent it from sliding
off the chassis.
Now completely unscrew the Bolt and
set aside the Bolt and Washer.
Place the Tall Arm Tower in the
packing crate or somewhere where it
is safe (and where you won’t forget it).
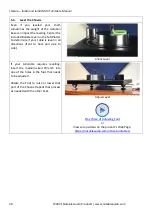
Note: You can change the Arm Towers
while the Chassis is on its side.
However, if you do not firmly hold the
tower when moving it, it can slide
across the Plinth and chip the paint.
That damage will not be covered
under warranty
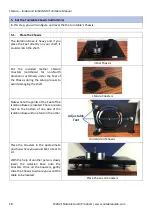
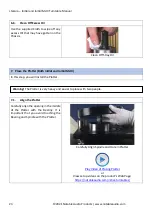
Use Largest Wrench for Arm Tower Bolt
1.3.
Install Short Arm Tower
Next, re-insert the Bolt and Washer.
Then place the Short Tower over the
Bolt.
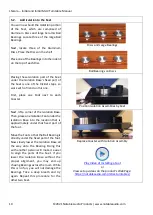
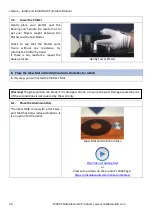
Finally tighen the Bolt to secure the
Arm Tower. Do not over-tighten the
Bolt at this point as you may need to
slide the Arm Tower into a different
position along the Track in order to
achieve the proper geometry for your
tonearm and cartridge in Step 18
below.
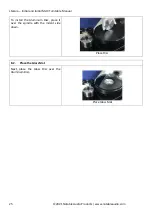
Short Arm Tower Installed
Arm Tower
Bolt


