iTach TE55 IT01, Operating Manual
Enhance your home automation with the iTach TE55 IT01. Easily control your devices with this powerful product. For detailed instructions on how to setup and use your iTach TE55 IT01, download the free Operating Manual from manualshive.com. Streamline your tech experience with this innovative device.
Share
Download


Reviews:
No comments
Related manuals for TE55 IT01

TT-2930
Brand: audiophony Pages: 8

S10 Blade
Brand: Viliv Pages: 25

RuggedBook SR820s
Brand: samwell Pages: 65
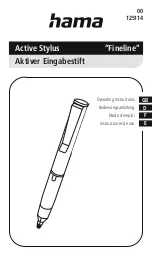
Fineline
Brand: Hama Pages: 11

Kamvas RDS-220
Brand: Huion Pages: 39

ARTTS-1219
Brand: Bauhn Pages: 20

TouchChat Express
Brand: Saltillo Pages: 188

iQ9016
Brand: MLS Pages: 4

Inspiroy Q11K v2
Brand: Huion Pages: 19

Intuos S
Brand: Wacom Pages: 64

VK2200Pro
Brand: Veikk Pages: 113

T7442
Brand: Verykool Pages: 19

EasyPad 971
Brand: Easypix Pages: 20

V68
Brand: Zte Pages: 12

Windesk 9 Plus 3G
Brand: Odys Pages: 2

XTREME
Brand: Odys Pages: 33

WM007
Brand: WeCool Pages: 37

TM1088
Brand: NuVision Pages: 20


