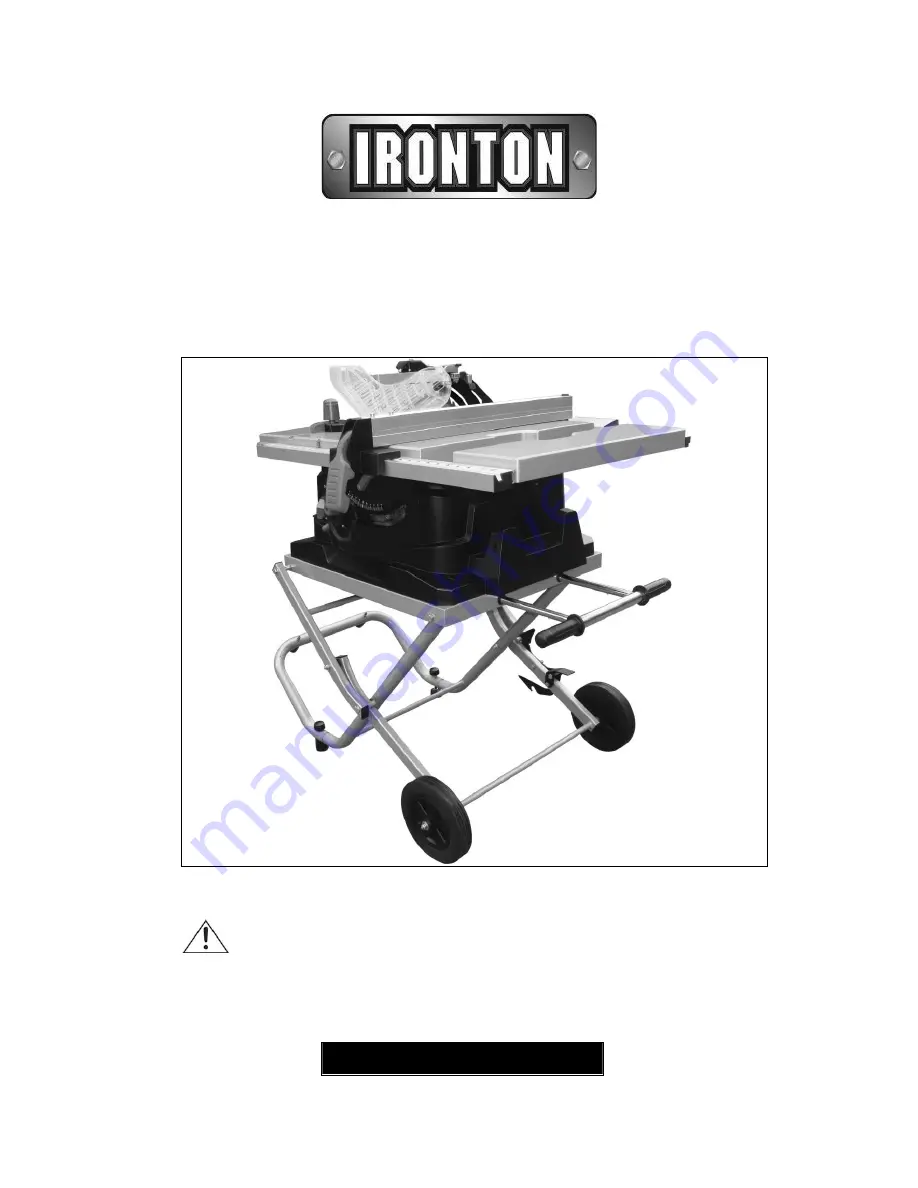
10IN. TABLE SAW
OWNER’S MANUAL
WARNING:
Read carefully and understand all
ASSEMBLY AND OPERATION
INSTRUCTIONS
before operating. Failure to follow the safety rules and other
basic safety precautions may result in serious personal injury.
Item# 45988
Page 1: ...MANUAL WARNING Read carefully and understand all ASSEMBLY AND OPERATION INSTRUCTIONS before operating Failure to follow the safety rules and other basic safety precautions may result in serious perso...
Page 2: ...mber products The large work table with easy to install side tables provide greater stability when cutting larger workpieces Designed for multi purpose applications such as ripping and crosscuts of ti...
Page 3: ...ldren and bystanders away while operating a power tool Distractions can cause you to lose control 2 Electrical safety a Power tool plugs must match the outlet Never modify the plug in any way Do not u...
Page 4: ...d for the connection of dust extraction and collection facilities ensure these are connected and properly used Use of dust collection can reduce dust related hazards 4 Power tool use and care a Do not...
Page 5: ...st the stop and could turn Never cut workpieces that are so small that they cannot be moved by the push rod at a safe distance from the saw blade Only cut one workpiece at a time Never cut several wor...
Page 6: ...arts carefully A Table saw parts 1 Riving knife 2 Table insert 3 Blade guard 4 Miter gauge 5 Working table 6 ON OFF switch with key 7 Mounting holes 8 Rip fence 9 Right extension table 10 Blade bevel...
Page 7: ...d the missing or damaged parts To avoid injury the styrofoam block should be removed between the motor and the table ASSEMBLY AND ADJUSTMENTS WARNING DO NOT CONNECT THE PLUG TO THE OUTLET UNTIL ALL IN...
Page 8: ...ng tubes of the stand assembly A and align the holes See Fig 2 Place the flat washer M8 M leveling foot K before insert the bolt M8 x 60 L into hole and put the flat washer M8 M on the opposite to the...
Page 9: ...op of the stand aligning the holes in the base with the holes in the stand Place the flat washer before insert four hex bolts through the holes in the base and the stand Tighten all four bolts with he...
Page 10: ...ide stand toward the floor by pushing the grips toward the floor Fig 10 With your hands on the grips push the stand towards the ground until the table saw is in an open position Fig 11 NOTE The releas...
Page 11: ...the same time step on the release lever grasp the grips and lift the handles up and away from the body Push the table saw until the release lever clicks and locks into place Fig 12 13 To move the leg...
Page 12: ...asten the table saw to the workbench using 3 8 bolts and nuts NOTE bolts and nuts are not included IMPORTANT When mounting the saw to the stand or workbench DO NOT over tighten the mounting bolts NOTE...
Page 13: ...cure in place Using a hex key adjust the six set screws until the table insert is level with the saw blade INSTALL THE BLADE TO THE ARBOR Fig 21 23 WARNING TO AVOID INJURY FROM AN ACCIDENTAL STARTUP V...
Page 14: ...ng Remove the table insert Raise the saw blade by turning the height adjusting knob clockwise Unlock the release lever by pushing the lever up see Fig 24 Grasp the riving knife and push it towards the...
Page 15: ...on the anti kickback pawls is inserted in the slot of riving knife Lock the handle as shown in the Fig 27 b TO INSTALL BLADE GUARD Installing the blade guard on the riving knife as shown Fig 28 a the...
Page 16: ...ss on either side of the splitter without binding or twisting to the side WARNING Improper riving knife alignment can cause kickback and serious injury ADJUSTING THE REAR TABLE EXTENSION When ripping...
Page 17: ...s position Tighten the lock handle in order to hold the miter body in position If the pointer 3 requires adjustment loosen the two screws under the pointer using a hex wrench Adjust the pointer to 90o...
Page 18: ...NAL INJURY a ALWAYS DISCONNECT THE PLUG FROM THE POWER SOURCE WHEN MAKING ANY ADJUSTMENTS b THIS ADJUSTMENT MUST BE CORRECT OR KICKBACK COULD RESULT IN A SERIOUS INJURY AND INABILITY TO MAKE ACCURATE...
Page 19: ...ail when a specific width is desired Once the extension table is set to the desired width relock the lever by pushing the lock lever back clockwise BASIC OPERATION OF THE TABLE SAW FIG 43 45 CAUTION R...
Page 20: ...e see Fig 43 Keep your thumbs off the table top When both of your thumbs touch the front edge of the table complete the cut using a push stick see Fig 44 The push stick should always be used when the...
Page 21: ...stand directly in line with the path of the saw blade Keep the workpiece 2 against the face of the miter gauge 3 and flat against the table Slowly push the workpiece through the blade Do not attempt...
Page 22: ...on WARNING Always work to the right side of the blade during this type of cut The miter gauge must be in the right side groove because the bevel angle may cause the blade guard to interfere with the c...
Page 23: ...Page of 30 23 Size inch...
Page 24: ...rachloride chlorinated solvents ammonia and household detergents that contain ammonia BLADE RAISING MECHANISM FIG 49 The blade raising mechanisms should be checked for looseness binding or other abnor...
Page 25: ...table causing erratic feeding 1 Replace the blade 2 Turn the blade around 3 Remove the blade and clean it with turpentine and coarse steel wool 4 Change the blade 5 Clean the table with turpentine an...
Page 26: ...Page of 30 26 DIAGRAM AND PARTS LIST...
Page 27: ...handle 1 21 Shockinsulator B 1 65 Hex bolt M5 x 12 1 22 Stand assembly C 1 66 Circumgyrate Knob 1 23 Closing plate for stand 1 67 Bolt 1 24 Stand assembly B 2 68 Bolt M5 x 20 1 25 Screw M6 x 70 1 69 S...
Page 28: ...g washer 6 1 117 Torsional spring 1 161 Rail 1 118 Bolt M3 x 8 1 162 Extension table 1 119 Limited piece support base 1 163 Limited block 1 120 Compaction cover A 1 164 Miter guide knob assembly 1 121...
Page 29: ...6003 2Z 1 201 Limited ring 2 234 Gear cover 1 202 1 235 Bolt M5 x 35 1 203 Hook for blade guard 1 236 Body 15 204 Hook for limited piece 1 237 Inside track 1 205 Cord storage 1 238 Bearing 6201 2Z 1...
Page 30: ...lica from bricks and cement and other masonry products and arsenic and chromium from chemically treated lumber Your risk from these exposures varies depending on how often you do this type of work To...