Setting Recording Duration
Before the start of any recording session, Power/Timer button can be used to set
the desired recording duration of 30, 60, 120 or 180 minutes. The recording stops
automatically after the end of selected duration. For timer setting, press the timer
3
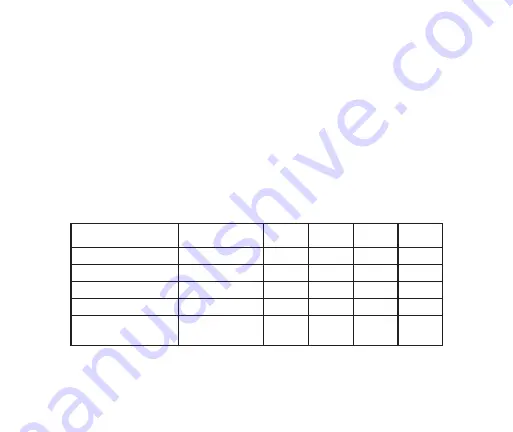
button momentarily and the timer LEDs will turn ON one by one. The table below
shows the number of times the timer button is to be pressed to set the desired
recording time and the corresponding ON/OFF states of the display LEDs. Timer
key on the remote control also provides setting of recording duration in a similar
fashion.
Timer Settings Indicated by Timer LEDs
The timer LED status also indicates the recording duration progress. As soon as a
30/60 minute segment recording is complete the corresponding LED goes OFF.
For powering ON/OFF iRecord Pro, press and hold the Power/Timer button for around 3 seconds.
Timer Button
PRESSED
Recording
Duration
LED 1
LED 2
LED 3
LED 4
Once (1)
30 minutes
Twice (2)
60 minutes
Three Times (3)
120 minutes
Four times ( 4)
180 minutes
Fifth time (5) – Also
on power ON.
Default: Infinite
recording of 180
minutes per file.
3
Page 14
30
30
60
60
120
120
180
180
30
30
60
60
120
120
180
180
30
30
60
60
120
120
180
180
30
30
60
60
120
120
180
180
30
30
60
60
120
120
180
180
Summary of Contents for PMR-200
Page 1: ...Personal Media Recorder USER MANUAL In one touch iRecord iRecord Pro iRecord Pro PMR 200...
Page 2: ......
Page 39: ......


