


| LaserNet software
76
YLS-K
8.
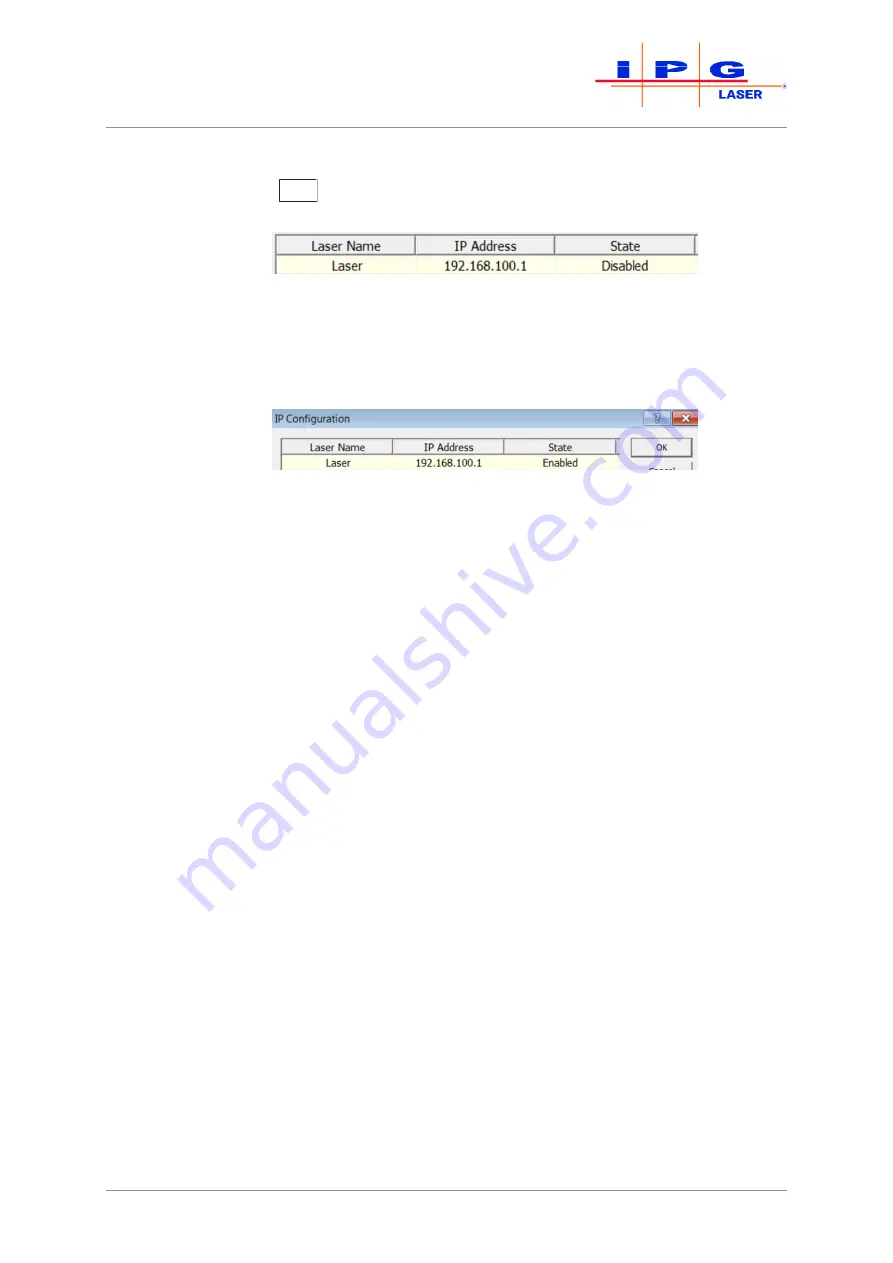
In the
IP Configuration
dialog window, click on the button
Add to create a laser name.
The first line of the dialog window is filled in.
9.
Activate the
Disabled
cell in the
State
column by double-clicking
on it.
A drop down menu appears.
10.
Click in the drop down menu on
Enabled
to activate the laser.
11.
Click on OK.
The connection may take several seconds.
As soon as the connection between the laser and the program has been estab-
lished, the connection status in the LaserNet user interface changes from
Net Con-
nection: NO
to Net Connection:
OK
.
8.4
Starting LaserNet
1.
Before starting LaserNet, make certain that the laser and com-
puter are connected to the same local network (LAN) and config-
ured appropriately.
2.
Start the software by double-clicking the
LaserNet.exe
file or
its link
LaserNet[VERSION]
.
The connection may take several seconds.
The window of the Status tab appears.