

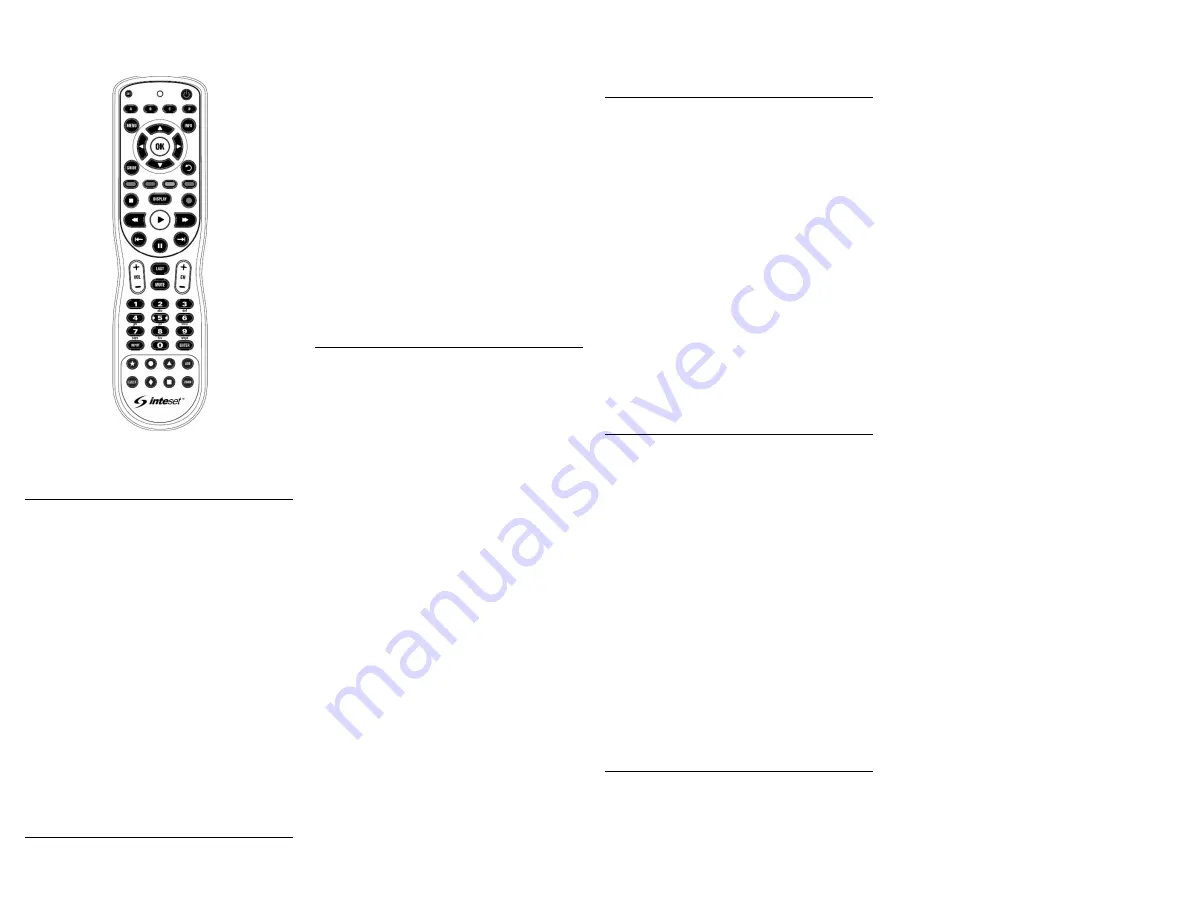
Inteset 4-in-1
IR Remote Control
User’s Guide
(Model: INT-422-3)
Introduction
The Inteset INT-422-3 IR remote allows you to control
up to 4 audio and/or video devices with a single, fully
backlit, easy-to-use remote. It is specifically designed
to work with popular streaming devices such as
Xbox
,
Apple TV
,
Roku
,
Windows Media Center
, and many
more. The remote is loaded with features allowing
you to accomplish total control of your A/V devices
with the fewest button presses.
Button Label Stickers
A full complement of button label stickers is provided
so that you can customize your remote to your exact
needs. The label sheet is scored vertically into
columns. Use sharp scissors to cut out the individual
labels.
We hope that you are pleased with your new remote.
Help is available at
http://universalremotes.net
. This
will give you access to all the information you need to
get started with your new remote including the
device setup code database, button mappings,
warranty information, and more.
Installing the Batteries
Your Inteset INT-422-3 remote control comes with
2 AA alkaline batteries.
Battery Use and Safety
Replace with only fresh batteries.
Do not mix old and new batteries, different types
of batteries (alkaline, or rechargeable), or
rechargeable batteries of different capacities.
If you do not plan to use the remote for an
extended period, remove the batteries.
WARNING:
Dispose of old batteries promptly and
properly. Do not burn or bury batteries.
To Install the Batteries
1.
Open the battery compartment cover located on
the back of the remote (slide the cover
downward).
2.
Place the included AA batteries in the
compartment ensuring that the positive and
negative ends of the batteries match the symbols
labeled on the remote.
3.
Replace the cover
NOTE:
When the battery voltage is low, the red signal
LED blinks 5 times after a button press.
Programming Device Control
Before proceeding with programming the Inteset
remote, you should first find the remote setup codes
for the A/V devices you own (up to four). You can find
these codes easily by searching the
Device Setup
Codes
database link at the bottom of the following
page (search instructions are found on that website):
http://universalremotes.net
Once you have the setup codes, it takes just a few
minutes to configure the remote for your A/V
devices. Note that if you own an
AppleTV
,
Xbox One
,
Windows Media Center
system, or
Roku
device, the
setup codes for these devices are pre-programmed to
the
A
,
B
,
C
, and
D
device mode buttons respectively
on the remote. If you do not use one or any of these
devices, you can overwrite the pre-programming with
your own setup codes. Follow the steps below to
program the remote to work with your devices:
1.
Turn on the device (ie: your TV).
2.
Press the
Device
key on the remote you wish to
program (ie:
A
,
B
,
C
, or
D
).
3.
Press and hold the
SET
button on the remote until
the signal LED (red light) blinks twice, then release
the button.
4.
Enter the first five-digit setup code for the device
(ie: TV) you found in the database search. The LED
blinks once as each digit is entered. If the code is
valid, the LED will blink twice quickly.
NOTE:
If the LED does not blink twice after entering
the five-digit code, repeat steps 2-4.
5.
Aim the remote at the device (ie: TV) and press
the remote’s
POWER
button (top right corner).
The device should turn off. If it does not, you
should repeat steps 3-5, trying each code for your
device’s brand until you find the one that works.
6.
Repeat steps 1-5 for the other devices you want
to control.
Most buttons on the remote are already intuitively
labeled, but some, such as the
Device
mode buttons
(ie:
A
,
B
,
C
, and
D
) will need labels. You can add the
appropriate supplied sticker labels above the buttons
on the remote to clarify the buttons’ function.
Searching for your Device Setup Code
If in the unlikely situation you cannot find a setup
code match based on the above instructions, you can
try searching the entire code database by cycling
through all codes. To do this, follow the steps below:
1.
Turn on the device you wish to control (ie: TV).
2.
Press the desired
Device
mode button once.
3.
Press and hold the
SET
button until the red LED
blinks twice, then release.
4.
Enter
9 9 1
. The LED will blink twice.
5.
Press the device group number that corresponds
to your device (ie: 0=cable boxes, 1=TVs, 2=DVDs,
Blu-ray players, streaming, 3=audio equipment).
6.
Aim the remote at the device and press the
POWER
button. The remote will send the first IR
code in its library for the power button within
that device group.
7.
If the device does not respond, press the
CH+
button and the remote will send the next code.
Continue until the device shuts off (press
CH-
for
the previous code).
8.
Once the device turns off, press the
SET
button to
save the code to the selected device mode.
Obtaining the Remote’s Setup Codes
Sometimes it may be necessary to determine the
device setup codes you are using on your remote. For
example, if you purchase a new Inteset remote
control for a different room with a similar A/V device
setup. Follow the instructions below to obtain the
device setup codes programmed on your remote:
1.
Press the “
A
” device button once.
2.
Press and hold the
SET
button until the red LED
blinks twice, then release.
3.
Enter
9 9 0
. The LED blinks twice.
4.
To determine the first digit of the code, press
1
.
Count the red LED blinks (ie: three blinks = 3) and
make note of the number.
NOTE:
If a code digit is 0, the LED does not blink.
5.
Repeat step 4 for the remaining four digits of the
setup code using
2
for the second digit,
3
for the
third,
4
for the fourth, and
5
for the fifth setup
code digit.
6.
To determine other device setup codes
programmed into the other
Device
buttons (
B
,
C
,
and
D
), repeat steps 1-5, substituting the device
button to check.
Learning another Remote’s Buttons
You can
learn
the IR signal of each button on the
remote that came with your A/V device. It may be
necessary to program particular buttons on your
Inteset remote this way if they are not available after
applying the setup codes to the device buttons.
Before learning a button, there are some
considerations.
Learning Considerations
Your original remote control must be an IR type
remote (Infrared) and be in working order.
Learned buttons are device specific. So, for each
button/device on your Inteset remote, you can
learn a button from the original remote.
The following buttons are not available for
learning:
Device
,
SET
, or
Record
.
Learning capacity is from 42 to 75 buttons
depending on the IR code length of the buttons.
Certain buttons are not learnable including multi
or high frequency types, and other odd formats.
For optimal learning, avoid bright ambient light
such as natural sunlight.
When learning a button, press the original remote
button quickly. Otherwise the Inteset remote may
learn the IR code for the button twice.
Learning a Button
NOTE:
If more than 10 seconds passes between
button presses, the remote will exit programming
mode.
1.
Place the Inteset remote head-to-head (about 2”
apart) from the training remote. Locate the
button you want to learn on the training remote.
2.
On the Inteset remote, press the
Device
mode
button (ie:
A
,
B
,
C
, or
D
) on which you want to
learn buttons from the training remote.
3.
Press and hold the
SET
button until the red LED
blinks twice, then release.
4.
Enter
9 7 5
. The LED will blink twice.
NOTE:
If the LED displays one long flash instead,
either the batteries are low, or the remote has a
memory fault (ie: it is out of memory). In either case,
the remote will not be able to learn any buttons.
5.
Press the button on the Inteset remote that you
want to learn. The LED will start blinking rapidly,
indicating it is ready to learn.
6.
On the training remote, quickly press the button
to be learned. The Inteset remote should blink
twice indicating it has learned the button on the
training remote.
Removing a Learned Button
This procedure returns the previously learned button
to its originally programmed state for the selected
mode. You can also overwrite learned buttons by
retraining them as described in the previous
“Learning another Remote’s Buttons” section.
NOTE:
If more than 10 seconds passes between
button presses, the remote will exit programming
mode.
1.
Press the
Device
mode button (ie:
A
,
B
,
C
, or
D
)
for which you want to remove a learned button.
2.
Press and hold the
SET
button until the red LED
blinks twice, then release.
3.
Enter
9 7 6
. The LED will blink twice.
4.
Press the button containing the learned function
to be removed twice. The LED will blink twice and
then exit from programming.