


Tête + Tetrapad Manual
Assigning Notes to the Tetrapad ‘Keyboard’ Manually
The following steps discuss assigning note values to Tetrapad “keys” and outputs:
1.
Select whether you want Tetrapad split into 4, 8, 12 or 16 virtual ‘keys’ using the Mode SETUP
Menu, as described in
Setting the Number of Virtual Keys
.
2.
In the same Mode SETUP Menu, tell Tetrapad to assign notes
Manually
, as described in
Choosing a Note Assignment Method
3.
Touch and release one of the 4, 8, 12 or 16 virtual ‘keys’ on the Tetrapad ‘keyboard’.
This selects the ‘keyboard key’ for which you will define note values. The LEDs beneath the
key you just touched (the ‘active’ key) are brighter than the other keys.
Notice that beneath the surface of each pad, there is also a single brightly lit LED, whose
vertical position indicates the note value that will be sent to the corresponding Output. That is,
the bright LED shown beneath Pad 1 represents the note that appears at Out 1; the bright LED
shown beneath Pad 2 represents the note that appears at Out 2; etc.
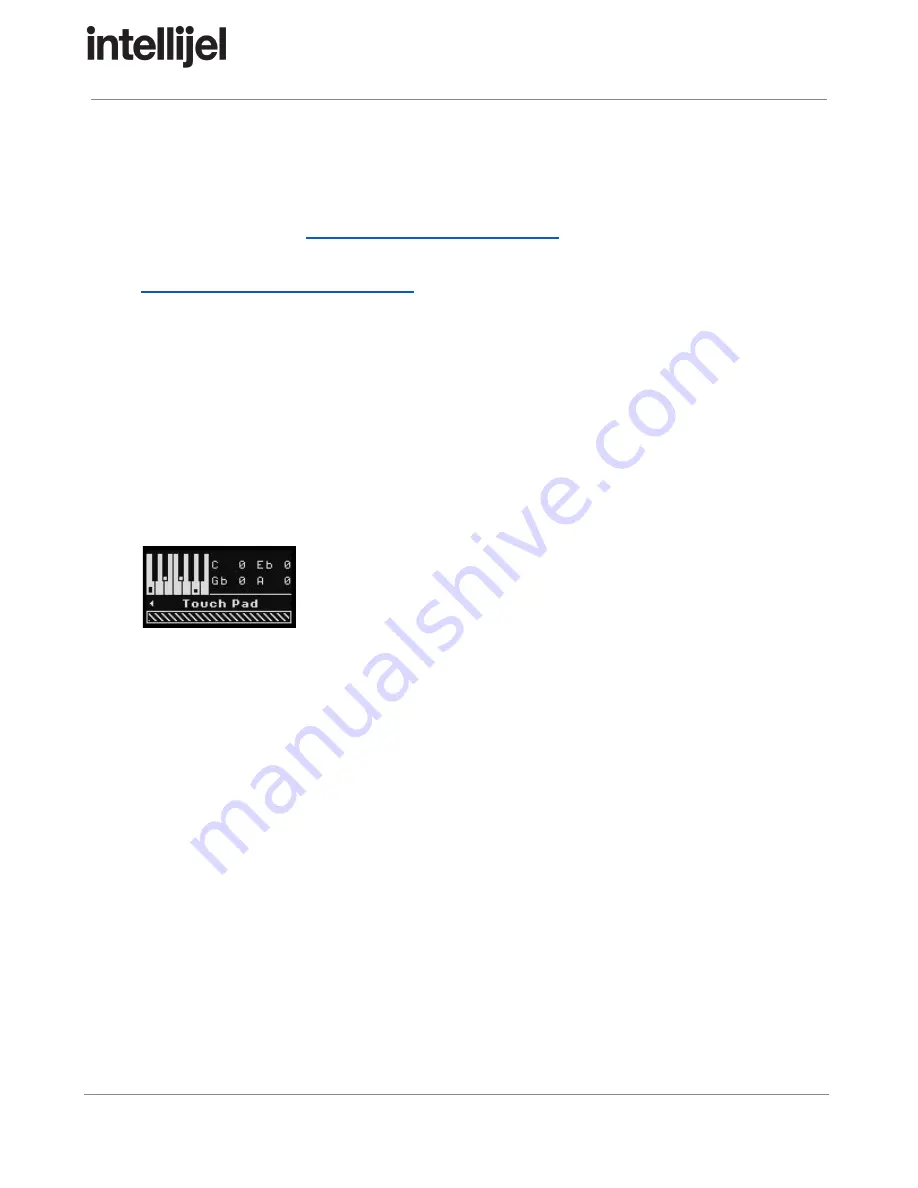
On Tête, the screen shows all four not assignments, both visually (on the miniature keyboard),
and by name/octave.
4.
Turn Encoder 1 to change the pitch sent to Out 1. If desired, turn Encoders 2-4 to change pitch
assignments for outputs 2-4.
When you set a pitch that’s an octave higher than the default “zero” octave, Tetrapad’s Pad
Status LED will glow green. With each subsequent octave increase, the LED will brighten.
When the pitch is an octave lower than default, Tetrapad’s Pad Status LED will glow red. With
each subsequent octave decrease, the LED will brighten. Pitch can be set over a 10 octave
range.
On Tête, the octave is displayed by number for each of the four output notes.
TIP: You can reset any note to its default C0 (0 V) value by pressing the corresponding
encoder.
5.
Push down and turn Encoder 1 to directly change the
octave
of the note sent to Out 1. If
desired, turn Encoders 2-4 to change their octaves.
6.
Touch each of the remaining virtual ‘keys’ and repeat steps 4 and 5 to define up to four note
values (one note per output) for every key.
Using this technique, you can use the manual note assignment method to create custom
chords, if you use multiple oscillators.
Page 82
Summary of Contents for Tete
Page 9: ...T te Tetrapad Manual PART ONE INSTALLATION Page 8...
Page 14: ...T te Tetrapad Manual PART TWO OVERVIEW Page 13...
Page 29: ...T te Tetrapad Manual PART THREE COMBO MODE Page 28...
Page 35: ...T te Tetrapad Manual Combo Mode Unipolar Fader Page 34...
Page 39: ...T te Tetrapad Manual Combo Mode Bipolar Fader Page 38...
Page 43: ...T te Tetrapad Manual Combo Mode Crossfader Page 42...
Page 49: ...T te Tetrapad Manual Combo Mode Euclidean Page 48...
Page 56: ...T te Tetrapad Manual Combo Mode Switches Page 55...
Page 59: ...T te Tetrapad Manual Combo Mode LFO Page 58...
Page 64: ...T te Tetrapad Manual PART FOUR NOTES MODE Page 63...
Page 65: ...T te Tetrapad Manual NOTES MODE Page 64...
Page 87: ...T te Tetrapad Manual PART FIVE VOLTAGES MODE Page 86...
Page 88: ...T te Tetrapad Manual VOLTAGES MODE Page 87...
Page 96: ...T te Tetrapad Manual PART SIX MENUS Page 95...
Page 136: ...T te Tetrapad Manual PART SEVEN LOOPING SEQUENCING Page 135...
Page 165: ...T te Tetrapad Manual PART EIGHT MISCELLANEOUS Page 164...


