Intel SBCEFCSW Installation Manual Download Page 46

 32

Intel® Server Switch Module SBCEFCSW:  Installation Guide 


location of the CD/diskette/USB button, see the documentation that comes with the blade server. The LED 
on the button flashes while the request is being processed, then is steady when the ownership of the CD-
ROM drive is transferred to the blade server.

2.

If your network management workstation is a Intel Server Platform SB-HE blade server, to associate the 
keyboard port, mouse port, and video port with the blade server, press the keyboard/mouse/video select 
button. The LED on this button flashes while the request is processed, then is steady when the ownership 
of the keyboard, mouse and video is transferred to the blade server.

3.

Close all open programs. Insert the 

SAN Utility

 CD into the CD-ROM drive.

4.

Open Windows Explorer* and double-click the CD-ROM drive letter.

5.

To install the SAN Utility, use one of the following methods, where 

x.xx.xx is the SAN Utility version 

number:

To install from the CD, mount the CD and double-click 

Windowsx.xx.xx.exe

. Follow the SAN 

Utility installation instructions.

To copy and install from the hard disk drive, complete the following steps:

a.

Specify a location and save the Windowsx.xx.xx.exe file.

b.

Click 

Save

.

c.

Double-click 

Windowsx.xx.xx.exe

.

d.

Follow the SAN Utility installation instructions.

6.

When the installation is completed, use one of the following methods to start the SAN Utility:

Double-click the 

SAN Utility

 shortcut.

Click 

Start 

򃵠

 Programs 

򃵠

 SANUtility 

򃵠

 SANUtility

.

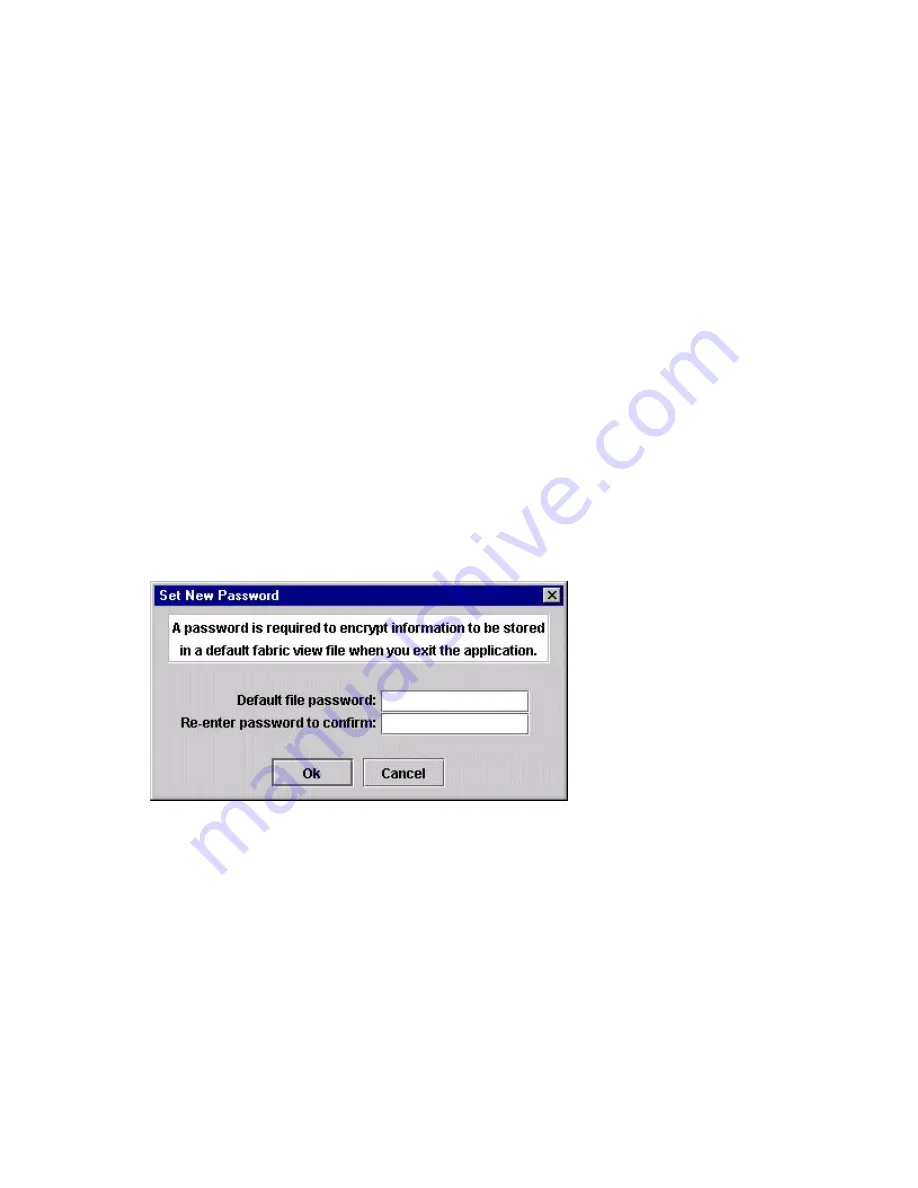
If a default fabric view file exists, the Enter Default File Password for Loading File window opens, as 
shown in Figure 18 on page 32. Otherwise, the SAN Utility window opens.

Figure 18. Enter Default File Password For Loading file window. 

Continue with “Using the SAN Utility” on page 34.

Uninstalling the SAN Utility on a Microsoft* Windows* 
2003 platform

The Uninstaller Data folder is copied into the installation folder during the initial SAN Utility installation 
process. The Uninstaller Data folder contains the Uninstall SAN Utility program that is used to uninstall the 
SAN Utility from a network management workstation running Microsoft Windows 2003. In addition, a 
shortcut to the uninstall program is installed in the user’s home directory during the SAN Utility installation 
process. The default installation directory is C:/Program files/SANUtility.

Summary of Contents for SBCEFCSW

Page 1: ...Intel Blade Server Switch Module SBCEFCSW Installation Guide A Guide for Technically Qualified Assemblers of Intel Identified Subassemblies and Products Order Number C39674 004...

Page 2: ...roducts including liability or warranties relating to fitness for a particular purpose merchantability or infringement of any patent copyright or other intellectual property right Intel products are n...

Page 3: ...nformation panel 17 LEDs 17 4 Configuring the switch module through the Telnet interface 21 Connecting to the switch module 21 Establishing a Telnet session through the management module 21 Establishi...

Page 4: ...iv Intel Server Switch Module SBCEFCSW Installation Guide...

Page 5: ...t bevor Sie eine der Anweisungen ausf hren Beachten Sie hierzu auch die Sicherheitshinweise zu Intel Serverplatinen und Servergeh usen auf der Ressourcen CD oder unter http support intel com Resource...

Page 6: ...asses or metal fasteners for your clothing Remember Metal objects are good electrical conductors Wear safety glasses when you are hammering drilling soldering cutting wire attaching springs using solv...

Page 7: ...First check that it has been powered off Always look carefully for possible hazards in your work area Examples of these hazards are moist floors nongrounded power extension cables power surges and mi...

Page 8: ...connect any cables or perform installation maintenance or reconfiguration of this product during an electrical storm Connect all power cords to a properly wired and grounded electrical outlet Connect...

Page 9: ...AUTION When laser products such as CD ROMs DVD ROM drives fiber optic devices or transmitters are installed note the following Do not remove the covers Removing the covers of the laser product could r...

Page 10: ...ure that all power cords are disconnected from the power source xx CAUTION Do not place any object weighing more than 82 kg 180 lbs on top of rack mounted devices xx CAUTION Do not place any object we...

Page 11: ...magnetic compatibility ECM USA FCC CFR 47 Part 2 and 15 Verified Class A Limit Canada IC ICES 003 Class A Limit Europe EMC Directive 89 336 EEC EN55022 Class A Limit Radiated Conducted Emissions EN550...

Page 12: ...ectrical interference Electromagnetic compatibility notices International Europe CE Declaration of Conformity This product has been tested in accordance too and complies with the Low Voltage Directive...

Page 13: ...h RRL EMC and is operated in a commercial environment so that distributors or users pay attention to this point If this product is sold or purchased improperly please exchange this product to one that...

Page 14: ...xiv Intel Server Switch Module SBCEFCSW Installation Guide...

Page 15: ...ure multiple switch modules through other connected SAN devices from a single interface You can install up to two switch modules in a SBCE unit You can obtain up to date information about your switch...

Page 16: ...y is enabled on all switches in the fabric you must provide a user name and password to access the fabric Security is disabled by default Firmware installation Use the SAN Utility application to insta...

Page 17: ...your configuration Maximum number of user ports 475 000 ports depending on your configuration Buffer credits 12 buffer credits per port Media type Small form factor pluggable SFP module Fabric port s...

Page 18: ...VCCI CE Shortwave laser SFP module at 1 Gbps and multi mode SFP module at 2 Gbps Connector LC LC Color coding Beige or black exposed connector surfaces Cable Fibre Channel 100 M6 SN I 50 m multimode...

Page 19: ...used to provide different SAN storage solutions for various application requirements This document also provides an overview and description for backup and restore business continuance and high avail...

Page 20: ...or situation in which damage could occur Caution These statements indicate situations that can be potentially hazardous to you A caution statement is placed just before the description of a potential...

Page 21: ...Channel ports on page 17 For more information about the MAC address see the Intel Blade Server Switch Module SBCEFCSW Management and User s Guide provided on the Intel Blade Server Switch Module SBCEF...

Page 22: ...8 Intel Server Switch Module SBCEFCSW Installation Guide...

Page 23: ...eparate Fibre Channel connection from the blade server to the external Fibre Channel network and SAN Important The switch modules in switch module bays 3 and 4 and all blade server expansion cards in...

Page 24: ...iller module installed A removed hot swap module is replaced with an identical module or filler module within 1 minute of removal A removed hot swap blade server is replaced with an identical blade se...

Page 25: ...erein might result in hazardous radiation exposure Danger DANGER xx CAUTION Never remove the cover on a power supply or any part that has the following label attached xx CAUTION Hazardous voltage curr...

Page 26: ...e acoustic attenuation module 3 Be sure that the SBCE unit is turned on the green DC power LED on each power module is lit and the green OK LED on the management module is lit 4 Select only switch mod...

Page 27: ...r second This indicates that the switch module is operating with no errors NOTE If the heartbeat LED is not flashing once per second the POST has failed Be sure the SBCE unit is powered on and the SBC...

Page 28: ...1 Review the information in Safety and regulatory information on page v and Installation guidelines on page 10 through Handling static sensitive devices on page 10 2 Remove the acoustic attenuation m...

Page 29: ...it see Step 10 and Step 11 on page 13 7 If you placed another switch module into the bay if needed insert any SFP modules that you removed in Step 4 into external Fibre Channel port 1 and Fibre Channe...

Page 30: ...16 Intel Server Switch Module SBCEFCSW Installation Guide...

Page 31: ...se ports are identified as port 2 and port 1 in the switch configuration menus and are labeled 2 and 1 from top to bottom on the switch module as shown in Figure 6 LEDs There are three sets of LEDs on...

Page 32: ...erns indicate POST errors For more information see Table 2 on page 19 Fibre Channel switch fault This amber LED is at the top of the switch module on the information panel This LED indicates that the...

Page 33: ...e diagnostic section of the Intel Blade Server Switch Module SBCEFCSW Management and User s Guide for more information about diagnostic flash patterns Switch fault The LED is off during initialization...

Page 34: ...20 Intel Server Switch Module SBCEFCSW Installation Guide...

Page 35: ...anagement modules in your SBCE unit are properly configured In addition to access and manage your switch module from an external environment you might need to enable certain features such as the exter...

Page 36: ...he initial default password PASSW0RD the sixth character is a zero not the letter O The user ID and password are case sensitive The Active Session from Same Client window opens Figure 9 Active Session...

Page 37: ...23 Figure 10 Management Module window 4 In the left navigation pane under Switch Tasks click Management The Switch Management window opens...

Page 38: ...l Server Switch Module SBCEFCSW Installation Guide Figure 11 Switch Management window 5 Click the link for either Switch Module 3 or Switch Module 4 A window similar to the one in Figure 12 on page 25...

Page 39: ...switch module 3 example 6 Verify that the IP address is the same in the Current IP Configuration and New Static IP Configuration sections 7 Scroll down and click Advanced Switch Management A window si...

Page 40: ...ation Guide Figure 13 Switch Management window advanced 8 To start a Telnet session scroll down to the Start Telnet Web Session section and click Start Telnet Session 9 The switch module Telnet Login...

Page 41: ...rompt type the initial default user ID USERID and press Enter At the Password prompt type the initial default password PASSW0RD the sixth character is a zero not the letter O The user ID and password...

Page 42: ...window NOTE The switch module can be accessed by IP enabled devices that are connected to SBCE Ethernet switch modules An Ethernet connection to the management module external ports on the SBCE unit i...

Page 43: ...e Login prompt type the initial default user ID USERID and press Enter At the Password prompt type the initial default password PASSW0RD the sixth character is a zero not the letter O The user ID and...

Page 44: ...g rules when typing keywords Commands and keywords are lowercase and case sensitive Required keyword values are shown in standard font value Optional values are shown in italics value The underlined p...

Page 45: ...ation about configuring and managing your switch module see the Intel Blade Server Switch Module SBCEFCSW Management and User s Guide on the Intel Blade Server Switch Module SBCEFCSW Resource CD Syste...

Page 46: ...To copy and install from the hard disk drive complete the following steps a Specify a location and save the Windowsx xx xx exe file b Click Save c Double click Windowsx xx xx exe d Follow the SAN Util...

Page 47: ...blade server press the keyboard mouse video select button The LED on this button flashes while the request is processed then is steady when the ownership of the keyboard mouse and video is transferred...

Page 48: ...s opt SANUtility Complete the following steps to uninstall the SAN Utility 1 At the command prompt type the following command and press Enter cd opt 2 At the command prompt type the following command...

Page 49: ...add a new fabric 1 At the Default file password prompt type the password and click Load View File The SAN Utility starts and any previously saved set of fabrics is displayed If no set of fabrics has...

Page 50: ...When security is disabled you are not required to type a login name or password The default password is for the switch module and is stored in the switch module firmware If you want to use a Telnet co...

Page 51: ...nformation about the default fabric view file Select the default port view when opening the SAN Utility Faceplate window referred to as the Faceplate window See the Intel Blade Server Switch Module SB...

Page 52: ...ectory type a password and click Save View File NOTE If the default fabric view file was saved with a password the next time you open the SAN Utility you will be prompted for the password in the Load...

Page 53: ...h can be adjusted by clicking and dragging the border that it shares with the graphic window The data window tabs present options for the type of information that is displayed in the data window These...

Page 54: ...rics and their switches You can adjust the window by clicking and dragging the moveable window border An entry handle at the left of the entry in the tree indicates that the entry can be expanded When...

Page 55: ...status is Unknown or that security is enabled on the switch module but security is disabled on the fabric management switch A amber icon indicates that a switch is operational with errors The fabric t...

Page 56: ...42 Intel Server Switch Module SBCEFCSW Installation Guide...

Page 57: ...me with your system You can solve many problems without outside assistance by following the troubleshooting procedures provided in the publications that shipped with your system and software The infor...

Page 58: ...44 Intel Server Switch Module SBCEFCSW Installation Guide...

Page 59: ...s 3 Fibre Channel 3 LC LC fiber optic cables 13 management module 28 F fabric aggregate bandwidth 3 current fabric view 38 default fabric view 32 36 fabric discovery interval 37 latency 3 Management m...

Page 60: ...on panel 17 installation guidelines 10 illustration 13 options 10 procedure 12 requirements 9 switch module 13 Intel SAN Utility exiting 38 faceplate windows 38 installing 31 Microsoft Windows 2000 31...

Page 61: ...at Linux installing SAN Utility 33 uninstalling SAN Utility 34 registered state change notification RSCN support feature 2 related publications 5 removing switch module 14 S SAN Utility exiting 38 fac...

Page 62: ...net interface 21 Telnet session establishing through command line window 28 toolbar 38 topology 38 W Web based network management 31 window Add a New Fabric 35 Enter Default File Password for Loading...

Reviews: