Hardware Installations and Upgrades
Intel
®
Server Chassis P4000M Service Guide
79
6. Unplug all the cables connected to the expander card.
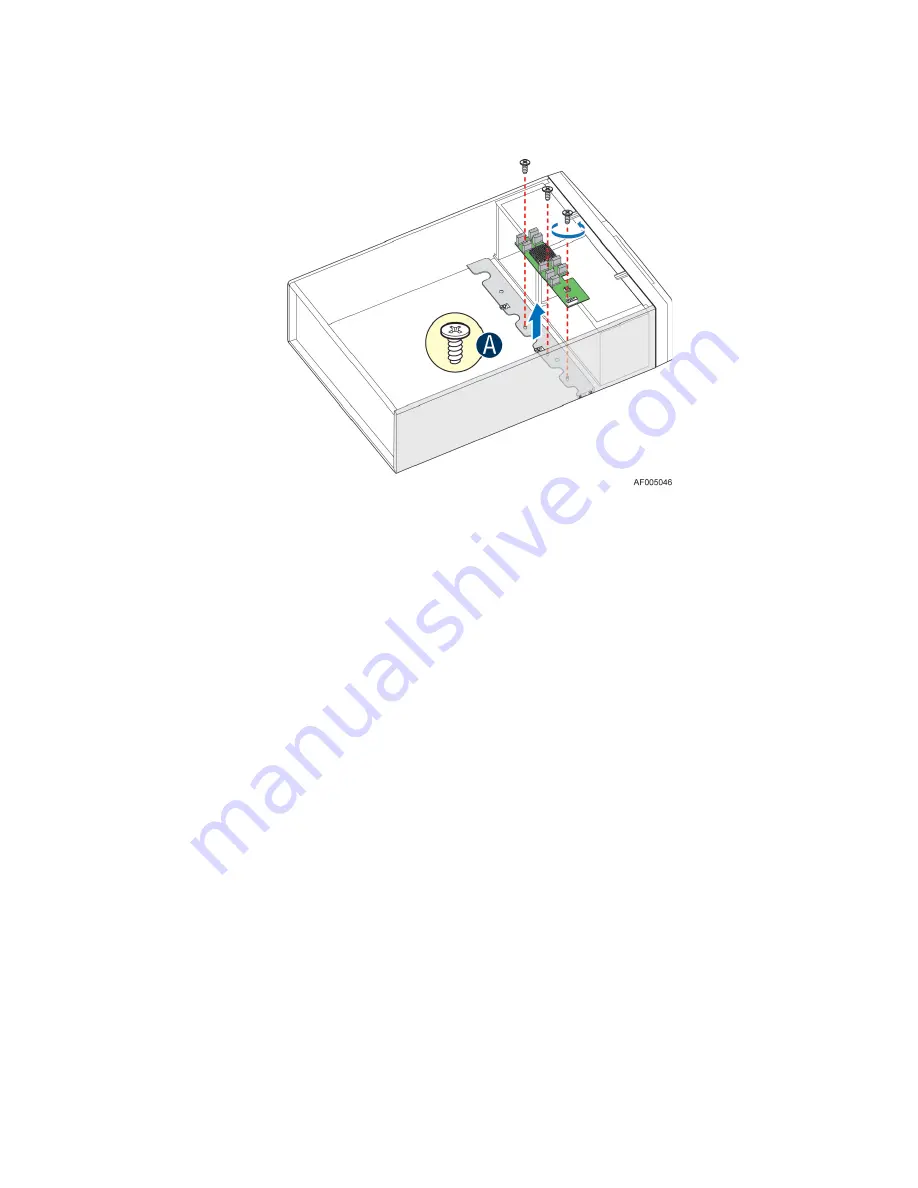
7. Remove the expander card from expander card bracket by releasing the securing screws.
Figure 130. Removing the Expander card
8. Install the Fixed HDDs or Hotswap drive cages. For instructions, see “Install Fixed Hard Drives”, or
“Install 8x3.5 Hotswap Drive Cage Assemble”, or “Install 8x2.5 Hotswap Drive Cage Assemble”.
9. Install the fans. For instructions, see “Install the Fixed Fan” or “Install the Hotswap Fans”.
10. Install the chassis cover. For instructions, see “Install the Chassis Cover”.
Installing and/or Removing a Server/Workstation
Board
/
NOTE
The server/workstation board you can install in your chassis depends upon the chassis model.
To install or remove a server board, do the following:
1. Observe the safety and ESD precautions at the beginning of this book.
2. Power down the server and unplug all peripheral devices and the AC power cable.
3. Remove the chassis cover. For instructions, see “Removing the Chassis Cover”.
4. Remove the front bezel assembly if it is installed. For instructions, see “Removing the Bezel
Assembly (Pedestal Only)”
5. Remove any PCI add-in boards that are present. For instructions, see “Removing PCI Add-in
Board(s)”.
6. If installing a server board, refer to the
Service Guide
and/or
Quick Start User’s Guide
that shipped
with your Intel
®
server/workstation board for installation instructions. Use the mounting screws,
bumpers and standoffs (if necessary) that came with your chassis to secure the server/workstation
board to the chassis. Make sure the server/workstation board is properly seated and then tighten the
Summary of Contents for P4000M
Page 14: ......


