


2.7
Removing and Installing Riser 1 and Riser 2
2.7.1
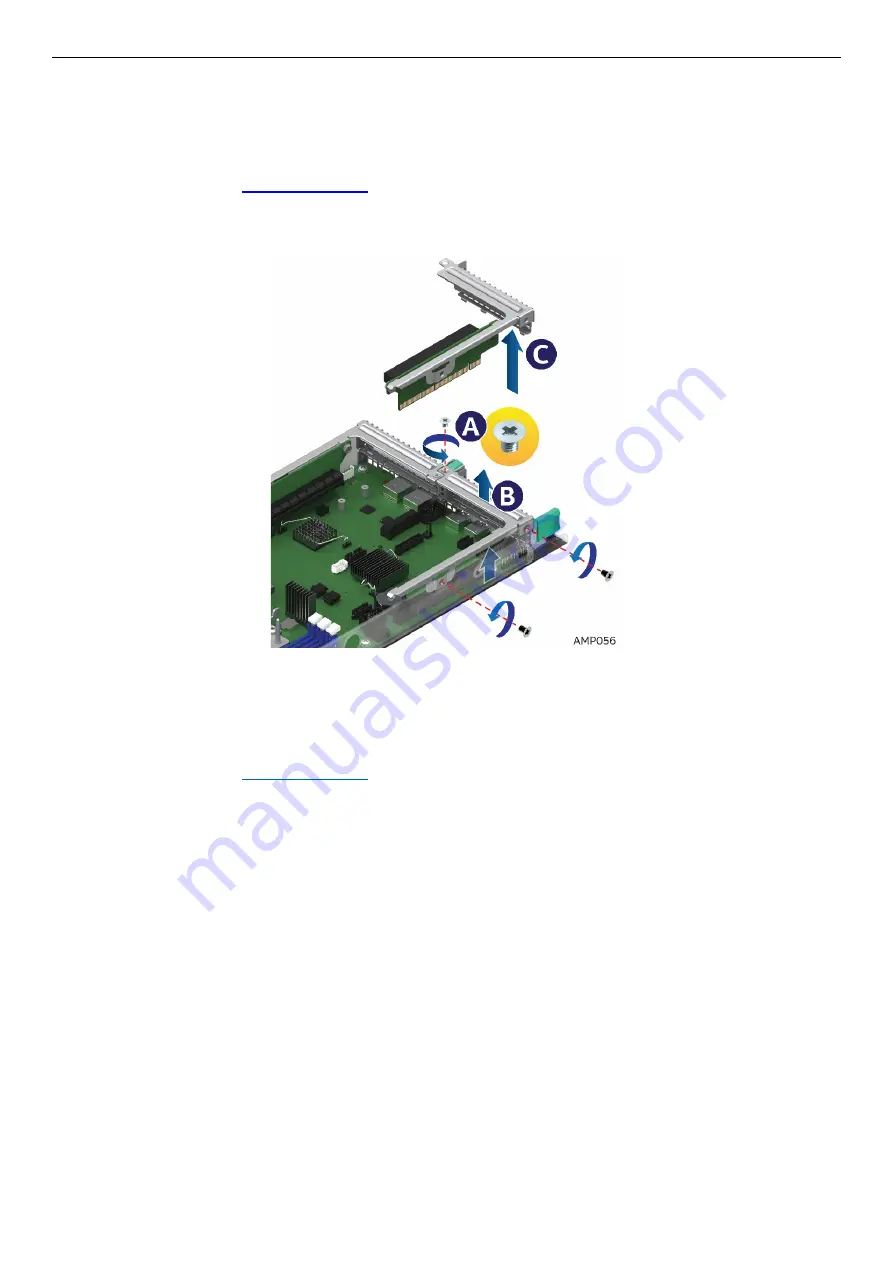
Remove Riser 1
1.
Power off the compute module and disconnect the power cable(s).
2.
Remove the air duct.
3.
Loosen the 3 screws (See
A
)
4.
Pull the riser straight up and out of the system (See
B
and
C
)
Figure 50. Removing Riser 1
2.7.2
Install Riser 1
1.
Power off the compute module and disconnect the power cable(s).
2.
3.
Align and insert Riser 1 into Riser Slot 1 (See
A)
4.
Ensure that the Riser is all the way down and fully seated (See
B
)
5.
Tighten the 3 screws (See
C
)