www.InstroTek.com
OPERATING MANUAL
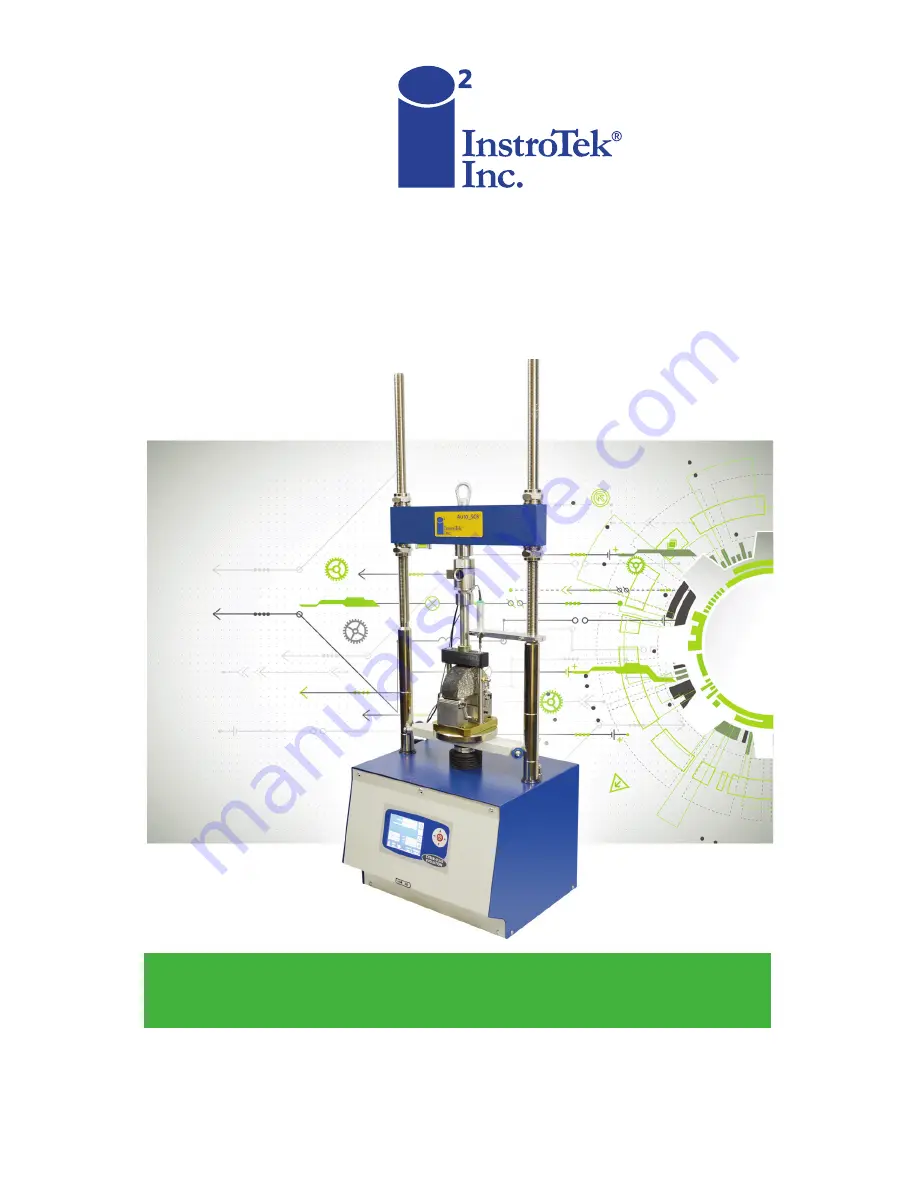
innovators in instrumentation technology
Asphalt Load and Tension Testing
Auto_
SCB
™
Page 1: ...www InstroTek com OPERATING MANUAL innovators in instrumentation technology Asphalt Load and Tension Testing Auto_SCB...
Page 2: ...unauthorized access to the restricted menu functions of the InstroTek Auto_SCB Restricted Menu Function Access Codes System Configuration Device Configuration 2222 Channel Configuration 3333 Profile C...
Page 3: ...This page may be removed from the manual to prevent the unauthorized access to the restricted menu functions of the InstroTek Auto_SCB...
Page 4: ...stroTek Inc Auto_SCB Automated Load Frame for Measuring Cracking in Asphalt Mixtures For Illinois I Fit AASHTO TP124 LSU Method ASTM D8044 And IDEAL CT ASTM Draft Testing Protocols Operation Manual Re...
Page 5: ...body between the ram and crosshead to prevent crushing injuries Follow all your other related facility safety instructions while operating this device Maintenance on this device must be done by train...
Page 6: ......
Page 7: ...SYMBOLS 12 8 OPERATION 13 9 RUNNING THE TEST 16 10 RESULTS 21 11 DEVICE CONFIGURATION 22 12 CHANNEL ALLOCATION 24 13 DATA STORAGE PRINTING 27 14 ALARMS 29 15 MANUALLY POSITIONING THE RAM 30 16 TEST A...
Page 8: ...rmance of asphalt mixtures The Auto_SCBTM measures the load the specimen vertical displacement with a high accuracy linear variable displacement transducer LVDT system and an encoder for the displacem...
Page 9: ...InstroTek 3 Machine Components Loading Rod SCB Jig Reaction Bar Load Cell LVDT Ram Control Screen Touch Screen Fig 1 Auto_SCB TM Load Frame with SCB Jig...
Page 10: ...InstroTek 4 Loading Rod Lottman Breaking Jig Reaction Bar Load Cell LVDT Ram Fig 2 Auto_SCB TM Load Frame with Lottman Breaking Jig...
Page 11: ...SCB jig from the front of the load frame 2 Set the unit on a level and stable surface It is recommended that the unit be leveled before testing using the attached feet 3 System Specifications Dimensi...
Page 12: ...to the load cell 4 Mount the LVDT holder onto one of the reaction frame posts as shown in Figure 1 5 Plug either the 10 kN or optional 50 kN Load Cell into Channel 1 LVDT into Channel 2 6 Ensure that...
Page 13: ...am and the slot in the jig NOTE The centering pin can be removed if the jig does not have a slot 4 Place an asphalt specimen in the test jig see Figure 3 5 Press the TEST Position button 6 Raise or lo...
Page 14: ...InstroTek 8 the jig to slide in and out when in the HOME position with the LVDT in place NOTE Tighten the LVDT holder thumb screws finger tight to prevent damaging the LVDT...
Page 15: ...LSU ASTM D8044 test requires an 127 mm spacing 1 Remove the two screws 5 32 Allen wrench from the roller support as shown in the circles in Figure 3 2 Flip the mounting block around until it is orien...
Page 16: ...he machine The main functions are Cracking Test Active alarms Ram Position Test archive Control panel Select an item with the touch screen Scroll through the menu or until the desired menu item is hig...
Page 17: ...InstroTek 11 Select an item with the keypad Scroll through the menu using the arrow keys or until the desired menu is highlighted Push the Enter key to select an item...
Page 18: ...of the status bar provides the current software version installed on the machine The center of the bar provides the current status of the machine The right side provides the current date and time Stat...
Page 19: ...labs from a laboratory compactor Consistent air voids are necessary for consistent results 2 Saw cut the specimens to the desired thickness Measure the air voids of the circular disks a I FIT Gyratory...
Page 20: ...ly cut the notch 4 Insert a specimen into the SCB Jig Figure 4 Adjust the horizontal alignment bolt such that the specimen is centered on the roller supports Raise the perpendicular alignment bar into...
Page 21: ...ified ASTM D6925 or AASHTO T 312 can be used NOTE Specimens may be prepared using the gyratory compactor or cores cut from the field or slabs from a laboratory compactor 2 Specimens can be gyrated or...
Page 22: ...ram will lower to the bottom of the stroke and then find the home position 4 Insert a specimen into the test jig Figure 3 a SCB Adjust the horizontal alignment bolt such that the specimen is centered...
Page 23: ...Head jig Figure 5 Raise the top loading bar and center the specimen on the bottom loading bar Lower the top loading bar Top Loading Bar Loading Rod Contact LVDT Support Horizontal Adjustment Roller Su...
Page 24: ...in on the machine ram NOTE The centering pin can be removed if the jig does not have a slot 6 Confirm the specimen is centered in the jig 7 Rotate the jig such that the LVDT is in the center of the gu...
Page 25: ...for additional details Up to 5 additional loading sequences can be entered by the user 10 Select the appropriate load cell by changing the system profile a Press and then to select the Profile i SCB 1...
Page 26: ...t 15 Check that a USB storage device has been inserted into one of the USB slots so the data can be saved 16 Press to start the test 17 The test status will be displayed on the screen below The follow...
Page 27: ...the results in txt and csv data files can be performed on a computer AASHTO TP 124 I FIT results can be analyzed using data provided by the University of Illinois apps ict illinois edu software IDT St...
Page 28: ...parameters for a standard press to see the parameters Loading History Parameters Parameter Description Pre load rate Rate for applying the pre load seating load mm min or kN sec Pre load force Target...
Page 29: ...283 Pre load rate 0 05 kN sec 2 mm minut e 0 05 kN sec Disabled Pre load force 0 1 kN 0 045 kN 0 1 kN Pre load pause 10 sec 15 sec 10 sec Preload Release NONE TIME NONE Unload speed 5 mm min Unload T...
Page 30: ...l method recommended 1 Select the appropriate control mode displacement or force in the test parameters menus a Force select kN sec in the Test Parameters b Displacement select mm min in the Test Para...
Page 31: ...ommended Enable the displacement channel as seen in the following figure Up to 3 additional displacement transducers can be installed in channels 3 5 To output the ram displacement Disable the displac...
Page 32: ...ll be shown on this screen if the Displacement channel is Enabled This can be verified by moving the LVDT in out ii Load cell can be verified by pressing on the load cell by hand to see if the load ch...
Page 33: ...rmal printer if assembled on the machine 4 Check that a printer PCL compatible is connected to the machine and press to print the test results on the USB printer 5 Check that a memory device has been...
Page 34: ...InstroTek 28 will be named with the test description name set in TEST SETUP and will include the test date and time 6 Press to return to the previous screen...
Page 35: ...alarm 1 Scroll through the list of the active alarms until the desired alarm is shown 2 Press to confirm and reset the alarm 3 If the alarm cannot be cleared contact InstroTek for instructions Reset a...
Page 36: ...ction is activated the machine will move the ram up or down WARNING The machine s load control is disabled Proceed with caution Check that movement of the ram will not damage any equipment or specimen...
Page 37: ...configuration is divided into two sections Device Configuration and Channel Configuration The device configuration includes parameters that control the limits of the machine including the Home and Tes...
Page 38: ...bled If Enabled the test is performed using the displacement rate determined by the encoder for the ram If Disabled the displacement rate is determined using the LVDT P I D Constants 2 5 4 0 0 08 Cont...
Page 39: ...to the HOME position for setting up the jig and specimen TEST position 7 5 Displacement from the bottom of the stroke of the ram to the TEST position for testing the specimen Zero Time 0 5 Delay befor...
Page 40: ...a Press to change the profile Password 1111 b Select Profile 1 for 10 kN and Profile 2 for 50 kN load cells c Exit the profile menu 3 If calibrating a load cell change the manual rate to 0 01 mm minu...
Page 41: ...oTek 35 6 Select a desired channel to see the channel setup parameters below NOTE Do not change these parameters unless instructed by InstroTek 1 919 875 8371 7 Select to go to the calibration screen...
Page 42: ...to fit the verification equipment 9 Select to go to the verification screen below 10 Select to go back to the calibration screen step 5 Press again to return to the channel setup screen step 4 11 Once...
Page 43: ...chine Date and time International settings Units Metric English Standard Touch screen calibration Network connection NOTE The following settings are set at the factory and should not be changed unless...
Page 44: ...reen c If available keep the unit covered to prevent dust and other deleterious materials from collecting on the unit 3 Monthly a Inspect the following parts for excessive wear i Ram Guide Rollers ii...
Page 45: ...Configuration Calibration 34 Confirm Reset an Alarm 29 Configuration Parameters 32 Control Panel 37 D Data Storage Printing 27 Device Configuration 22 Dimensions 5 Displacement 2 5 24 E Electrical Req...
Page 46: ...Machine Components 3 Main Menu 10 Main Menu Functions 10 Maintenance 38 Manually Position the Ram 30 O Operation 13 R Reaction Bar 7 Results 21 Running the Test 16 S Sample Preparation 13 15 SCB Jig...
Page 47: ...cement of defective materials and workmanship only It does not cover shipping charges duties or taxes in the transport to and from the factory or authorized service center InstroTek s liability is in...
Page 48: ...2 Contact Information Innovators in Instrumentation Technology www InstroTek com 919 875 8371 sales InstroTek com Research Triangle Park NC Austin TX Bensalem PA Grand Rapids MI Denver CO Las Vegas NV...
Page 49: ...sit InstroTek com Call a Location near you Headquarters Research Triangle Park NC phone 919 875 8371 Bensalem PA phone 215 645 1064 Grand Rapids MI phone 616 726 5850 Denver CO phone 303 955 5740 Aust...