1
USER MANUAL
– EN
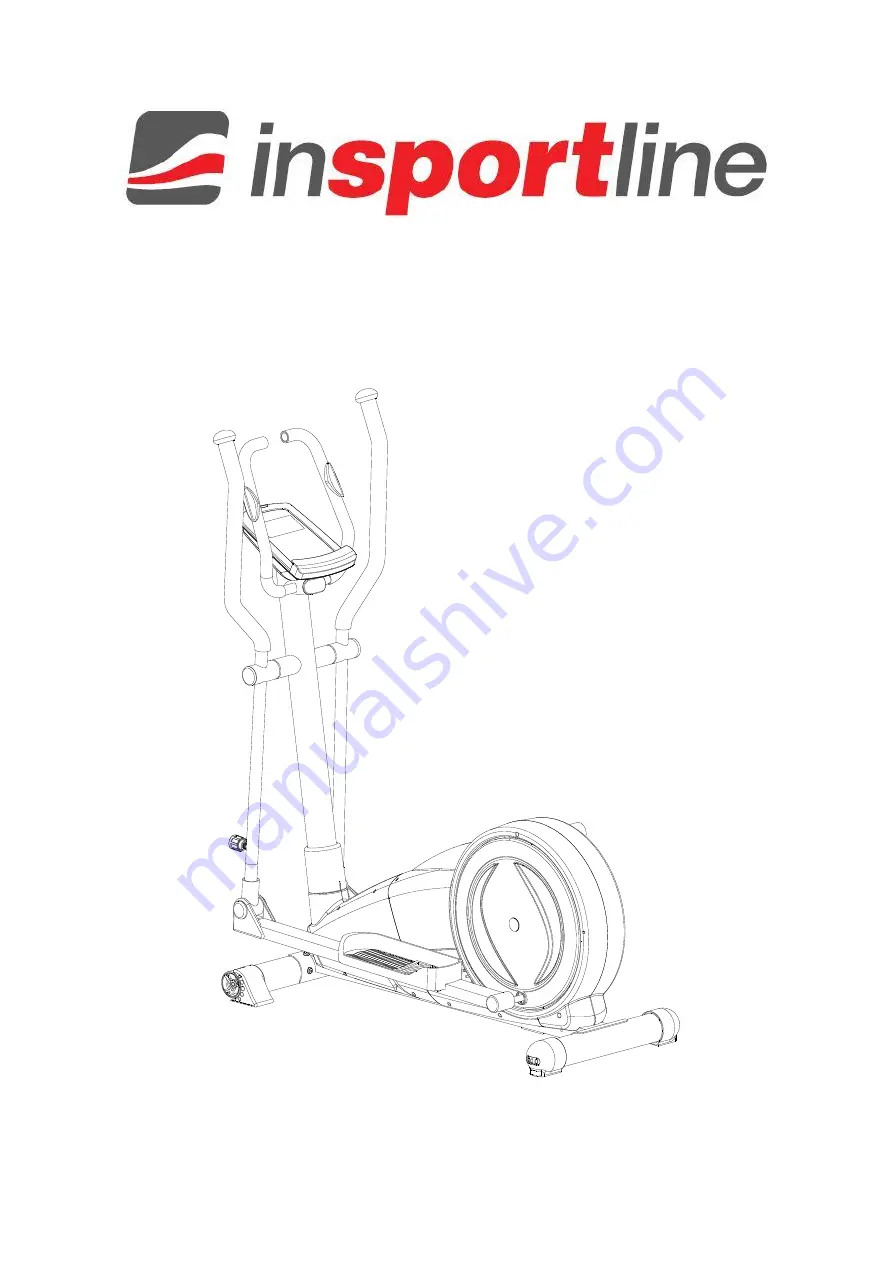
IN 8726 Elliptical Trainer inSPORTline ET500i
Page 1: ...1 USER MANUAL EN IN 8726 Elliptical Trainer inSPORTline ET500i...
Page 2: ...2 CONTENTS SAFETY INSTRUCTIONS 3 IMPORTANT NOTES 3 EXPLODED DRAWING 5 PARTS LIST 6 CHECKLIST CONTENTS OF PACKAGE 9 ASSEMBLY 10 CONTROL PANEL 14 TERMS AND CONDITIONS OF WARRANTY WARRANTY CLAIMS 18...
Page 3: ...oach the exerciser without supervision since they may use it in a way for which it is not intended due to their natural play instinct and interest in experimenting Please note that an improper and exc...
Page 4: ...Children disabled and handicapped persons should use the exercise only under supervision and in presence of another person who may give support and useful instructions Be sure that your body parts an...
Page 5: ...5 EXPLODED DRAWING...
Page 6: ...andlebar 1 12R Right moveable handlebar 1 13 Front foot cap inner 2 14 Front foot cap outer 2 15 Half ball cap 2 16 Allen bolt M8 1 25 45 2 17 Protective cover left 2 18 Screw ST4x1 41x15L 2 19 Rear s...
Page 7: ...r small D10 D14 3T 1 49 Inner tube 2 50 Anti loosen nut 3 8 26UNFx6 5T 2 51 Plastic washer D50 D10 1 0T 1 52 Supporting tube for moveable bar 2 53 Foam 2 54 Foam 2 55 Mushroom cap 2 56 Spring D4 0xD20...
Page 8: ...ver 1 77R Front right chain cover 1 78 Upper protective cover 1 79 Flat washer D23 D17 1 2T 4 80 Flat washer D25xD8 5x2 0T 6 81 Bolt M5 0 8 10L 1 82 Screw ST4 1 41 15L 16 83 Knob 2 84 Screw ST4x1 41x2...
Page 9: ...9 CHECKLIST CONTENTS OF PACKAGE...
Page 10: ...using the allen bolt 3 the curved washer 6 the spring washer 7 2 Adjust the proper height by turning the wheel of rear foot cap 4 3 Assemble the left and right pedal 21L 21R on the pedal supporting tu...
Page 11: ...dlebar post 10 on the main frame and tighten it by using the curved washer 6 the spring washer 7 and the allen bolt 3 Place down the cover for handlebar post 78 and make it tight on the main frame 4 A...
Page 12: ...12 STEP 3 1 Assemble the fixed handlebar 72 on the handlebar post 10 by using the allen bolt 16 the curved washer 6 the spring washer 7 2 Throughout the handle pulse cable as above fig shown...
Page 13: ...STEP 4 1 Connect the computer cable 29 and cable of hand pulse sensor 75 with the computer 64 then fix the computer 64 on the handlebar post 10 by using the screws 2 Put the end cap 85 onto the fixed...
Page 14: ...5S iPhone 5C iPhone 5 iPhone 4S iPhone 4 iPhone 3GS iPad Air iPad 4 iPad 3 iPad 2 iPad iPad Min Support iOS 5 0 or above Support Android devices Android tablet OS 4 0 or above Android tablet resoluti...
Page 15: ...00 99 59 SPEED Workout speed displayed during exercise Range 0 0 99 9 DISTANCE Workout distance displayed during exercise Range 0 0 99 9 CALORIES Burned calories during workout display Range 0 999 PUL...
Page 16: ...Beginner Advance Sporty Cardio Watt MANUAL MODE Press START in main menu may start workout in manual mode 1 Press UP or DOWN to select workout program choose Manual and press ENTER to confirm 2 Press...
Page 17: ...ESET to reverse to main menu SPORTY MODE 1 Press UP or DOWN to select workout program choose Sporty mode and press ENTER to confirm 2 Press UP or DOWN to preset TIME 3 Press START STOP key to start wo...
Page 18: ...ll Consumer Protection Act as amended also in cases that are not specified by these Warranty rules The seller is SEVEN SPORT s r o with its registered office in Borivojova Street 35 878 Prague 13000 C...
Page 19: ...ranty Claim by these documents the Seller has the right to reject the Warranty Claim If the Buyer gives notice of a defect that is not covered by the Warranty e g in the case that the Warranty Conditi...
Page 20: ...insportline cz servis insportline cz Web www insportline cz SK INSPORTLINE s r o Headquarters Warranty Service centre Elektricna 6471 911 01 Trencin Slovakia CRN 36311723 VAT ID SK2020177082 Phone 421...