INSTALLATION, SERVICE AND MAINTENANCE INSTRUCTIONS
VERTICAL AGITATOR
BMI
Original Manual
20.003.30.02EN
(A) 2021/12
2
0
.0
3
.3
1
Page 1: ...INSTALLATION SERVICE AND MAINTENANCE INSTRUCTIONS VERTICAL AGITATOR BMI Original Manual 20 003 30 02EN A 2021 12 20 003 32 0010 ...
Page 2: ......
Page 3: ......
Page 4: ...r 9 5 2 Identification of the agitator 9 5 3 Transport and storage 10 5 4 Location 11 5 5 Electrical installation 11 5 6 Assembly 12 6 Start up 7 Troubleshooting 8 Maintenance 8 1 General considerations 16 8 2 Maintenance 16 8 3 Lubrication 16 8 4 Spare parts 16 8 5 Conservation 16 8 6 Disassembly and assembly of the agitator 17 9 Technical Specifications 9 1 Materials 19 9 2 Other features 19 9 3...
Page 5: ...bstances released 2 3 WARRANTY Any warranty will be void immediately and lawfully and additionally INOXPA will be compensated for any civil liability claims submitted by third parties in the following cases The service and maintenance work have not been carried out in accordance with the service instructions the repairs have not been carried out by our personnel or have been carried out without ou...
Page 6: ...control particularly in areas where there is a risk of fire or explosion When cleaning do not spray directly on the engine Do not disassemble the agitator until the switchboard has been disconnected Remove the fuses and disconnect the power cable supplying the motor All electric work should be carried out by specialised personnel 3 2 2 During operation The Technical Specifications of chapter 9 sho...
Page 7: ...without fluid Standard agitators are not designed to work during the filling or emptying of tanks The maximum operating conditions of the agitator should not be exceeded Nor should the operating parameters for which the agitator was initially designed be modified without written authorisations from INOXPA Do not leave loose parts on the floor Do not disassemble the agitator until the switchboard h...
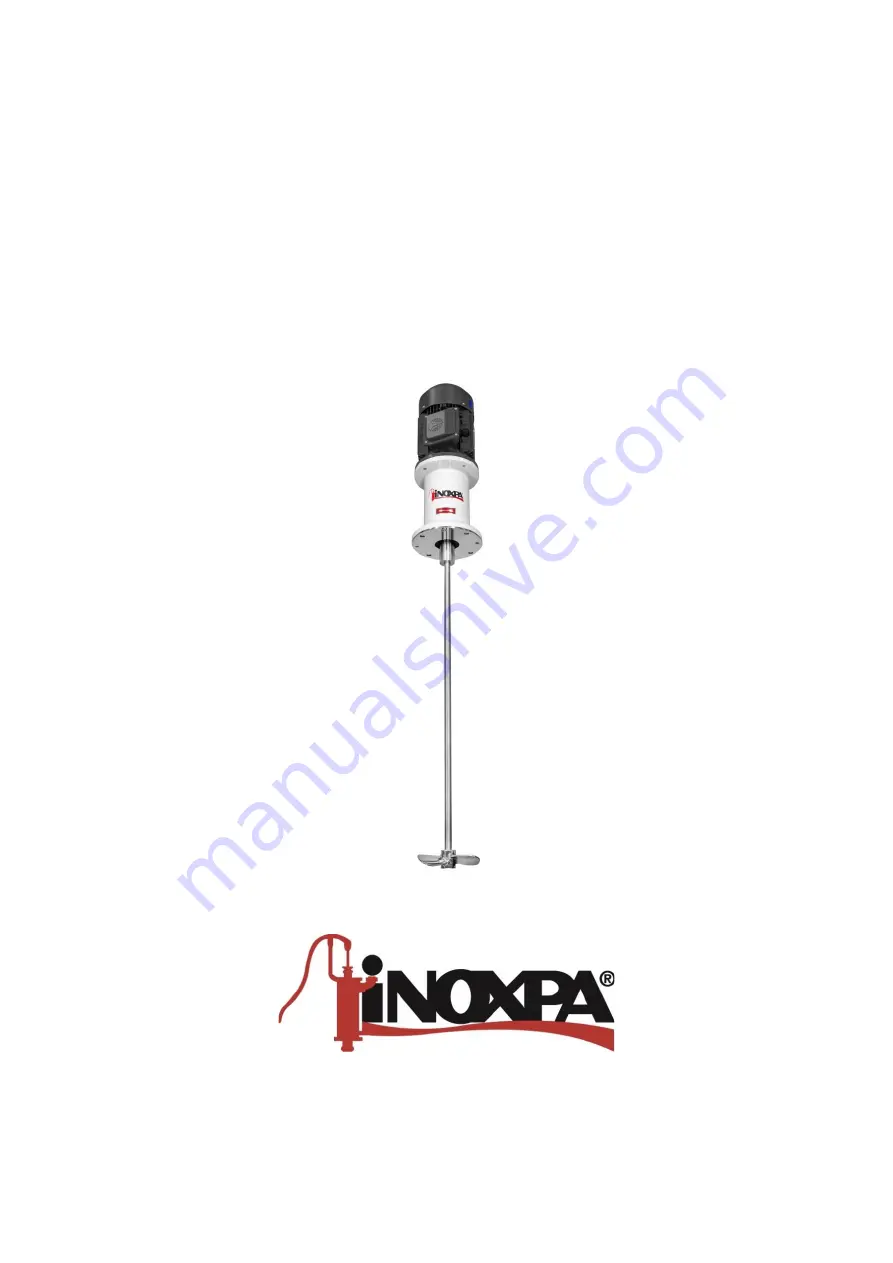
Page 8: ... the product towards the bottom of the tank where it is diverted generating an upward flow along the tank walls so that the product reaches the surface of liquid This effect is enhanced if the tank has a rounded base 4 3 APPLICATION The BMI vertical agitators can be used in mixing dissolution dispersion and maintenance processes requiring strong agitation at high speeds as well as in the food proc...
Page 9: ...ote INOXPA packs the agitators in their fully assembled form or disassembled on a case by case basis Ensure that the agitator has not been damaged in any way If it is not in good condition and or any parts are missing the carrier must submit a report as soon as possible The following documentation is included with the agitator shipping documents instructions and Servicing manual for the agitator i...
Page 10: ... 3 kW 040 4 kW 055 5 5 kW Motor speed 4 poles 1 500 rpm 6 poles 1 000 rpm Type of agitation elements 10 Marine type 4 Sawtooth type Number of agitation elements 1 One agitation element 2 Two agitation elements Name of the agitator BMI Vertical agitator with motor 5 3 TRANSPORT AND STORAGE According to the model the agitators are too heavy to be stored or installed manually Use an appropriate mode ...
Page 11: ... place a deflector in the tank Ask our Technical Department for information on any particular application If required the approximate dimensions for the deflector for different tank diameter are shown in the next figure and the next table 5 5 ELECTRICAL INSTALLATION Before connecting the electrical motor to the mains check local regulations on electrical safety as well as the applicable standards ...
Page 12: ...velled using the following method 1 Place a spirit level against the shaft 2 Check 4 points at 90º to each other around the circumference of the shaft and at the same height 3 Once the shaft is level firmly tighten the fixing nuts and screws Finally the propeller is mounted on the end of the shaft Be careful when assembling the shaft not to hit or strain it so as to avoid it being bent Force shoul...
Page 13: ...ing or emptying of the tank The agitator can NEVER operate without fluid The agitation elements may only be submerged to a height equal to 1 5 times its diameter All the guards must be in place Start up the agitator Check that the direction of rotation of the propellers is correct it must rotate clockwise when see form the drive side See the next figure Follow the direction of rotation of the agit...
Page 14: ...h the agitator is mounted Mechanical risks e g drag shear cutting impact flattening and pinching If the agitation element is accessible from the top or the tank inspections hatch then the user will be exposed to the above mentioned risks The tank must be fitted with protective devices and safety equipment Consult the manufacturer s instructions manual Introducing an object or solid raw material ma...
Page 15: ...ce the viscosity e g by heating the liquid High density Increase motor power Tank too big for the chosen agitator Check with the technical department Wrong direction of rotation Change direction of rotation Agitator speed too low Increase the speed Liquid level insufficient or none Check liquid level in the tank Shaft bended Replace the shaft Critical speed Check with the technical department Worn...
Page 16: ...r gear motor maintenance shall be carried out in accordance with the manufacturer s instructions see the instructions manual 8 3 LUBRICATION The BMI vertical agitators are mounted on permanently greased bearings which do not need maintenance The bearings can be re greased by stripping the support cleaning the previous grease off the bearings or by replacing them The bearing houses are also cleaned...
Page 17: ...take out the unit formed by the half shaft 26 ball bearing 70 base plate 42 lip seal 88 and bearing stop ring 31 Once in the outside of the bearings support remove the base plate 42 from the half shaft 26 and with the aid of a nylon hammer remove the lip seal 88 Take off the elastic ring 66 with a suitable pliers and remove the ball bearing 70 with a press See figure 8 1 Agitator with bearing supp...
Page 18: ...itator over the tank Agitator with bearing support with two ball bearing Fit the lower elastic ring 66 of bottom ball bearing 70 with suitable pliers Enter the bottom ball bearing 70 through the top part of the agitator shaft 05 and fix it through the elastic ring 66 Then repeat the same way for the upper ball bearing 70A After the shaft and ball bearings unit has been assembled put it in the bear...
Page 19: ...OTHER FEATURES Motor IEC B5 IP 55 F class insulation Speed rpm 1 000 1 500 Motor power kW 4 Shaft length mm 1 400 1 500 Shaft diameter mm 20 45 Propeller diameter mm 150 225 Propeller Marine propeller type 10 Sawtooth propeller type 4 9 3 WEIGHTS Type agitator Weigh kg BMI 1 10 4011 1 160 30 BMI 1 10 4015 1 175 33 BMI 1 10 4030 1 200 41 BMI 1 10 4055 1 225 57 BMI 1 10 6007 1 175 30 BMI 1 10 6011 1...
Page 20: ...MI 1 10 4011 1 160 160 1 915 270 BMI 1 10 4015 1 175 175 1 915 295 BMI 1 10 4030 1 200 200 1 943 325 BMI 1 10 4055 1 225 225 1 946 350 BMI 1 10 6007 1 175 175 1 915 270 BMI 1 10 6011 1 200 200 1 915 295 BMI 1 10 6015 1 225 225 1 943 325 BMI 1 4 4022 1 150 150 2 043 325 BMI 1 4 4040 1 200 200 2 046 350 20 003 32 0006 ...
Page 21: ...Marine propeller 1 AISI 316L 05 Agitator shaft 1 AISI 316L 06 Bearing support 1 Aluminium 26 Half shaft 1 AISI 316L 31 Bearing stop ring 1 AISI 316L 42 Base plate 1 A2 50 Countersunk screw 4 A2 52 Hexagonal screw 4 A2 53 Flat washer 4 A2 55 Allen stud 2 A2 55A Allen stud 2 Steel 66 Elastic ring 1 Steel 70 Ball bearings 1 Steel 88 Lip seal 1 NBR 93 Motor 1 NBR 20 003 32 0007 ...
Page 22: ...ket 1 AISI 316L 02B Washer 1 AISI 316L 02C Dragging pivot 2 A2 05 Agitator shaft 1 AISI 316L 06 Bearing support 1 Aluminium 31 Bearing stop ring 1 F 114 42 Base plate 1 AISI 316L 50 Countersunk screw 4 A2 52 Hexagonal screw 4 A2 52A Hexagonal screw 1 A2 53 Flat washer 4 A2 53A Flat washer 4 A2 66 Elastic ring 3 Steel 70 Bottom ball bearing 1 Steel 70A Upper ball bearing 1 Steel 88 Lip seal 1 NBR 9...
Page 23: ..._______________________________________________________________ ________________________________________________________________________________ ________________________________________________________________________________ ________________________________________________________________________________ ________________________________________________________________________________ ____________...
Page 24: ...anyoles Spain Tel 34 972 575 200 Fax 34 972 575 502 How to contact INOXPA S A U Contact details for all countries are continually updated on our website Please visit www inoxpa com to access the information 20 003 30 02EN A 2021 12 ...