Capacitive Touchscreen
User Manual H12 / SCAMAX® 8x1 - Version 2019.12
4.7.6.3. Export all/last Logfiles
During operation, the scanner collects logging information, which is eventually written
into a new and separate file, at each scanner boot-up. The two buttons shown to the
left will export such log-files onto a USB flash drive inserted into one of the available
USB2 ports. During this process, a new folder is created on the flash drive, labelled
in the following format:
usb3-logs-<JJJJMMTT>-<HHMMSS>
. The pointed brackets are placeholders
and represent the actual time and date. Within such a folder, all log-files are stored as consecutively
numbered and compressed files with file extension:
.gz
. Button
Export all Logfiles
will export all available
log-files, up to a maximum amount of 100, whereas
Export last Logfiles
will only export the log-files
created during the last five scanner boot-ups. This choice is usually sufficient when examining more
recent incidents. If no flash drive is present or if it cannot be written to, a corresponding error message
will be created (
see chapter
) and displayed on the screen.
4.7.6.4. Scanner Info Export
The button shown to the left will export scanner information onto a USB flash drive in-
serted into one of the available USB2 ports. During this process, a new folder is created
on the flash drive. The folder name is composed out of a combination of scanner model, serial number,
date and time. The folder contains various files with calibration data, plus scanner information of the
type created by the Info-button (
see chapter
). If no flash drive is present or if it cannot be written
to, a corresponding error message will be created (
see chapter
) and displayed on the screen.
4.7.6.5. Start Update
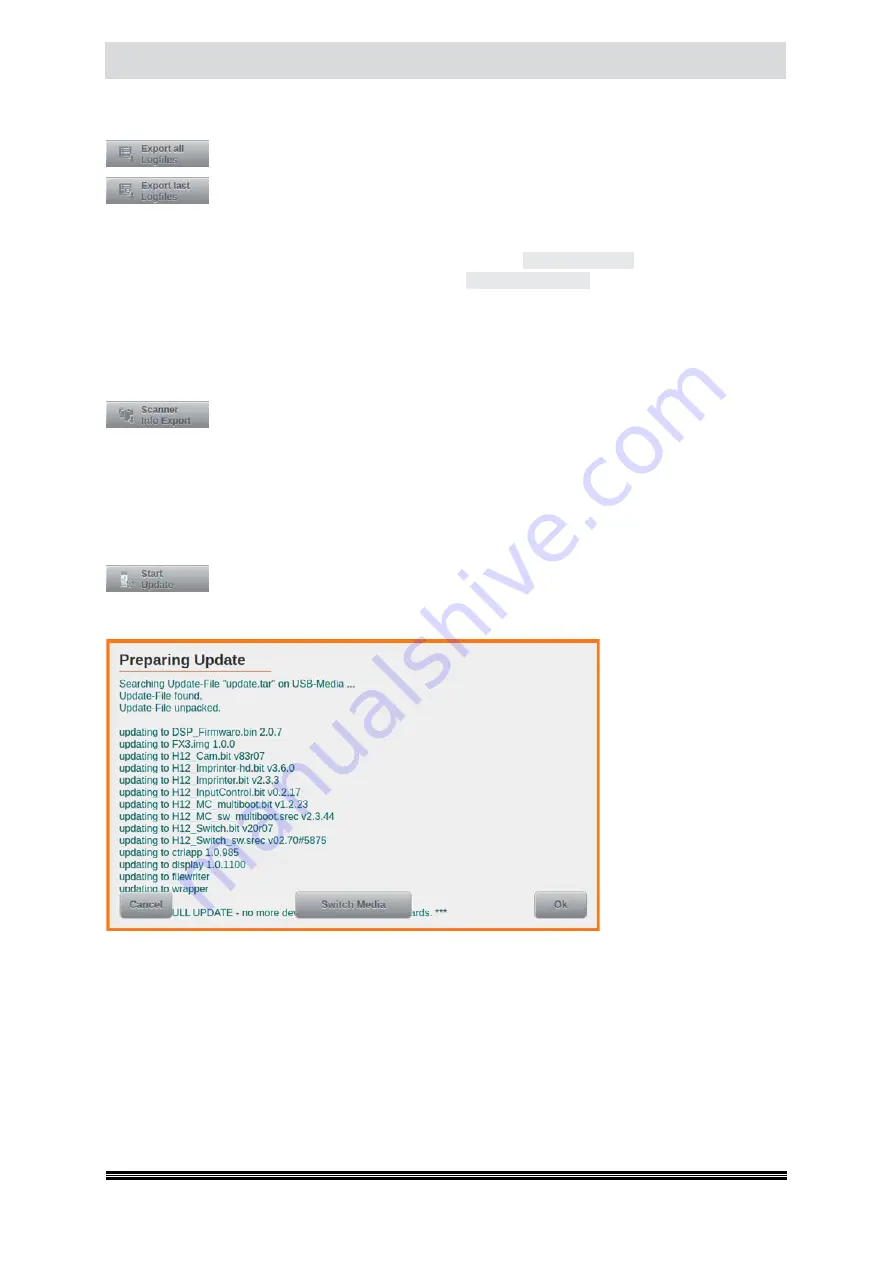
This button will perform an update of the scanner’s firmware. This process will only
work if a suitable firmware package is supplied as a compressed file in TAR format. This
file needs to be copied to the root directory of a USB flash drive, which is then inserted into one of the
scanner’s three USB2 ports. If a valid firmware package is detected on the flash drive, a list of all firmware
versions contained in that
package will be display-
ed in the update screen
shown to the left (please
note that the Switch Media
button may only be used
by service technicians, for
special purposes). Before
starting the update pro-
cess through tapping the
OK button, please make
sure that the desired up-
date file has in fact been
found, on the drive. The
update process may take
several minutes to complete and during its course, several different status messages will appear on
screen. If the update fails, a corresponding error message will be displayed.


