Capacitive Touchscreen
User Manual H12 / SCAMAX® 8x1 - Version 2019.12
4.6.6.2.4. Font
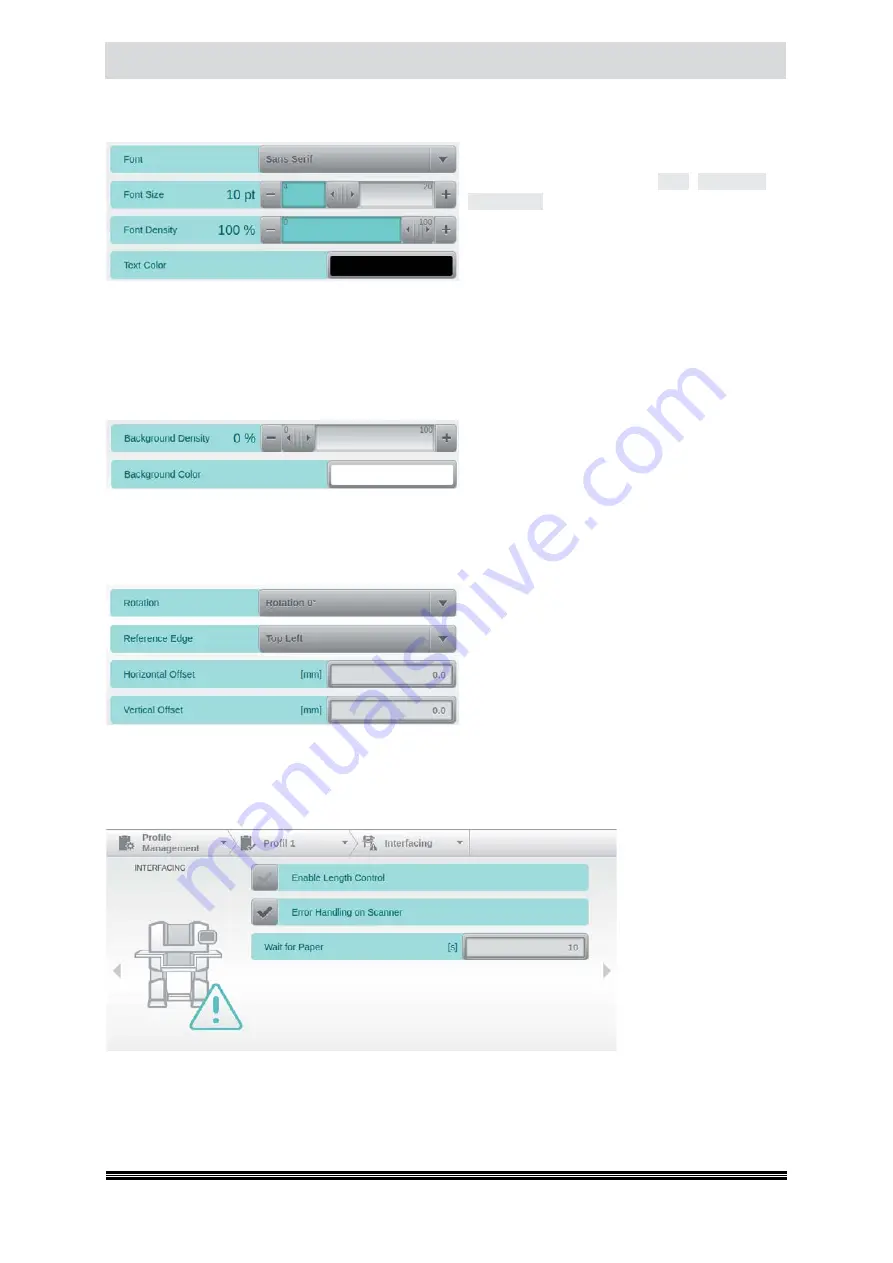
These four settings modify the text formatting
used by the digital image stamp. Use the top
field to select between a
Serif
,
Sans Serif
or
Monospace
d Font. Use the slider below to set
the
Font Size
to somewhere between 4 and 20
points.
Font Density
determines the degree of
text opaqueness applied. The default setting
of 100% corresponds to maximum blackening.
Reducing this value will increase transparency and will thus prevent image data from being obscured.
Tapping the
Text Color
selection box at the bottom will open the color picker dialog (
see chapter
),
which you may use to select any desired text color. Please note however, that the final mapping of
this color will obviously depend on whether color, grayscale or bitonal images are created.
4.6.6.2.5. Background
If you want to avoid image data interfering with
the contents of the digital image stamp, you
may add a defined background, using these
two fields. Configuration is identical to
Font
Density
and
Text Color
, however here,
Background density
defaults to 0%, which means that it is fully
transparent, initially.
4.6.6.2.6. Positioning
The last four fields on this screen deal with stamp
positioning. The uppermost field will rotate the
stamp, by either 0°, 90°, 180°or 270°. The second
field defines one of the four document corners,
as the point of reference. The
Horizontal Offset
and the
Vertical Offset
specify the respective
distance from this point of reference to the top
left corner of the stamp. Therefore, whenever
selecting a reference point other than Top Left, please make sure to choose large enough offsets to
still fit the entire stamp onto the image area.
4.6.7.
Interfacing
The options of the
In-
terfacing
, which will be
described in more de-
tail below, deal with the
conduct towards exter-
nal scanning software.


